
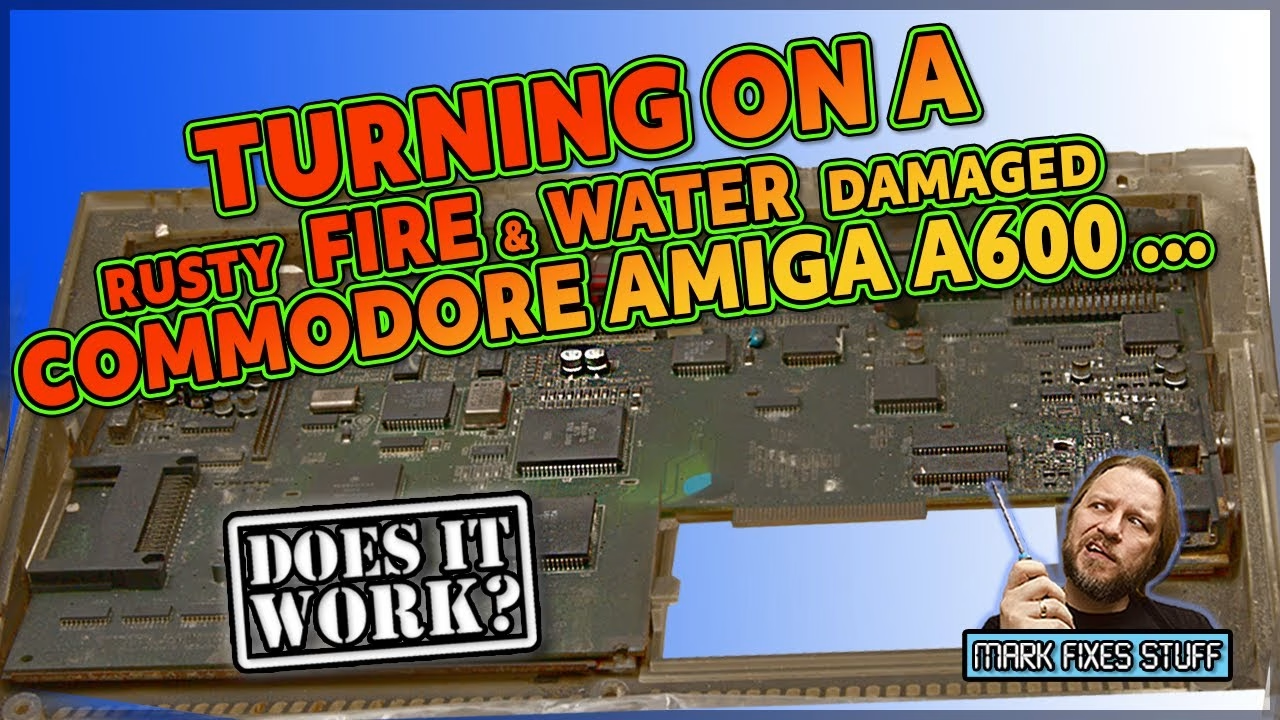
Can an Amiga A600 motherboard survive a house fire and then two weeks sitting in mouldy water? This board was on the racking right next to where my fire started. It saw temperatures of around 300°C, then sat in the water left behind after Hampshire Fire and Rescue put out the blaze. I fully expected nothing more than fizzing capacitors when I plugged it in. Instead, it produced a picture. This video was sponsored by PCBWay.
I’ll be honest: this is a quick, fairly low-effort video, made in the run-up to Christmas when paperwork and parts that never arrived had set back the “real fixes”. But the outcome is genuinely interesting, and it kicked off the whole fire-damaged A600 restoration.
Where this A600 board came from
The A600 was on the bottom of the racking next to my filming area. A lot of things collapsed on top of it, which is probably what saved the board from complete destruction. The keyboard above it was melted solid. When I cracked the case open, this soot-covered board was inside, and I couldn’t resist finding out what would happen if I powered it up.
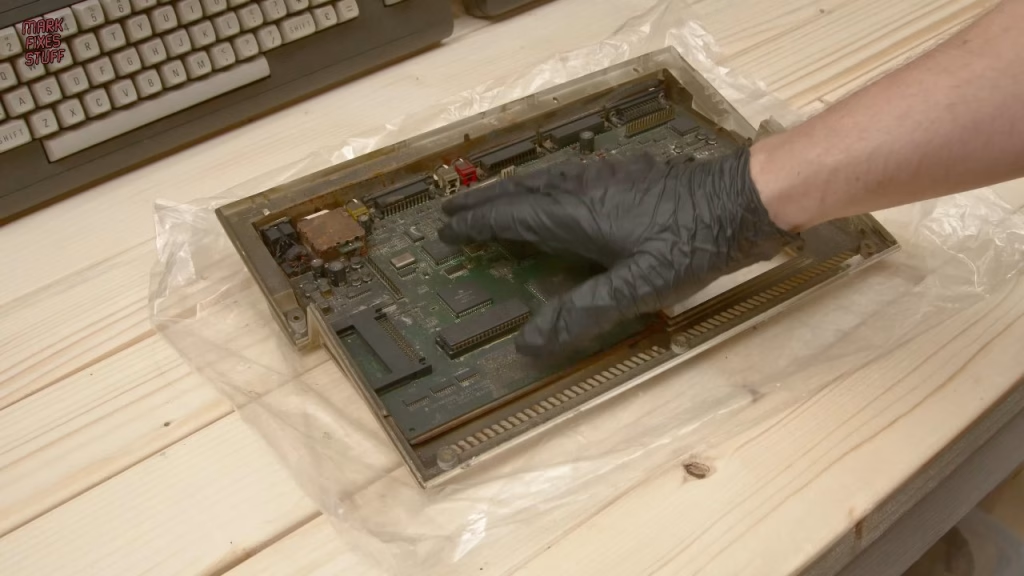
Powering on a fire damaged Amiga
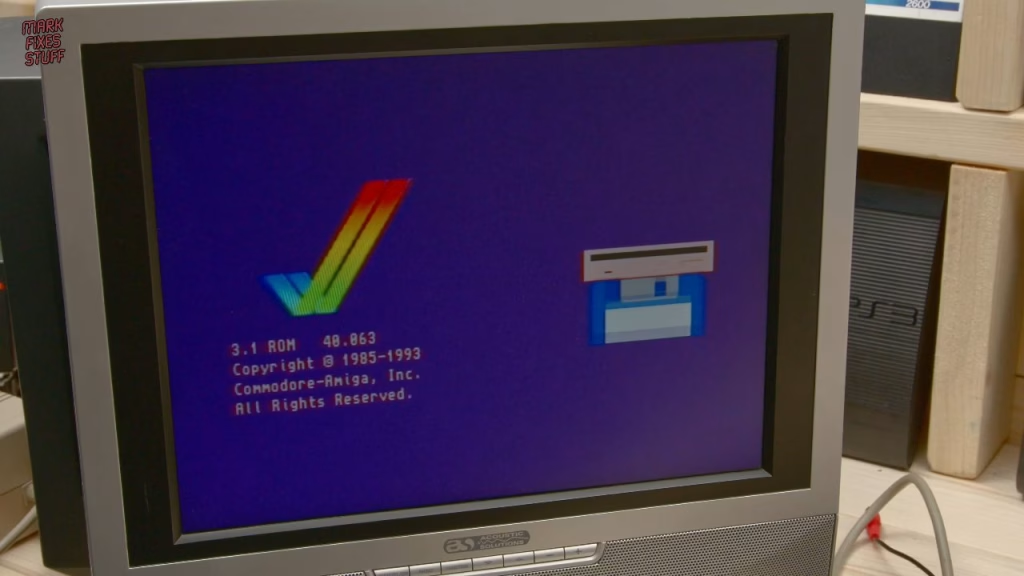
I used my known-working (if grubby) power supply and a portable Sony Trinitron. Three, two, one… and there was some sort of video signal. Not a usable one, and the strobing on camera was terrible even at 50 frames per second, because I hadn’t expected to need to film a CRT and hadn’t set the camera up for it.
So I switched over to the LCD panel everybody hates (it looks sharp in real life). After a bit of a farce with the leads, including plugging video into the audio input and vice versa, there it was: a clear picture from a board that had been baked and then soaked. Talk about a survivor story.
Oh my goodness, look at that. Talk about a survivor story.
Cleaning off the soot and trying a diagnostic ROM
Without a working keyboard there wasn’t much else to test, until I remembered the Amiga diagnostic that Retro Rewind had sent me. It was obviously going to fail any keyboard check, since the keyboard is now melted slag, but it would tell me more about the board.
The soot is really embedded and ingrained, and the chip I pulled was crusty. I removed it by hand rather than with a chip puller, because I’ve damaged too many chips with those. The board underneath was remarkably clean. I also spotted my own handwriting on it: this is the A600 I’d recapped before the fire. And the sticker over the EPROM’s quartz window had melted off, presumably from the heat.
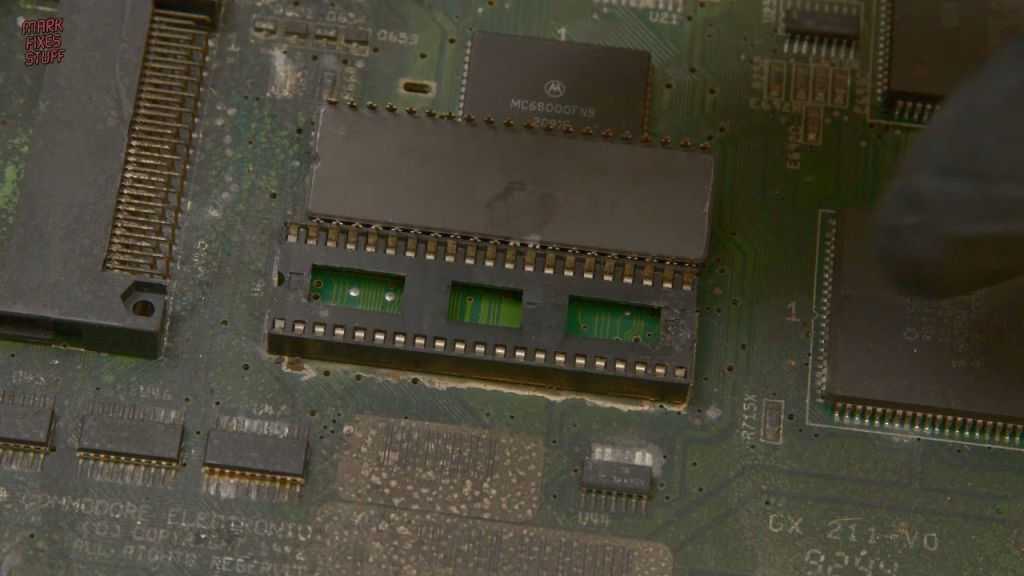
The socket felt really crunchy and dirty, so the first attempt didn’t go well. On the second try it got all the way to the point where it needed a keyboard, which of course is where I fell over. But the fact that it got that far at all is amazing.
Did it work?
Yes, in the sense that matters: I now have a working A600 board in a terrible state. My plan had been to strip it, ultrasonic clean it and rebuild it with any parts I could find from other machines if it showed no life. Since it does show life, the next step is the ultrasonic cleaner, which it will fit into nicely. That’s the next video in the series: the ultrasonic clean, followed by a close inspection of the cleaned board under a Tomlov DM601 HDMI microscope.
My other fire project, an Amstrad GX4000, was on hold at the time while I waited for parts to make it through the Christmas post and strikes.
More from the fire damaged Amiga A600: Ultrasonic Cleaning a Fire-Damaged Amiga A600 Motherboard, Tomlov DM601 HDMI Microscope Review: Inspecting a Fire-Damaged Amiga A600 Board.
Related
More Amiga A600 on the site: my A600 chip RAM expansion build and the earlier “free” A600 that turned out not to be. For another fire survivor, see restoring a soot-damaged Intellivision.
Leave a Reply