
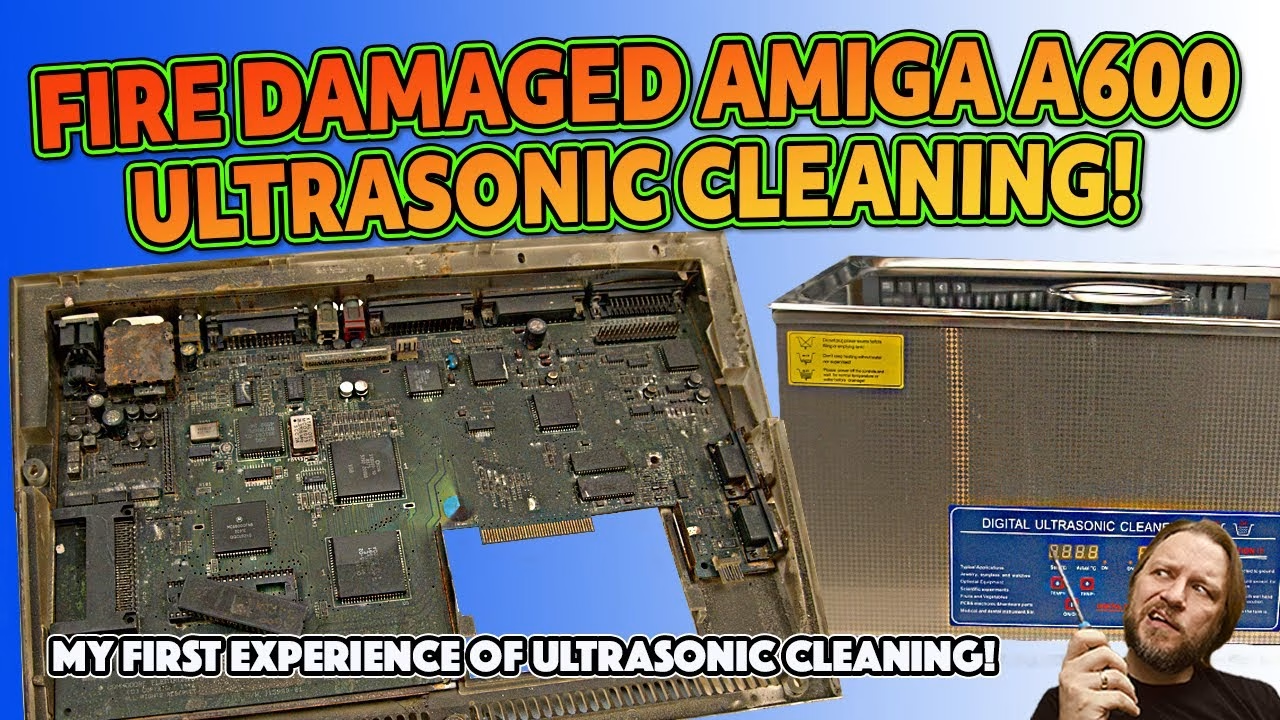
Can an ultrasonic cleaner rescue a motherboard caked in greasy soot from a house fire? The Amiga A600 I lost in my fire had already surprised me by trying to boot, but every crack of its board, right down to the rusty ports along the back, was full of toxic smoke residue that I could never clean by hand. So this was my first ever ultrasonic cleaning adventure: getting the board out, working out the right water to solution ratio, degassing the tank, and seeing whether the A600 came out clean or dead. This video was sponsored by PCBWay.
This follows on from my “Does it work?” video on the same fire and water damaged A600 board, where I was shocked to see it try to boot. I’d never have known before the fire, but soot is a greasy, toxic mess that clings to everything, so I was nervous: if this process killed the board, my name would be mud.
Getting the A600 board out of the case
Easier said than done. I had to twist all the tabs and flex the lower case to liberate the board. Surprisingly the underside wasn’t too bad, though there were obvious signs where water had got in and sat around the gates next to the motherboard. The plastic insulation sheet and the metal shielding were in a sorry state: the shielding is very rusty and the insulation sheet had soaked up the soot, so I may need alternatives for both. The whole lot still smells terribly of smoke. It’s amazing this machine survived at all, because everything around it was destroyed; things collapsed on top of it and left it relatively unscathed.
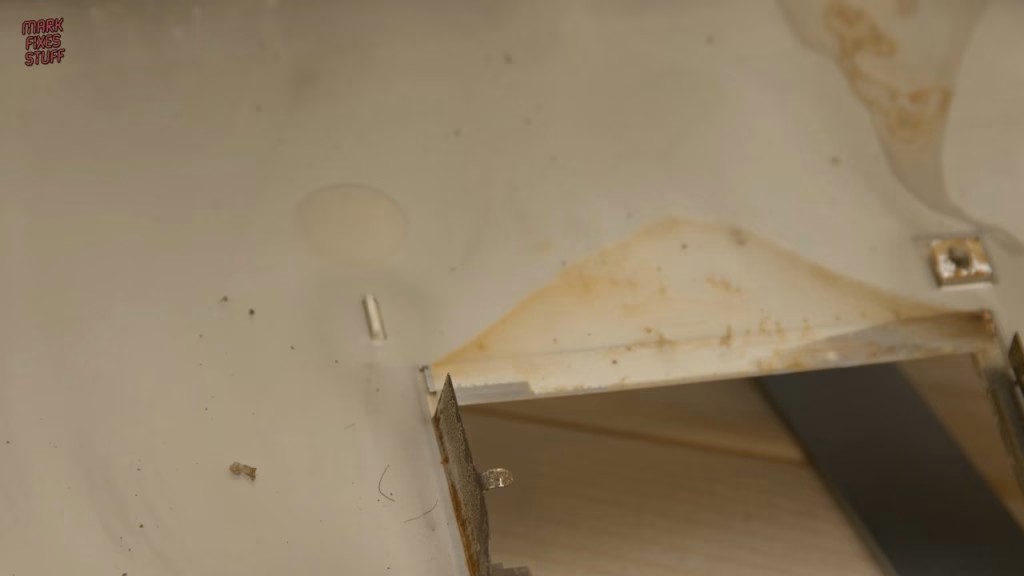
To prepare the board, the EPROM I’d been using for Kickstart was already out of its socket, which lets the cleaner reach underneath. I also took the lid off the modulator so cleaning fluid couldn’t get trapped inside. It was rusted shut and had to be forced, but it was still shiny inside. I don’t need the lower case any more, because I have a plan with PCBWay (and I hid a clue to it in the video).
How much ultrasonic cleaning solution do you need?
My cleaner is sold as a 22 litre model, but when I measured the tank and calculated the volume it came out a little under 20.5 litres. Knowing the real volume matters, because to avoid damaging the cleaner it needs filling to about two thirds of capacity, and the solution I’m using mixes at one part cleaner to ten parts pure distilled water. That worked out at about 12 litres of distilled water and 1.2 litres of solution.
- Use distilled water. Tap water contains minerals that can stay on the board after washing. Distilled water has had them removed by evaporation. It isn’t cheap: I literally had to save up for this video.
- Use a proper cleaning solution. Its surfactants break the surface tension (you can see the surface go visibly bubblier), which lets cavitation happen more readily. I added 1.5 litres rather than 1.2 for extra oomph, which is still within the solution’s guidelines.
- Wear gloves. I didn’t, and it ran down my hands. It’s caustic. Lesson learned.
- Only plug the cleaner in once it’s filled. Nobody likes to get electrocuted.
At two thirds full, the fluid sat neatly at the top of the basket with the handles above the surface, ready to grab.
Heating and degassing the solution
The cleaner powers up showing a default of 50 degrees, adjustable with the up and down buttons, and the on/off button starts the heater. Heat helps cavitation happen. The manual says it can take about an hour to reach temperature, and set to 50 it hovered around 48, so I nudged the setting up. Even so, 48 degrees is hot enough to degas, which is absolutely vital: running the cleaner for 10 minutes drives trapped gases to the surface. Left in the fluid, those gases block the ultrasonic waves and kill most of the cleaning power. (It’s loud. You’ve been warned.)
First pass: soot coming off in plumes
In went the A600 board, along with a smoke-coated Gotek board I’d recovered from the ruins of the house. Holy moly: the soot came off in clouds, like plumes of smoke under the liquid, bubbling off the board.
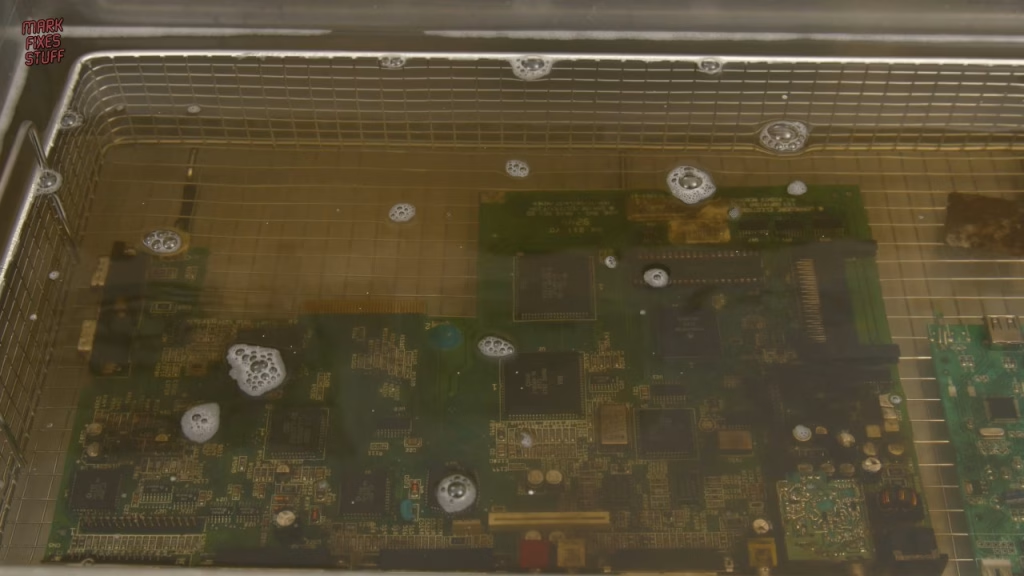
A couple of components gave me pause. Panasonic’s guidance for electrolytic capacitors is no longer than two minutes in an ultrasonic cleaner, but these are getting replaced anyway. I was also wary of the crystals, since they’re frequency sensitive, but because they’re in the megahertz range they should be fine.
After the first pass the transformation was already unbelievable. There was still contamination around the white labels, so, aware of the risk of overdoing it, I flipped everything over for a second session.
How does ultrasonic cleaning actually work?
It’s all about cavitation. The ultrasonic waves literally rip the fluid apart, creating microscopic vacuum bubbles that then implode. Each implosion produces friction and heat, up to around 5,000 Kelvin, but because the bubbles are so tiny the overall effect only moderately warms the fluid. It’s brilliant at breaking bonded dirt off hard surfaces. Like all good things, though, you can overdo it and cause cavitation erosion, which pits the surface. After the second session I decided we were done, and the crud at the bottom of the tank showed it hadn’t been in vain.
The results
Off camera I rinsed the boards with fresh distilled water. They could do with a good buff, but the difference is genuinely shocking. For my first go at ultrasonic cleaning, I think the results are astonishing: everything is as clean as a whistle, including the metal pins and connectors. The modulator lid is still really ugly, but it’s clean and rust free, so that’s a win. The cleaning has even started to take the markings off some of the chips.
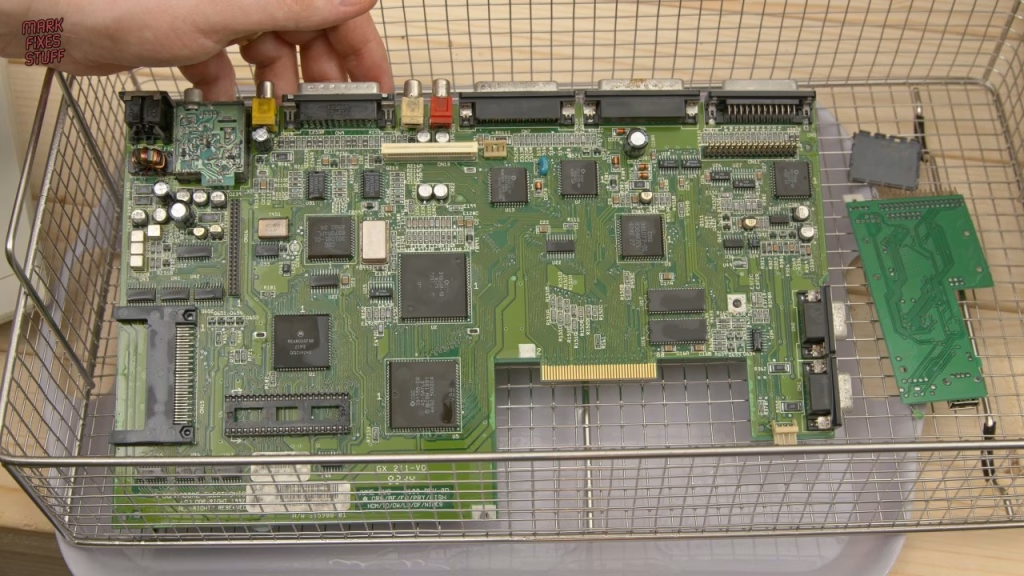
The Kickstart EPROM was another story. It was still covered in gloop, though that came off easily, and it shows that some softer materials aren’t really suited to the ultrasonic cleaner. Its legs look a lot better but could still use a going-over with a fibreglass pencil.
What’s next for the A600?
I didn’t power it up in this video. That’s for the next episode, where I’ll also try the Gotek. It was lost in the fire, so getting it working would be a big emotional win for me. And the hidden clue? PCBWay are 3D printing me a crystal clear Amiga case, and it’s on its way. After this clean, I also put the board under a Tomlov DM601 HDMI microscope to look for damage from the leakage, the fire and the cavitation itself.
If you have any ultrasonic cleaning tips, or think I did something wrong, let me know in the YouTube comments.
More from the fire damaged Amiga A600: Does It Work? Powering On a Fire and Water Damaged Amiga A600 Motherboard, Tomlov DM601 HDMI Microscope Review: Inspecting a Fire-Damaged Amiga A600 Board.
Related
More fire and grime recovery on the site: restoring a soot-damaged Intellivision and cleaning up an Amiga A501 after a battery leak. For more A600, see my A600 chip RAM expansion build.
Leave a Reply