
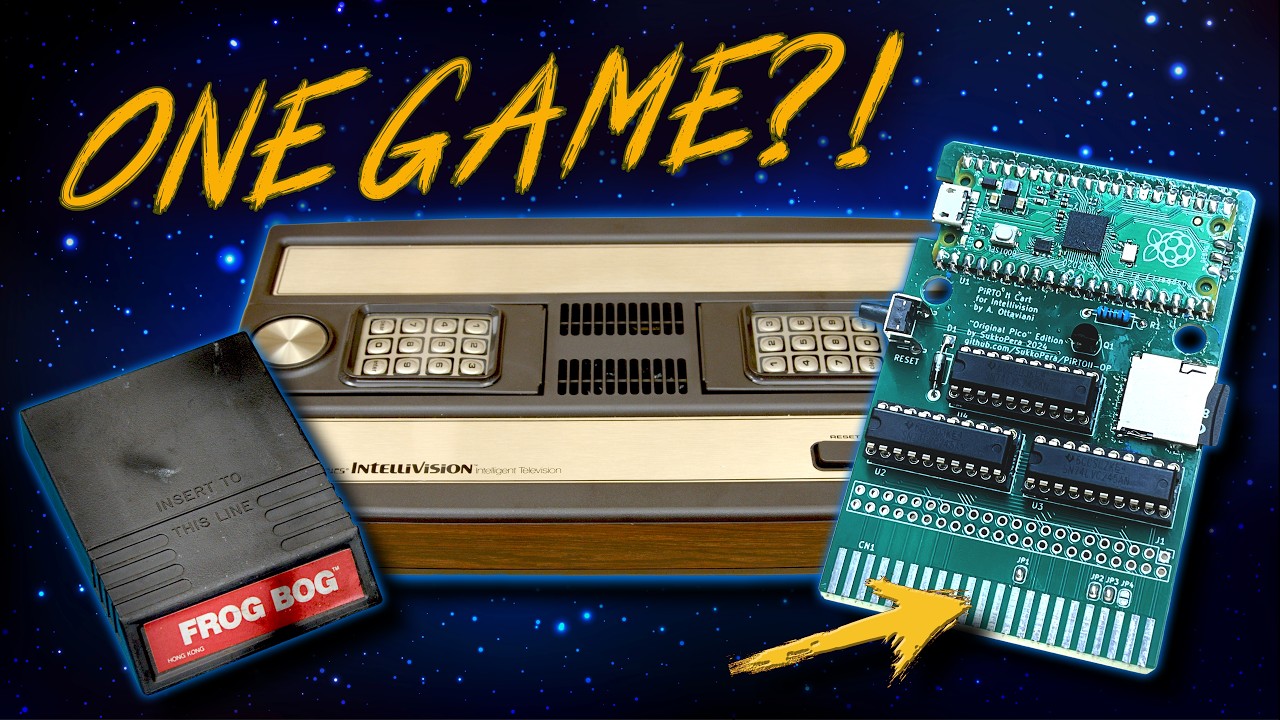
Two survivors from the house fire landed on the bench together: a Frog Bog cartridge caked in soot, and an Intellivision that had come through in far better shape than it had any right to (box wrapped in plastic in the loft). The cartridge needed a proper clean and a decision about its label. The console needed checking over. And because owning one working Intellivision game is a fairly short hobby, the third job was building a Raspberry Pi Pico multi-cart so the console could run a whole library from an SD card. Here is how all three went.
Cleaning the Soot Out of Frog Bog
The cartridge came out of the fire remnants with the case and label soaked in smoke and water residue, so the first job was getting the shell open and seeing what the PCB and card edge looked like underneath. This was cleaning rather than rebuilding, but soot is stubborn stuff and I was not plugging anything into the console until the contacts were properly clean.
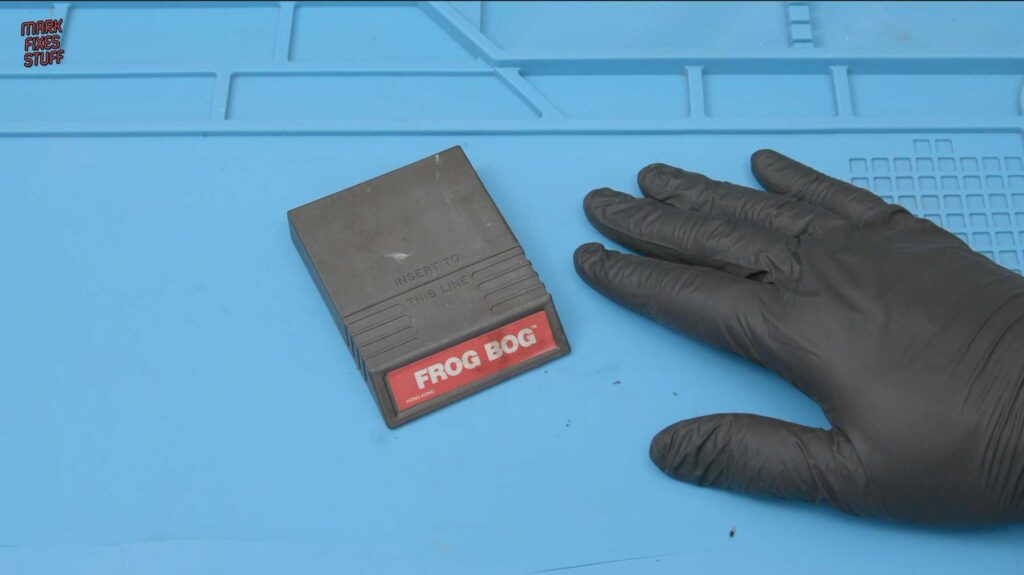
Caption: The Frog Bog cartridge as it arrived, soot ingrained into the plastic and the label.
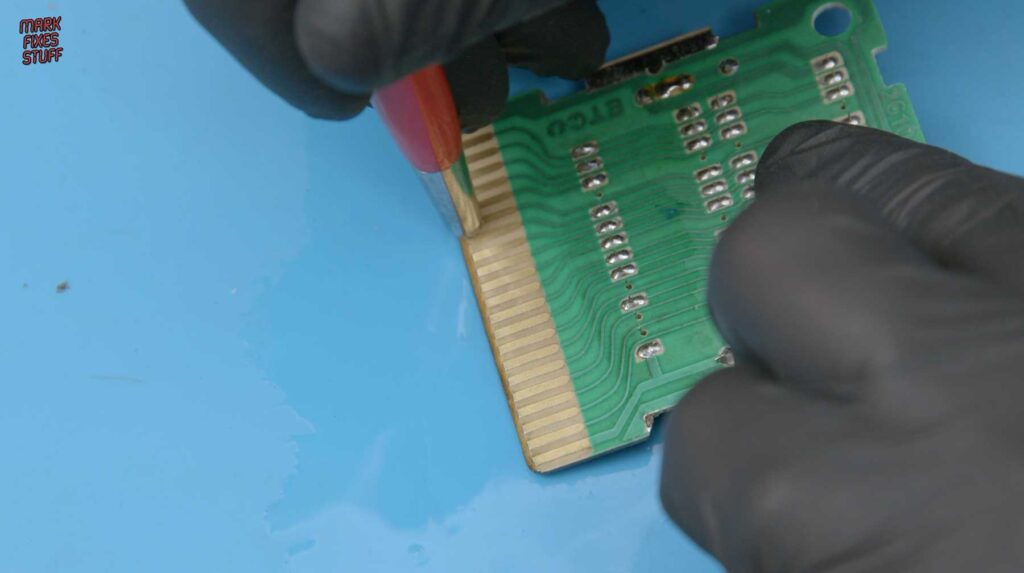
Contact cleaner did most of the heavy lifting. I soaked the edge connector, worked it over with cotton buds for the gentle pass, then went in with a fibreglass pencil for the last of the pitting. The aim is to lift the conductive soot and corrosion without going through the plating on the gold fingers, because once the plating is gone you are into PCB repair rather than cartridge cleaning. The rusty security screws went in the bin and got replaced, since they had stopped holding anything together and were mostly there to make me invent new swear words.
Checking Over the Intellivision
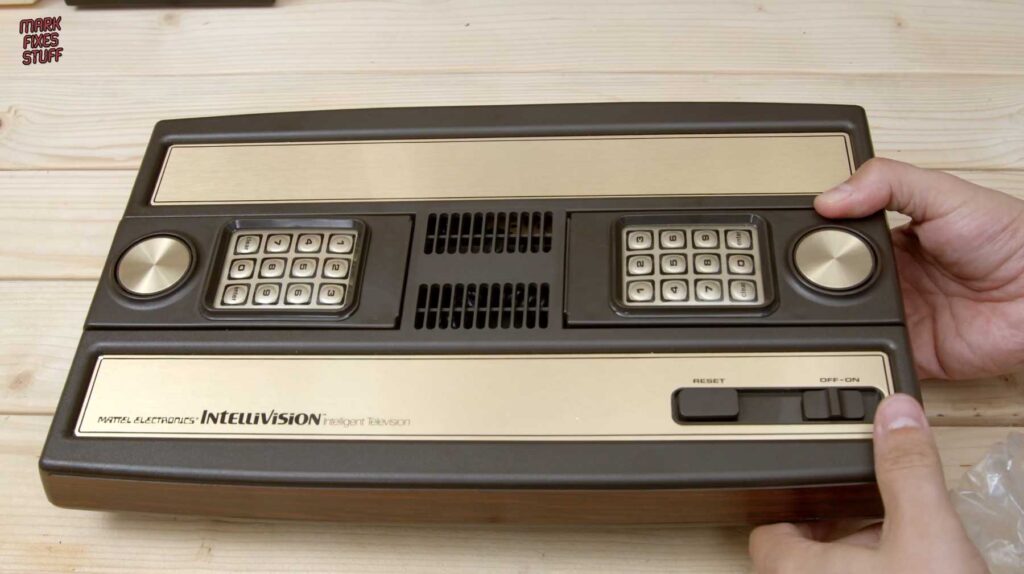
The console itself turned out to be remarkably tidy given its age and what it had been through, which is what made the whole job worth doing. I go over the packaging and controllers in the video for anyone who enjoys that side of it, and it is a useful reminder of how simple the cartridge format is: a plain card edge connector, which is exactly why a homebrew multi-cart is a realistic project. The catch is RF output. It works, but the picture is what you would expect from a modulated signal into a modern TV, and I come back to that at the end.
Building the Pi Pico Multi-Cart
With Frog Bog cleaned up and back together, the interesting part could start. The board is based on the PiRTO2 design, specifically the Sukko Pera variant, which adds an SD card slot so you are not limited to whatever fits in the Pico’s own flash. The idea is a soldered-on cartridge with a modern brain that presents ROMs to the Intellivision as if they were the real thing.
Before anything went on the board, I tested the three 74LVC245 bus transceivers at 3.3V, 2.5V and 1.8V. Remarked and mis-specified logic chips are common enough that this is worth ten minutes on the bench supply, particularly when the design relies on low voltage operation. Finding out a chip will not run at 1.8V after it is soldered in is a much worse way to learn the same thing.
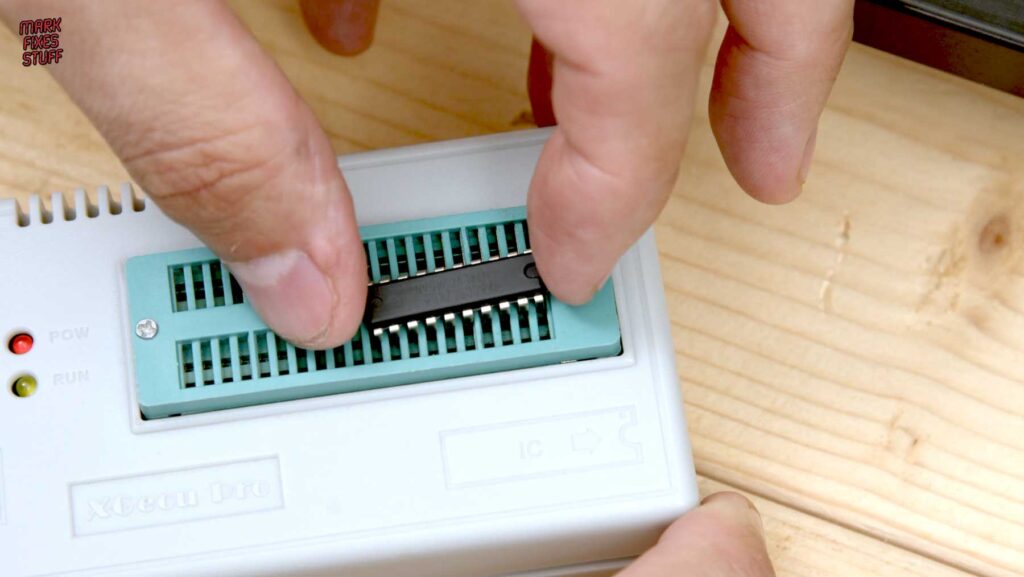
Check the Pico boots into boot select mode before it goes anywhere near the board. A faulty USB connector on a Pico that is already soldered down is a mistake you only make once.
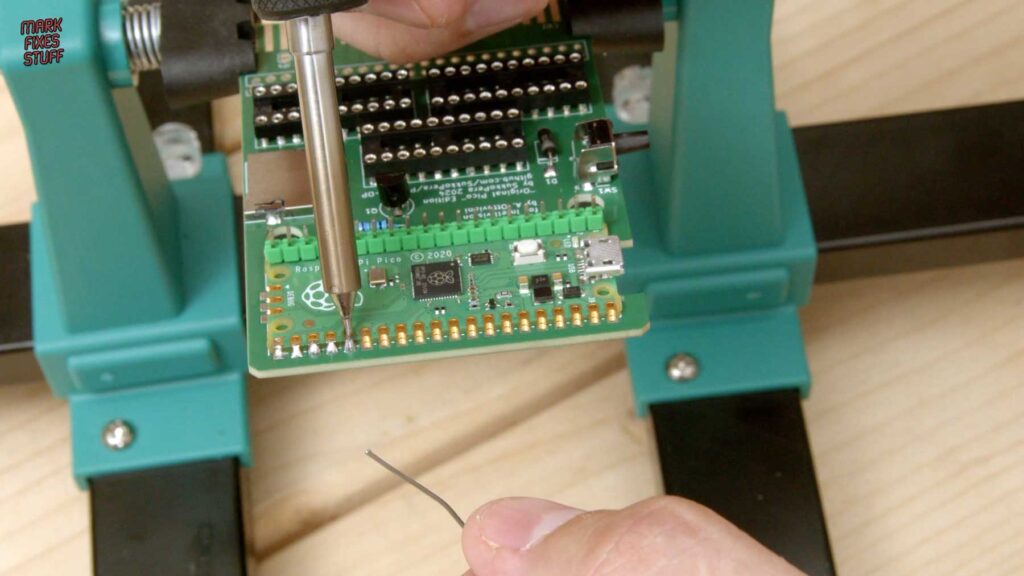
The two fiddly soldering jobs are the castellated edge of the Pico and the surface mount microSD socket. For the Pico, a small knife edge tip, plenty of flux and tacking a couple of corner pads first to hold alignment makes the rest go on cleanly. The microSD socket is doable with a standard iron if you are patient, but a smaller tip and careful pre-tinning of the pads keeps it from getting ugly. Neither is hard exactly, but both punish rushing.
Firmware, ROMs and First Boot
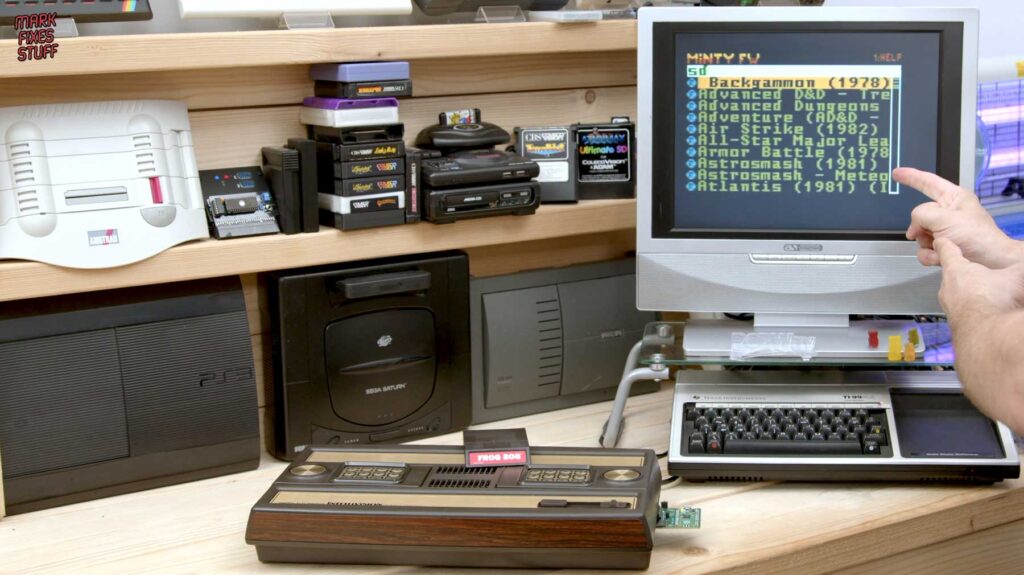
I flashed the Pico with Minty firmware, which handles both telecart and plain .bin ROM formats, then copied the games onto the SD card and plugged the whole thing into the freshly cleaned console. There is a satisfying moment when the firmware menu appears and lists the games, because it proves the cleaning, the chip testing, the soldering and the firmware setup all did their jobs in one go.
A Few Things Worth Knowing Before You Try This
If you are cleaning soot contaminated plastic and metal, do it outside. Your nose will thank you. Do not assume rust staining will lift with solvent either; contact cleaner and a soak get you most of the way, but mechanical finishing with a fibreglass pencil or a very fine abrasive is usually what actually restores contact.
On the multi-cart side, pre-test any logic chip you have the slightest doubt about, particularly for low voltage compatibility. A cheap chip tester or a bench supply at 3.3V and 1.8V is far less painful than desoldering. And test the Pico’s USB connection before it is committed to the board.
Finally, RF is the weak link on these consoles. If you want to enjoy the games properly, plan on sorting a better AV solution at some point. If not, the slightly fuzzy picture is at least authentic. AV is my next challenge!


Leave a Reply