

This Commodore 64 was inside my house when it caught fire. The case melted away, the motherboard went through temperatures well over 300°C, and then the fire brigade gave it a thorough soaking with the hose for good measure. As a working computer it is finished. But a C64 is more than the sum of its parts, and some of those parts are getting harder to find every year. So the question for this video is simple: is there any working silicon left on this board, or is it all just cinders?
In this one I identify the board, desolder all eight 4164 DRAM chips, rescue the SID and the VIC-II, and then put the RAM through its paces on the Multi Retro DRAM Tester by Philtronics. Here’s how it went, and what I learned about salvaging chips from a fire damaged board along the way.
What a house fire does to a Commodore 64
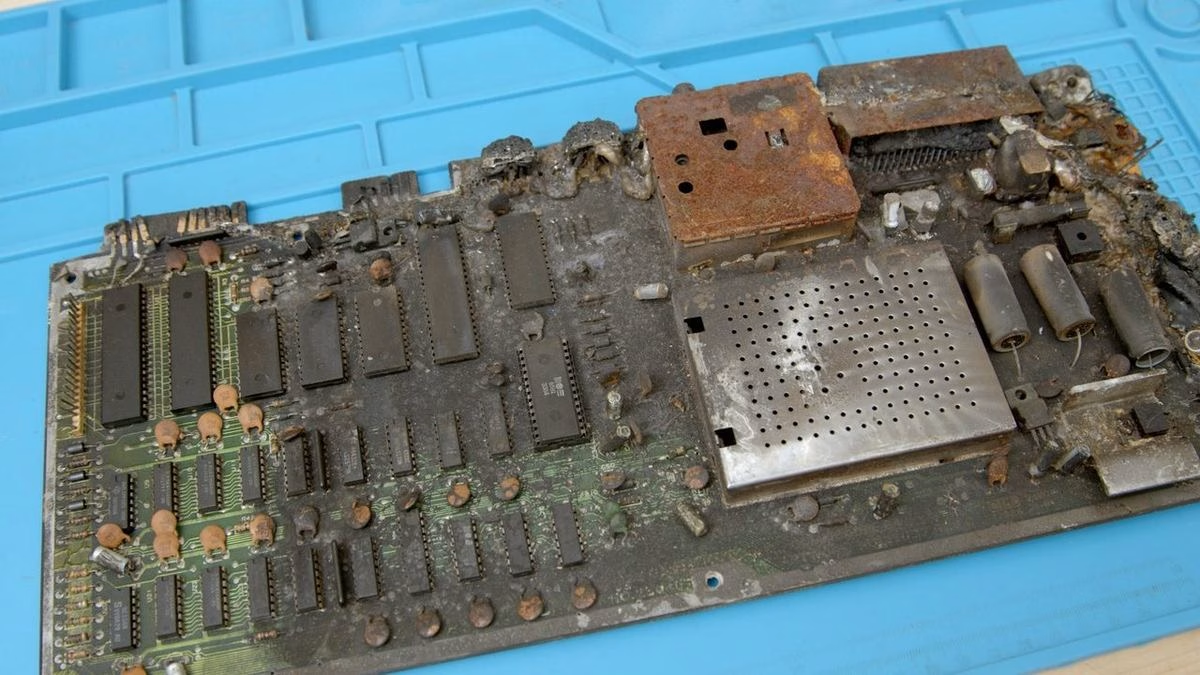
Everything plastic is gone or deformed, the RF modulator and the shield over the video section have rusted from the water, and the whole board is coated in a layer of greasy black soot. Some of the ceramic capacitors have burst their coatings and the electrolytics along the right hand side have clearly had a very bad day. The far right corner, nearest the heat, is properly charred.
The interesting thing is that the left hand side of the board, where the RAM lives, looks noticeably less cooked than the right. That’s where the hope comes from. If you’ve followed my fire damaged Game Boy Color restoration, you’ll know that electronics can sometimes survive a house fire far better than they look like they should.
Identifying the board
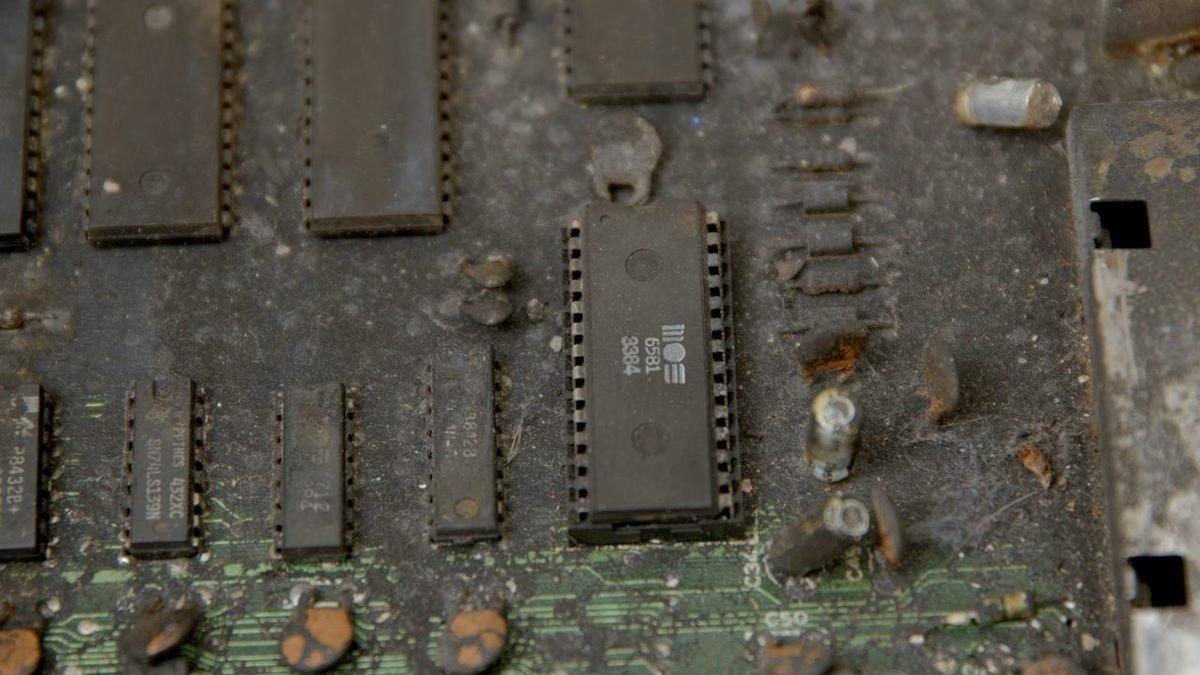
Under the soot, this is an early PAL longboard: assembly number 250407, artwork 251137 Rev C. That matters because it tells you which chips to expect and where to find them. On this board the eight 4164 DRAM chips sit at U9 to U12 and U21 to U24, in two rows along the left hand side. These are the 64K x 1 bit chips that together make up the C64’s 64KB of RAM, so you need all eight to get one working bank.
Desoldering fire damaged chips
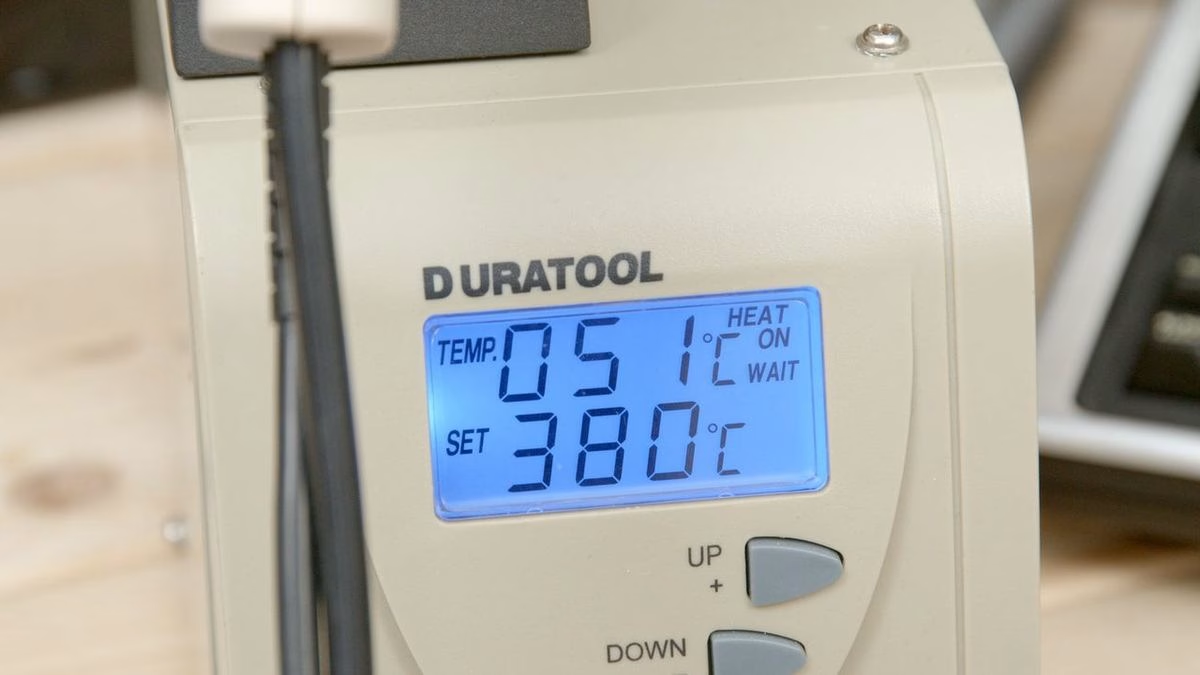
Getting chips off a board like this is not quite the same as working on a clean one. The solder has been heated and cooled, the board has been wet, and everything is contaminated. I set my desoldering station to 380°C and used plenty of flux on every joint. Flux is doing a lot of the work here: it helps the old, oxidised solder flow again so the desoldering gun can actually clear the hole.
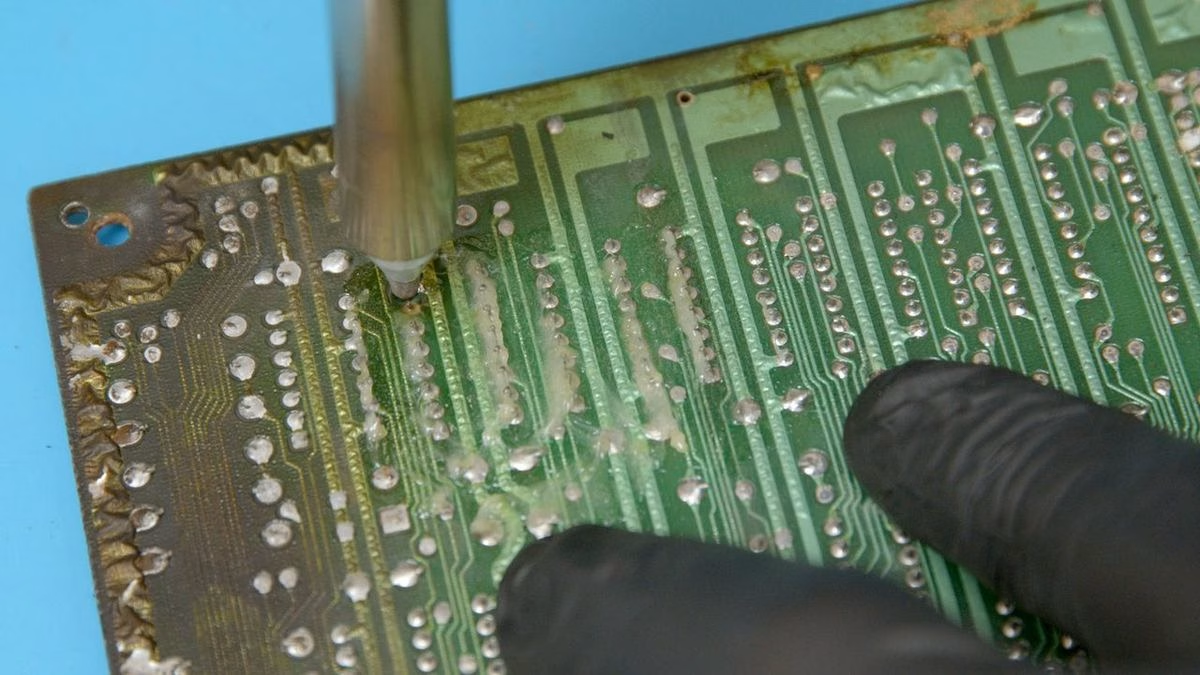
The technique that made the biggest difference was agitating each lead. Once the gun has sucked out most of the solder, gently wiggling the pin while the tip is still on it breaks the last thin film of solder holding it to the side of the through hole. Skip that step and you end up pulling a chip that is still stuck on one or two pins, which is a good way to lift pads or crack the package.
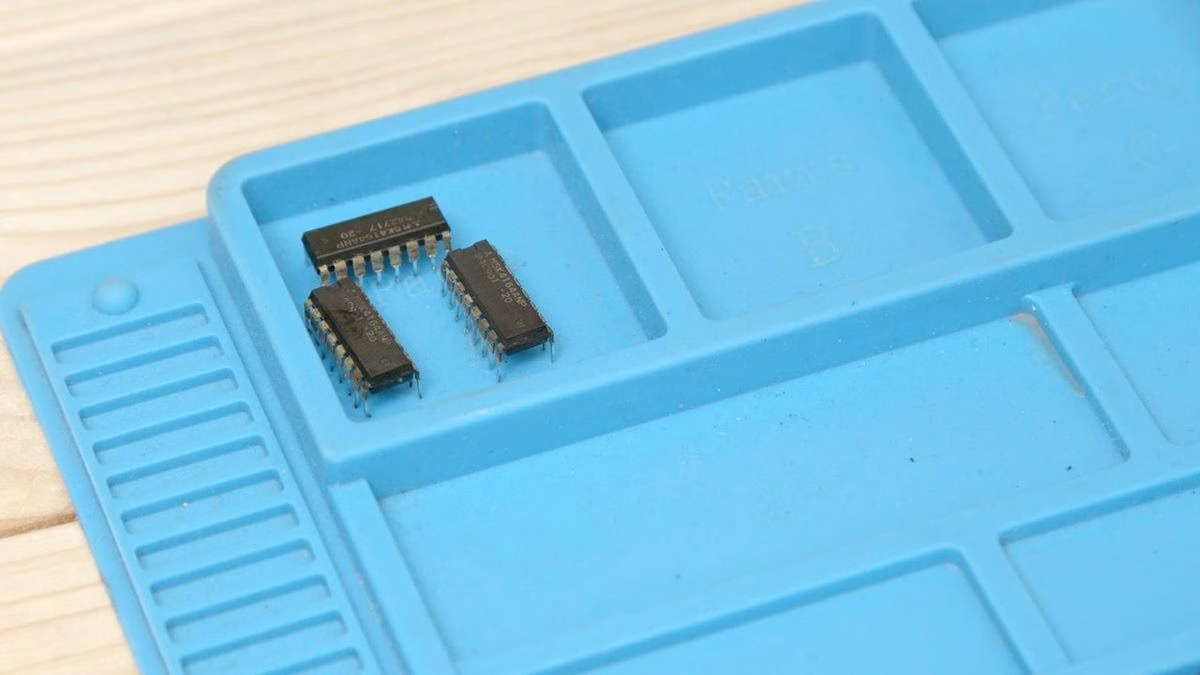
One by one the 4164s came out. They’re Mitsubishi M5K4164ANP parts, and apart from a coating of grime, the packages themselves looked surprisingly intact.
Rescuing the SID and the VIC-II
While I had the board on the bench it would have been rude not to rescue the other interesting chips. The SID came off, and so did the socketed MOS 6569R3 VIC-II, which lives under the metal shield in the video section. The shield took a lot of the heat: the label on the VIC-II has partly melted, and the shield is rusted through in places. I also had a look at the colour RAM, the MC4044 and the PAL crystal in the same area.
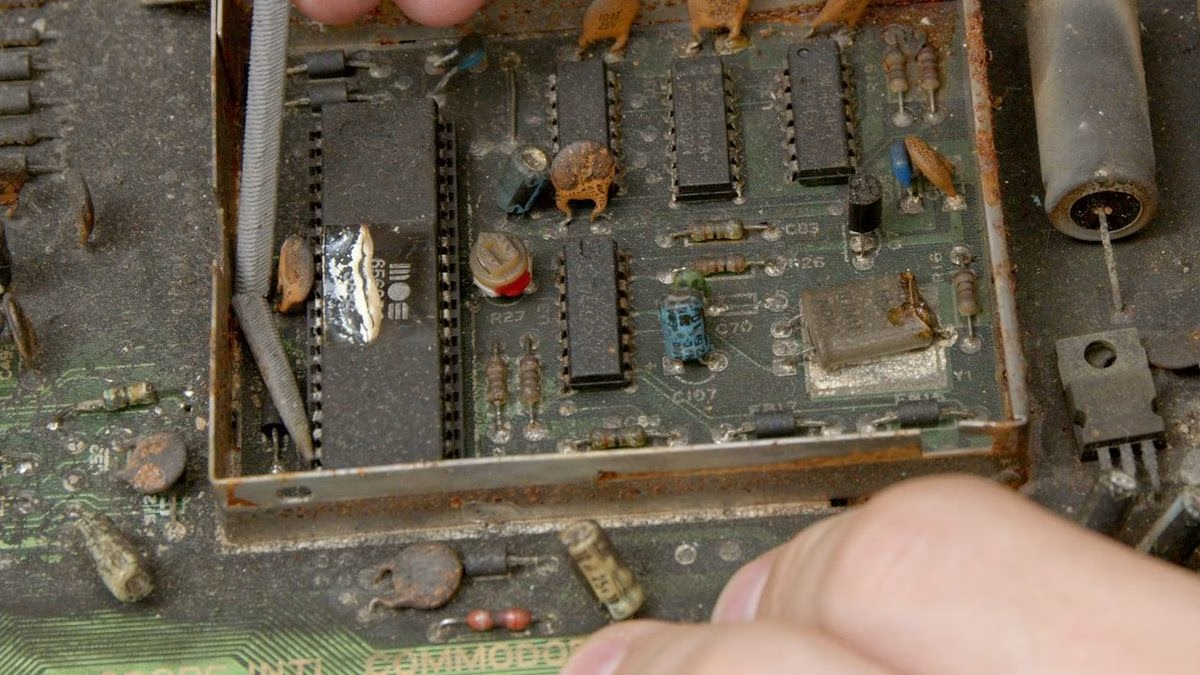
Whether these chips still work is a test for another day, but they’re far more useful in a parts drawer than in a skip.
Testing the RAM on the Multi Retro DRAM Tester
To find out whether the 4164s survived, I used my new Multi Retro DRAM Tester by Philtronics. It’s a standalone tester built around a Raspberry Pi microcontroller board with a small OLED screen and a rotary encoder, and it handles a wide range of vintage DRAM and SRAM types, including the 4164 used in the C64. You drop the chip into the ZIF socket, pick the chip type and the tests you want, and it gets on with it.
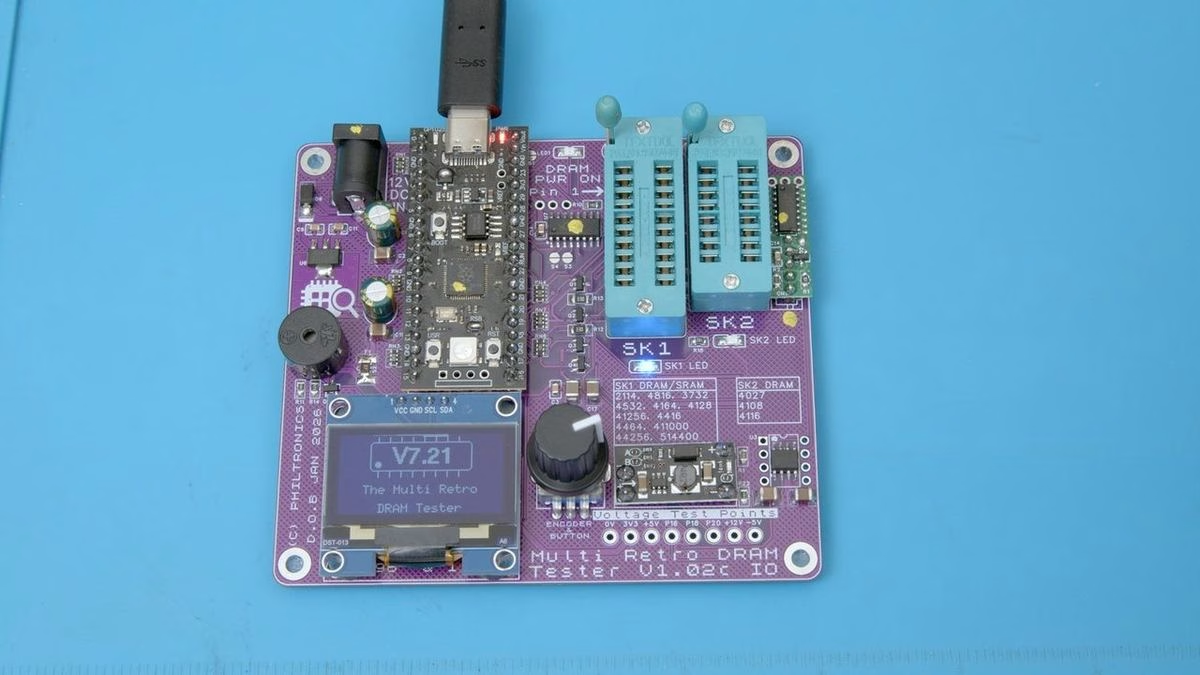
Just to be clear, the tester isn’t part of this video’s sponsorship: I bought it myself and I have no affiliation with Philtronics. It’s simply the tool I wanted for this job, and I plan to use it in more videos. For the full rundown on what it can do, read my Multi Retro DRAM Tester review.
So, did the RAM survive the fire?
I’m not going to spoil it here. Every chip went into the tester, one at a time, with every test option switched on. Watch the video above to see how the fire damaged 4164s got on, chip by chip.
Tips for salvaging chips from a fire damaged board
- Wear gloves. Soot from a house fire is not something you want on your hands.
- Identify the board first, so you know exactly which chips you’re after and where they are.
- Use more flux than you think you need. Old, heat-cycled solder needs all the help it can get.
- Agitate each lead as you desolder, so the chip lifts out cleanly instead of being prised off.
- Test everything before you trust it. A chip that looks fine can still be dead, and one that looks awful can surprise you.
Stick around after the patron thanks in the video for the 90s music pop quiz, including the new hardcore question.
This video is sponsored by PCBWay. Get an instant quote on PCBs, assembly, CNC and 3D printing.
Leave a Reply