
On first impressions, my wife’s Winnie the Pooh Game Boy Color doesn’t look too bad. A bit grubby, maybe, but nothing a cleaning session couldn’t sort out. Then you turn it over (wearing gloves) and the truth comes out: this console sat in a box while a house fire raged around it, and the back of the shell is coated in baked-on soot that simply will not wipe off.
In this restoration I strip the fire damaged Game Boy Color down, ultrasonically clean the motherboard, replace the electrolytic capacitors (and repair a pad I lifted doing it the “proper” way), then rebuild everything into a new smoked-grey transparent shell while keeping the original screen. Along the way, this video is sponsored by WELLFIT, who sent me their TM007 treadmill, so you’ll also see me step away from the bench and attempt some exercise.
How bad is the fire damage on this Game Boy Color?
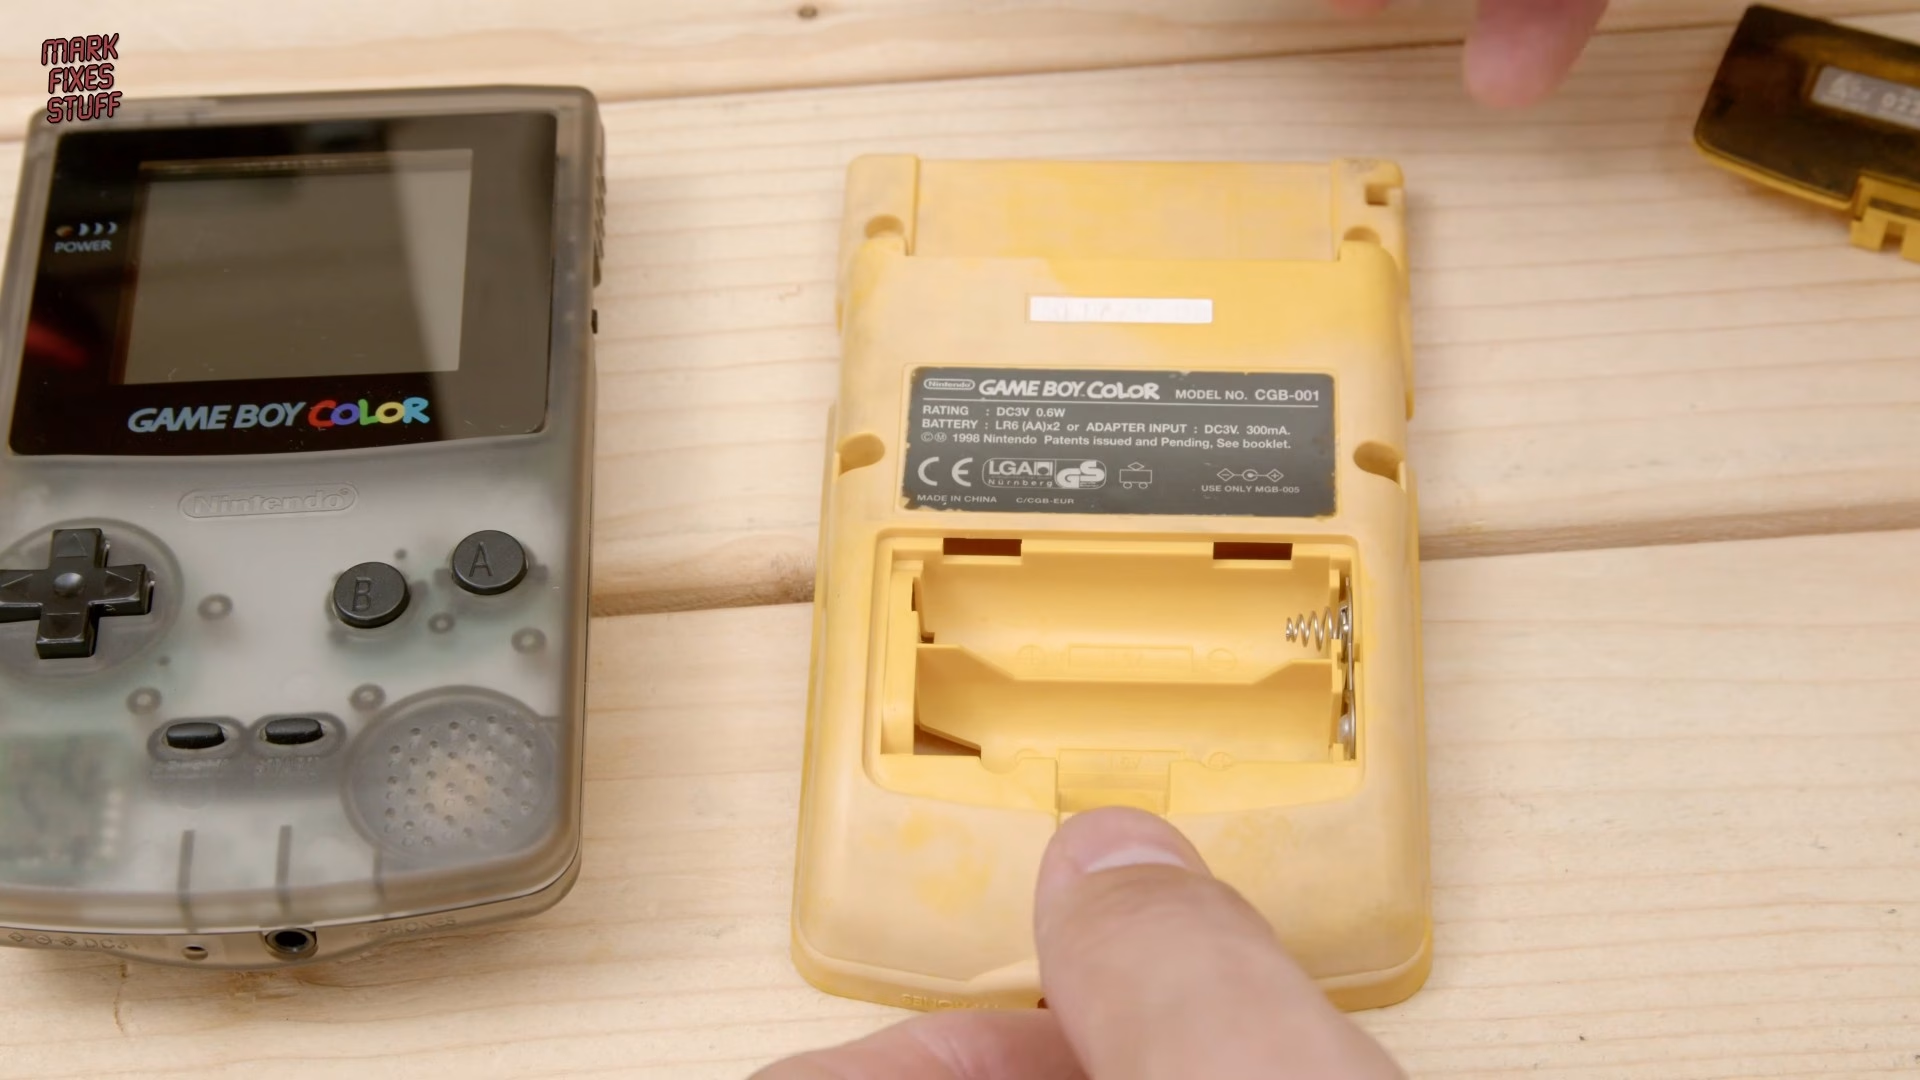
Unclipping the battery cover shows the full extent of the colour change, and smoke has managed to get inside the battery compartment even though the cover was shut. Every exposed metal part has gone rusty where it sat in water from the firefighting. The good news came when I dropped in a pair of batteries: the console powered on straight away and the screen looked to be in really good condition. That mattered, because my wife wanted her original screen kept in the console.
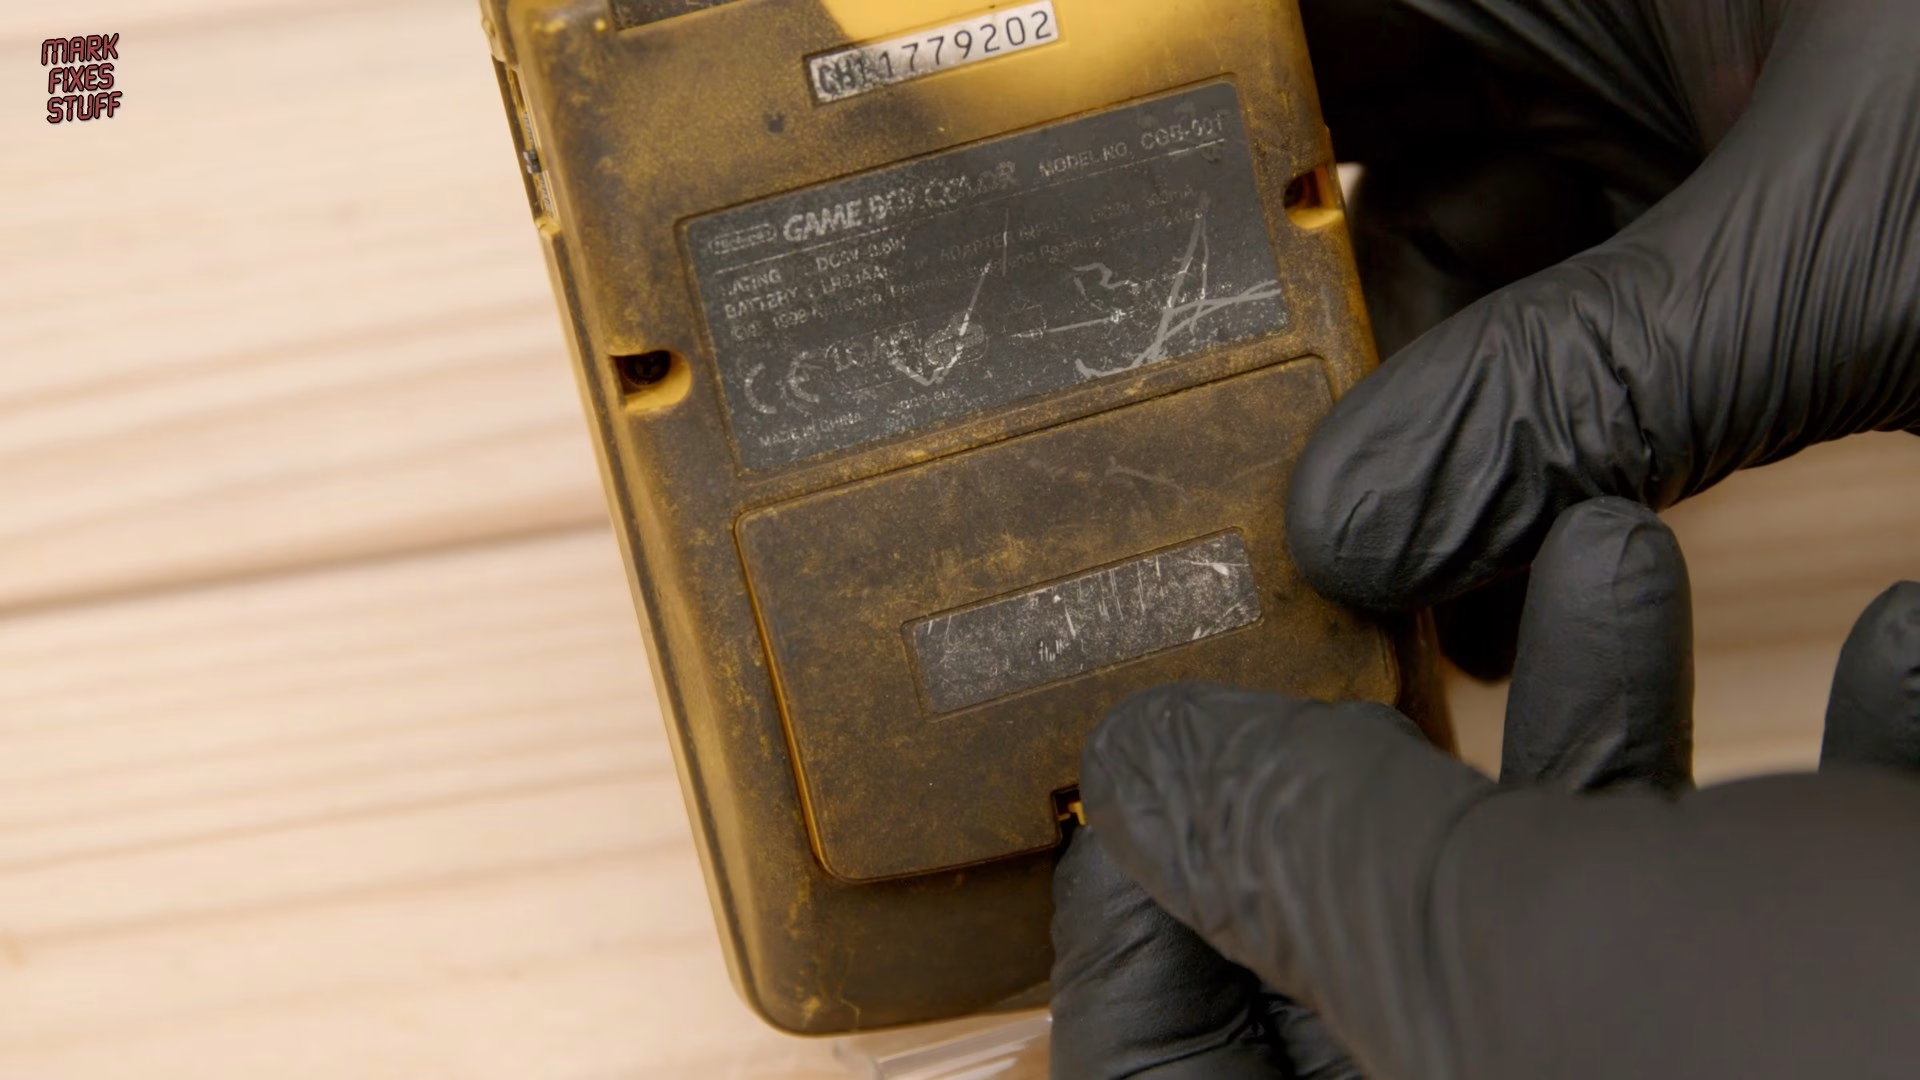
The last time I restored something burned, a few people told me I could have saved the original shell if I’d only bothered to clean it. So I gave it a proper go with my cleaning solution. The labels cleaned up reasonably well, because they’re a kind of metallised vinyl that stained but didn’t get pitted. The plastic is another story. It got hot enough during the fire to absorb the soot into its surface, so no amount of scrubbing brings it back. On top of that, house fires have a very particular smell, a sort of toxic soup of every burned plastic in the building, and this Game Boy Color still stinks of it.
Opening the shell: Y0 tri-wing screws and smoke inside
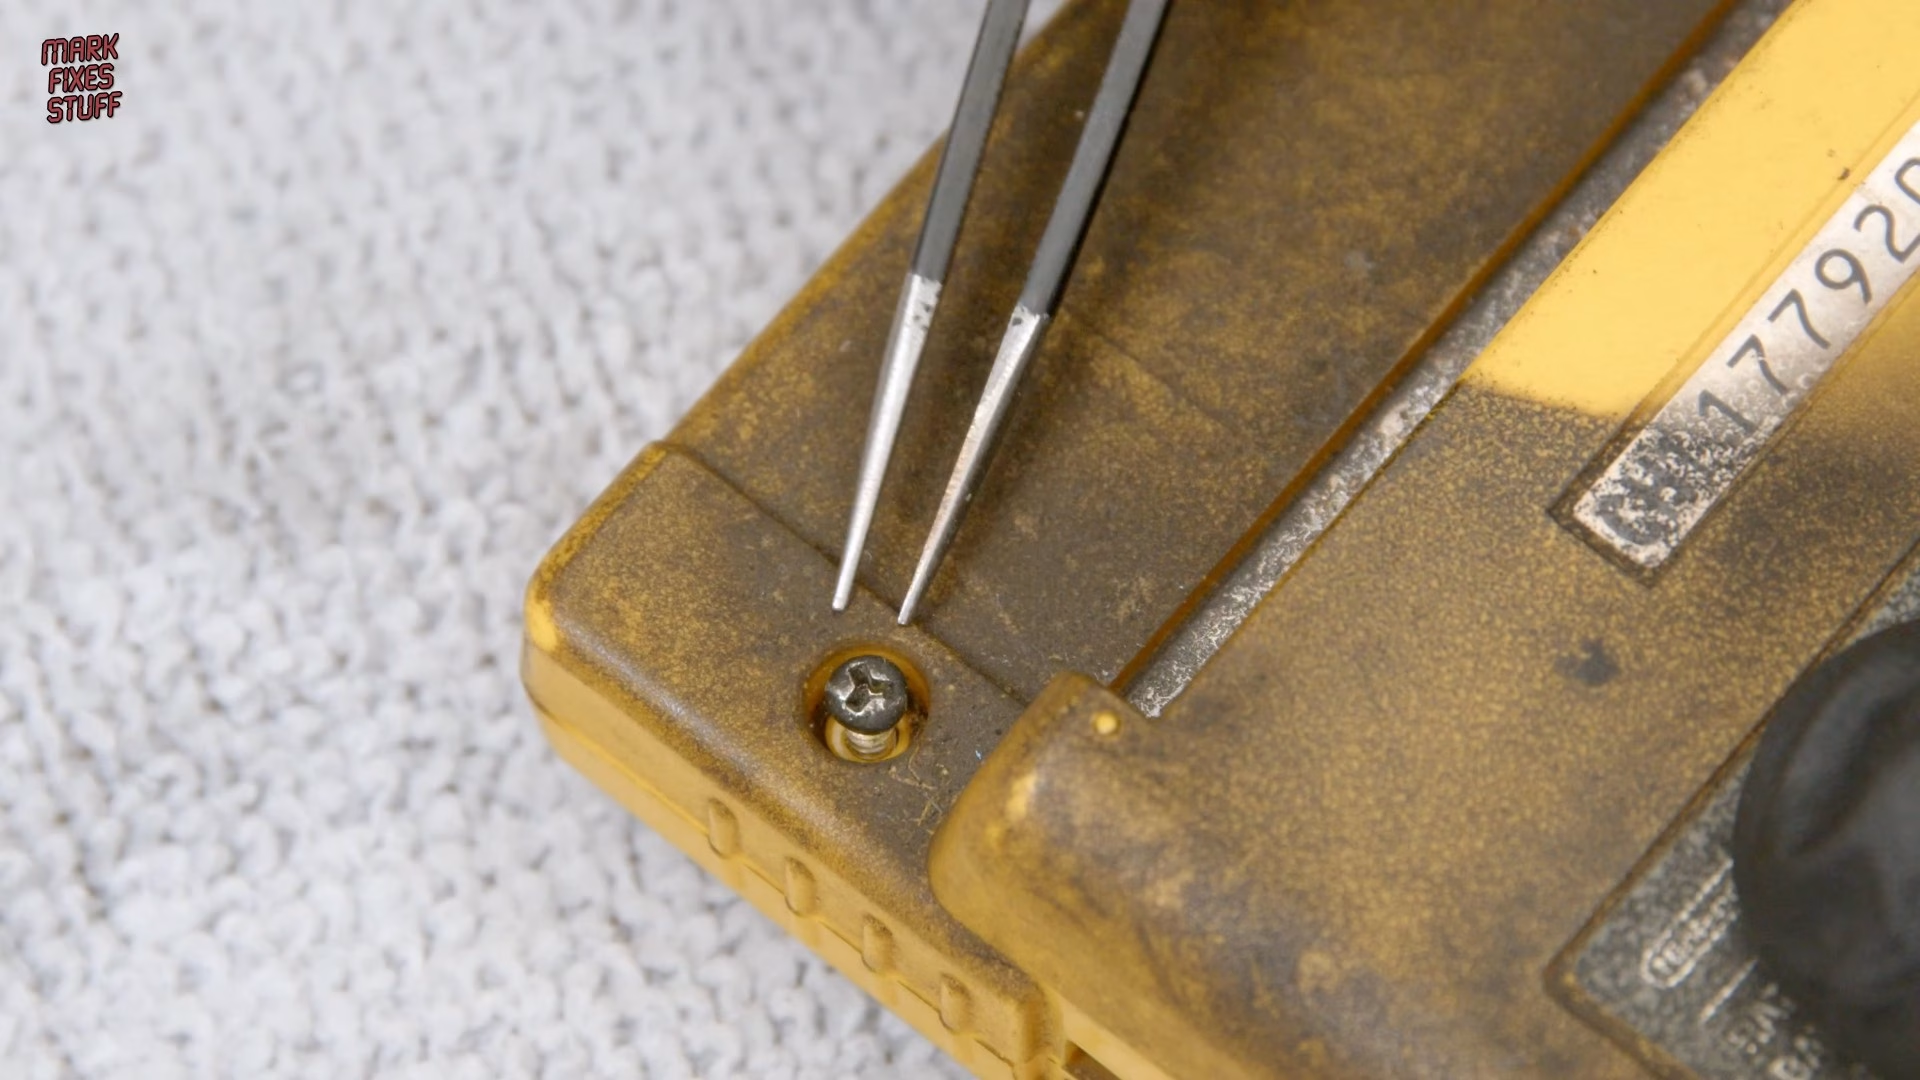
Nintendo protects the Game Boy Color with six tri-wing screws, two of which hide inside the battery compartment, so you’ll need a Y0 tip. Because of the rust, these screws came out and stayed out. The replacement shell kit includes Phillips head screws, and I’d much rather use fresh ones than rescue rusty originals. The two in the battery compartment didn’t want to budge, but a bit of persuasion got them moving.
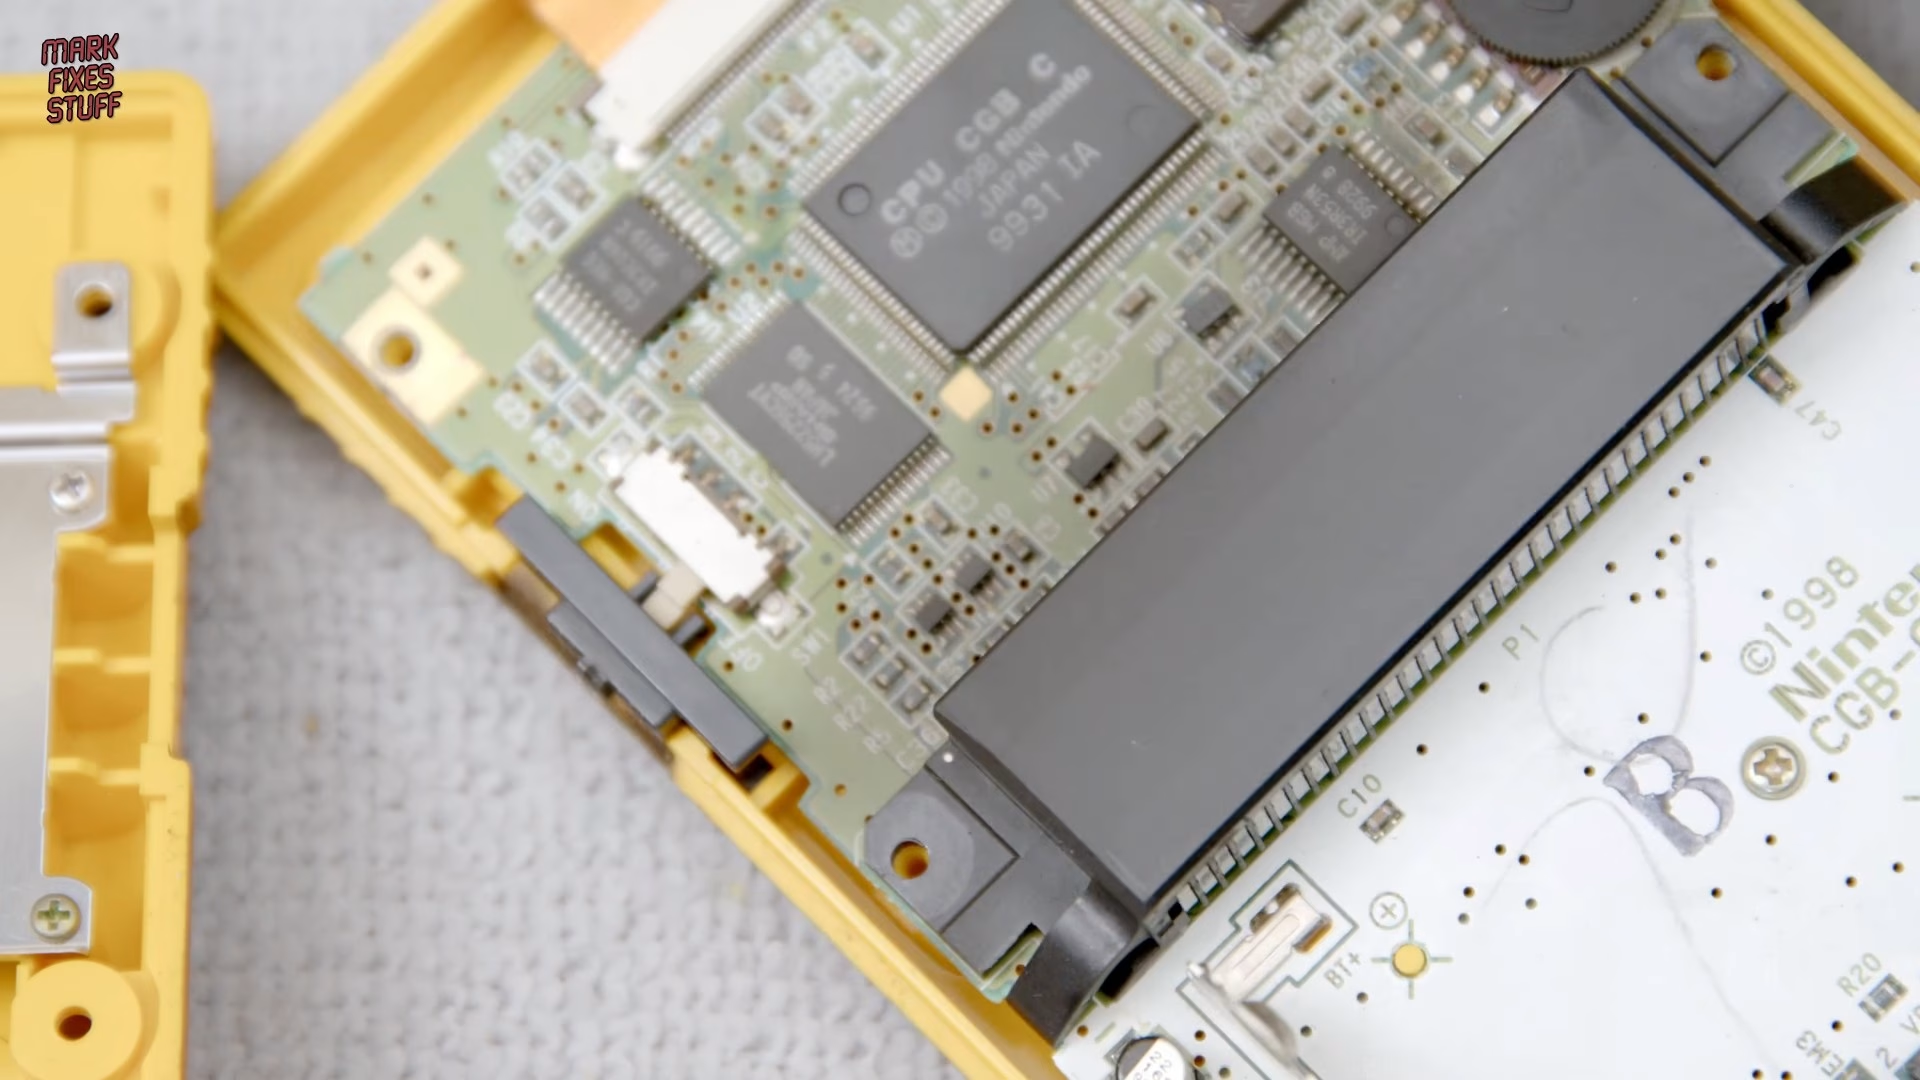
With the back off, it’s obvious a lot of smoke got in through the cartridge slot, with even more down by the battery compartment. That settled it: the motherboard was going in the ultrasonic cleaner.
A healthy break with today’s sponsor: putting the WELLFIT TM007 through its paces
Before flipping the board, I stepped away from the bench for a break with today’s sponsor. I’m no spring chicken and, honestly, the shape I’m in is a sack of potatoes. I’ve always fancied running, but running happens outside, and outside is where all the other people are. A treadmill at home solves that problem neatly.
Most of my day is spent sitting at a desk or standing at the bench, so I’ve been using the treadmill during breaks to see how it fits into a working day. Connected to the WELLFIT app, the Live Scenery function gives you a route to follow on screen while you walk.

Here’s what stood out in use:
- Controls: speed and incline both adjust from the handrail, so you don’t have to reach for the console.
- Console readout: speed, time, distance, calories, steps, incline and pulse.
- Auto incline: the deck rises automatically through its full range, up to 15%. It doesn’t look like much, but it really works the backs of your legs.
- Heart-rate sensors: built into the handrails, which is a good idea when you’re as unfit as I am.
- Folding and storage: a hydraulic soft-drop system for folding it up, and transport wheels that make it easy to move, even at 42.1 kg.
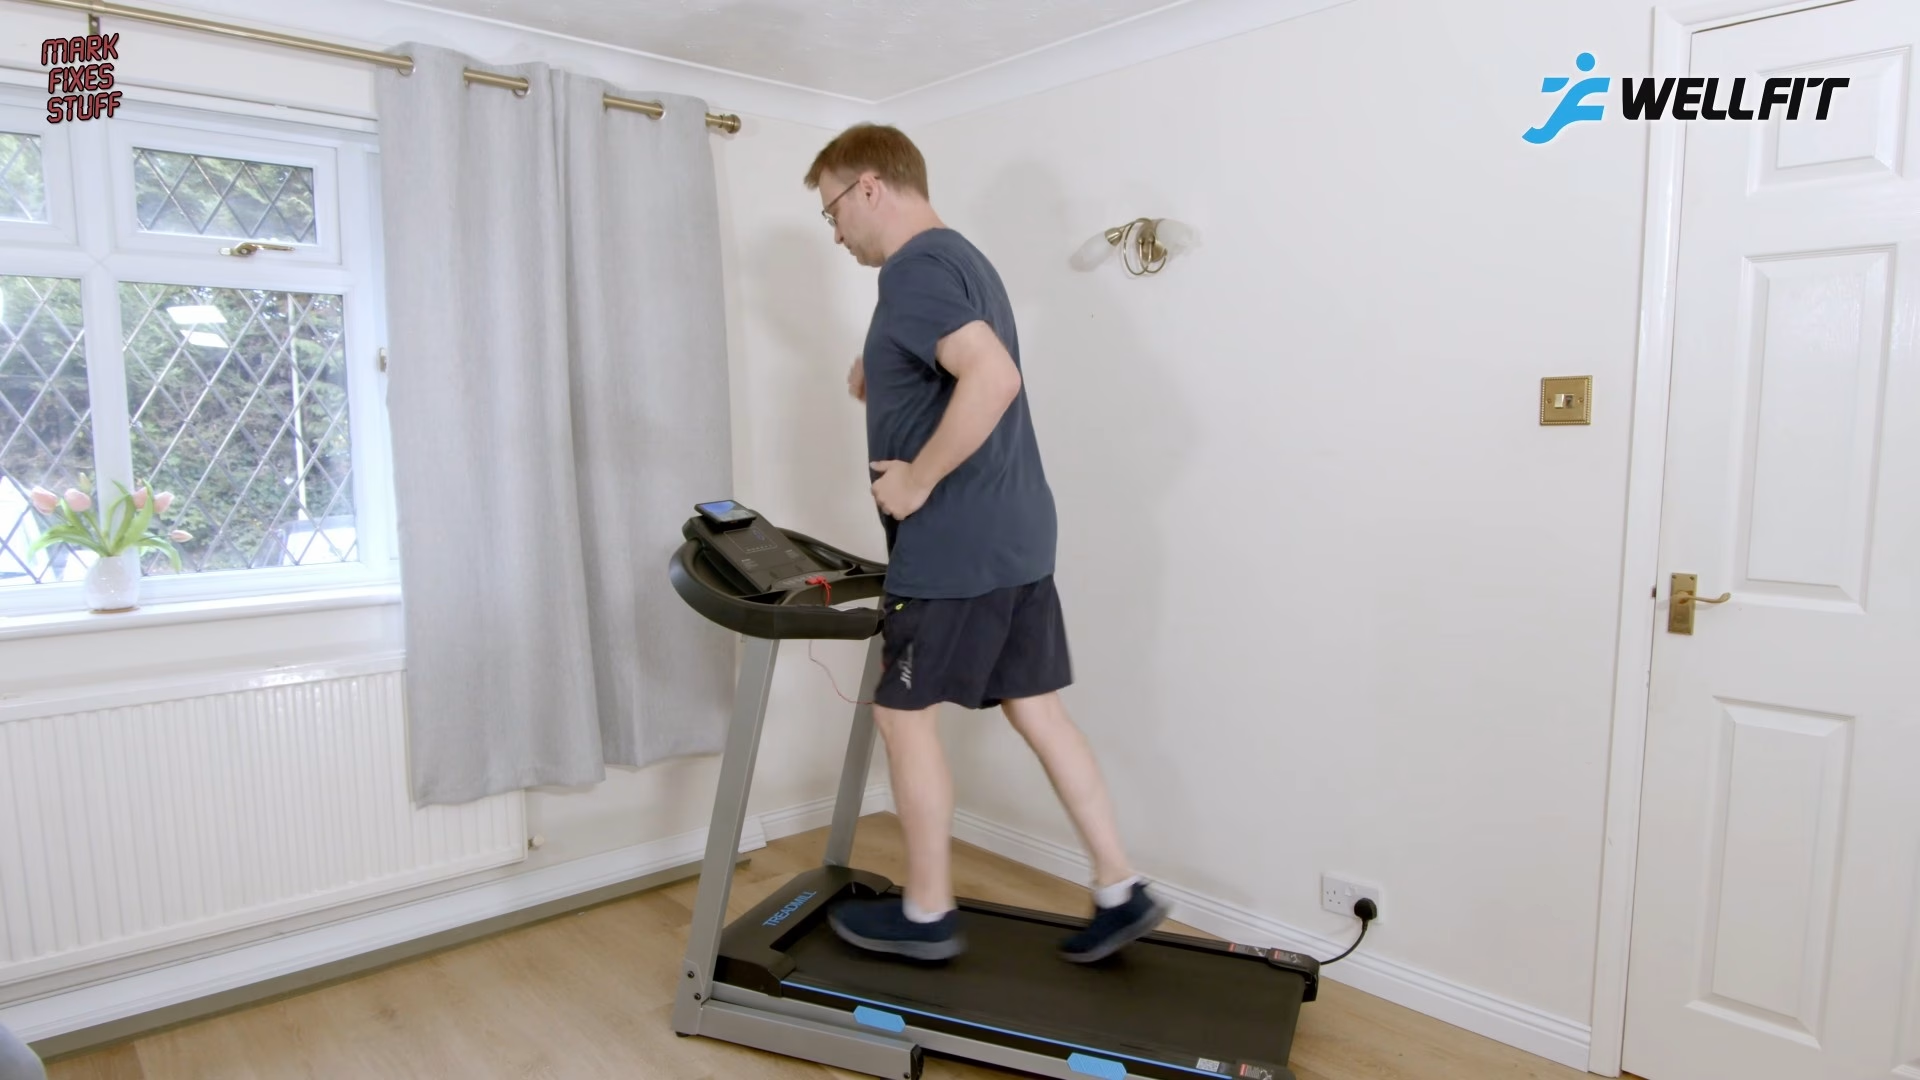
I also ran at higher speeds to give the belt and motor a proper test, and I’m fairly sure my mechanical parts will fail before the treadmill’s do. I don’t like exercise, but I do like keeping score in an app, and that’s sneakily encouraged me to the point of actually enjoying it.
If you’re interested in the TM007, you can find it through my links (UK store: uk.wellfittreadmill.com/MarkFixesStuff, US store: wellfittreadmill.com/MarkFixesStuff, Germany store: de.wellfittreadmill.com/MarkFixesStuff, EU store: eu.wellfittreadmill.com/MarkFixesStuff) and use code MFS for a discount. The offer varies by region.
What has to come off before ultrasonic cleaning a Game Boy Color board
Back at the bench, three ordinary Phillips screws hold the motherboard in (I always find two, then somehow lose sight of the one in the middle). The board hinges up on the screen ribbon cable, and a quick test with a cotton bud confirmed there were smoke deposits above the controls too. Releasing the collar on each side of the zero insertion force connector lets the ribbon slide straight out, and I left the screen sitting safely in the old case for later.
Some parts can’t survive an ultrasonic bath, so they come off first:
- The speaker: ultrasonic cleaning would destroy it. It’s just two wires, so heat and pull.
- The green power sub-board: it carries a wire wound inductor, and the cleaner could strip the thin enamel coating off the winding. I removed it with the desoldering gun, gently wiggling the tip so the suction reaches all the way around each lead, then cleaned it by hand with a brush and isopropyl alcohol.
- The electrolytic capacitors: you can sometimes get away with a very quick clean, but I wanted a long, deep clean and wouldn’t trust the originals afterwards, so they were coming off regardless.
Capacitor removal and the pad I tore
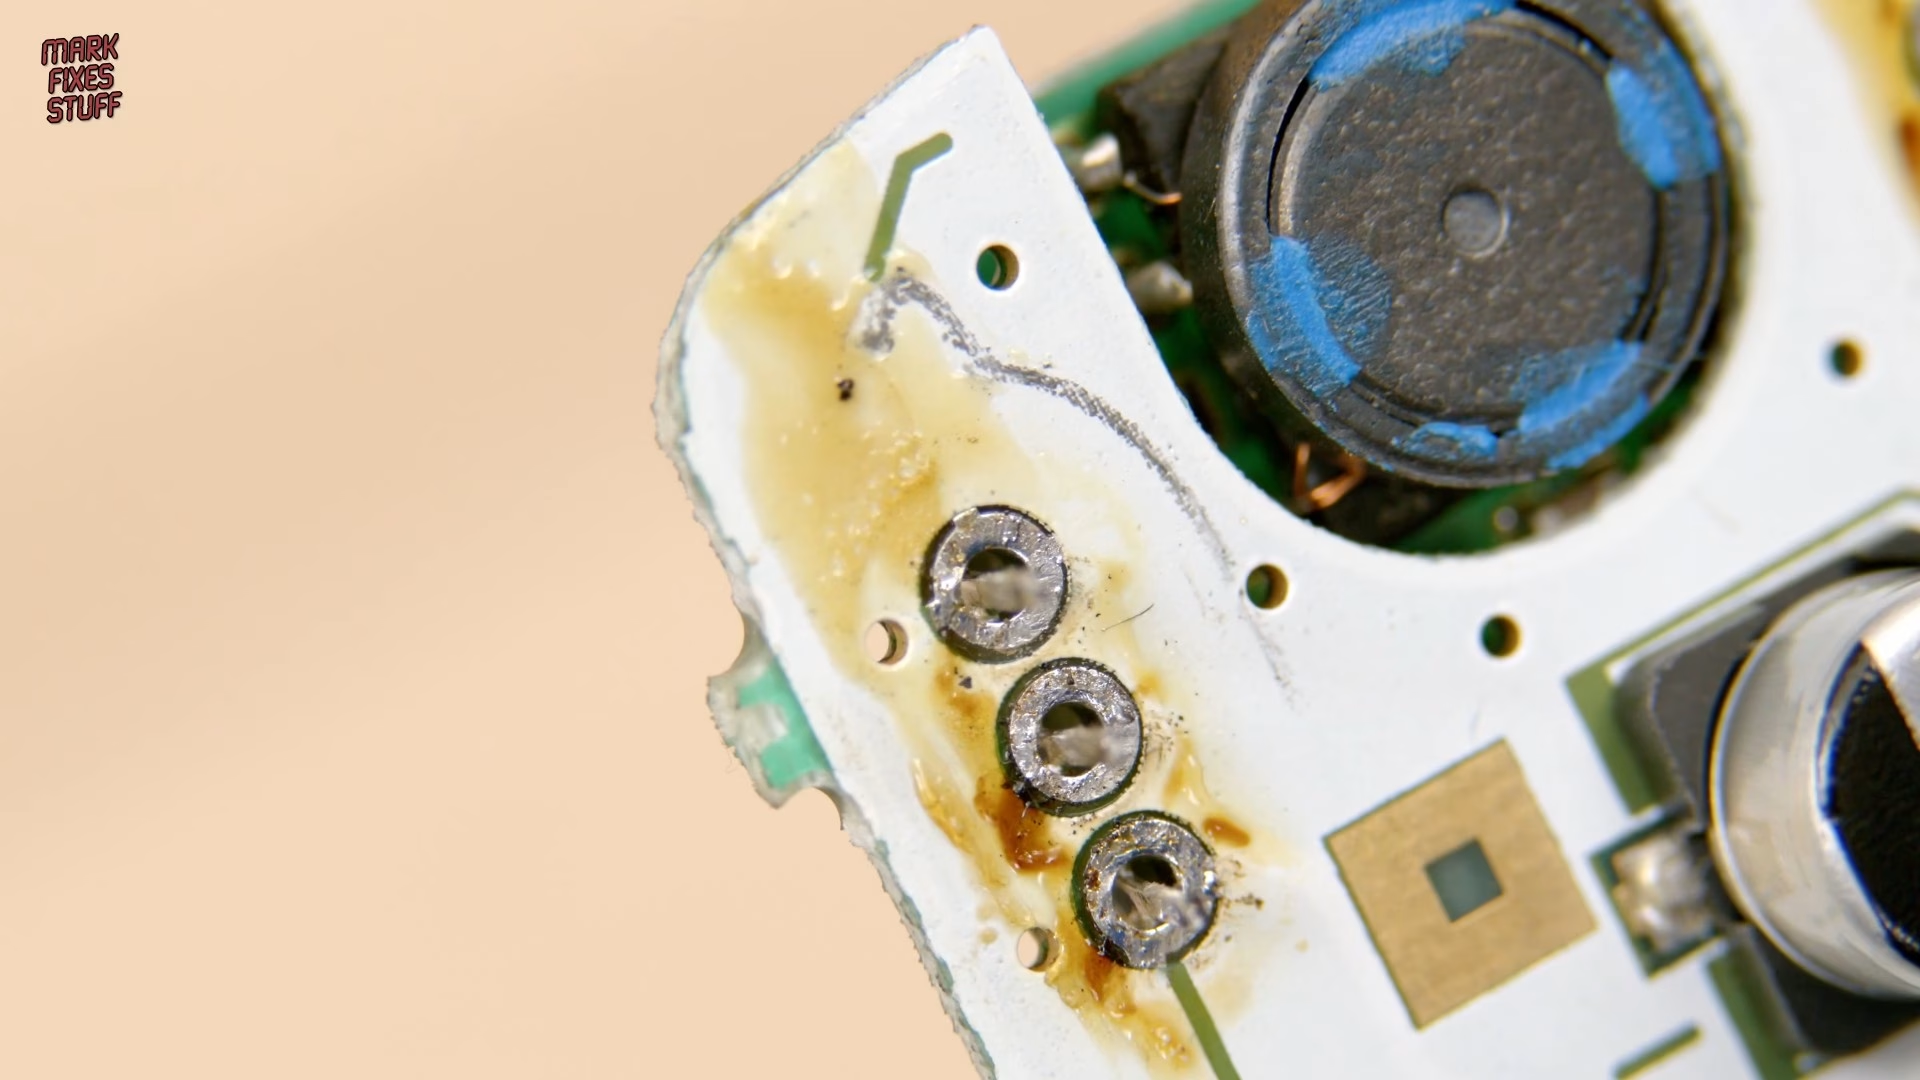
I get lambasted in the comments every time I snip capacitors off a board, so this time I tried to be a good boy and remove the first one with the soldering iron alone. You can guess what happened. I tore the trace, and the missing bit of copper was right underneath the capacitor.
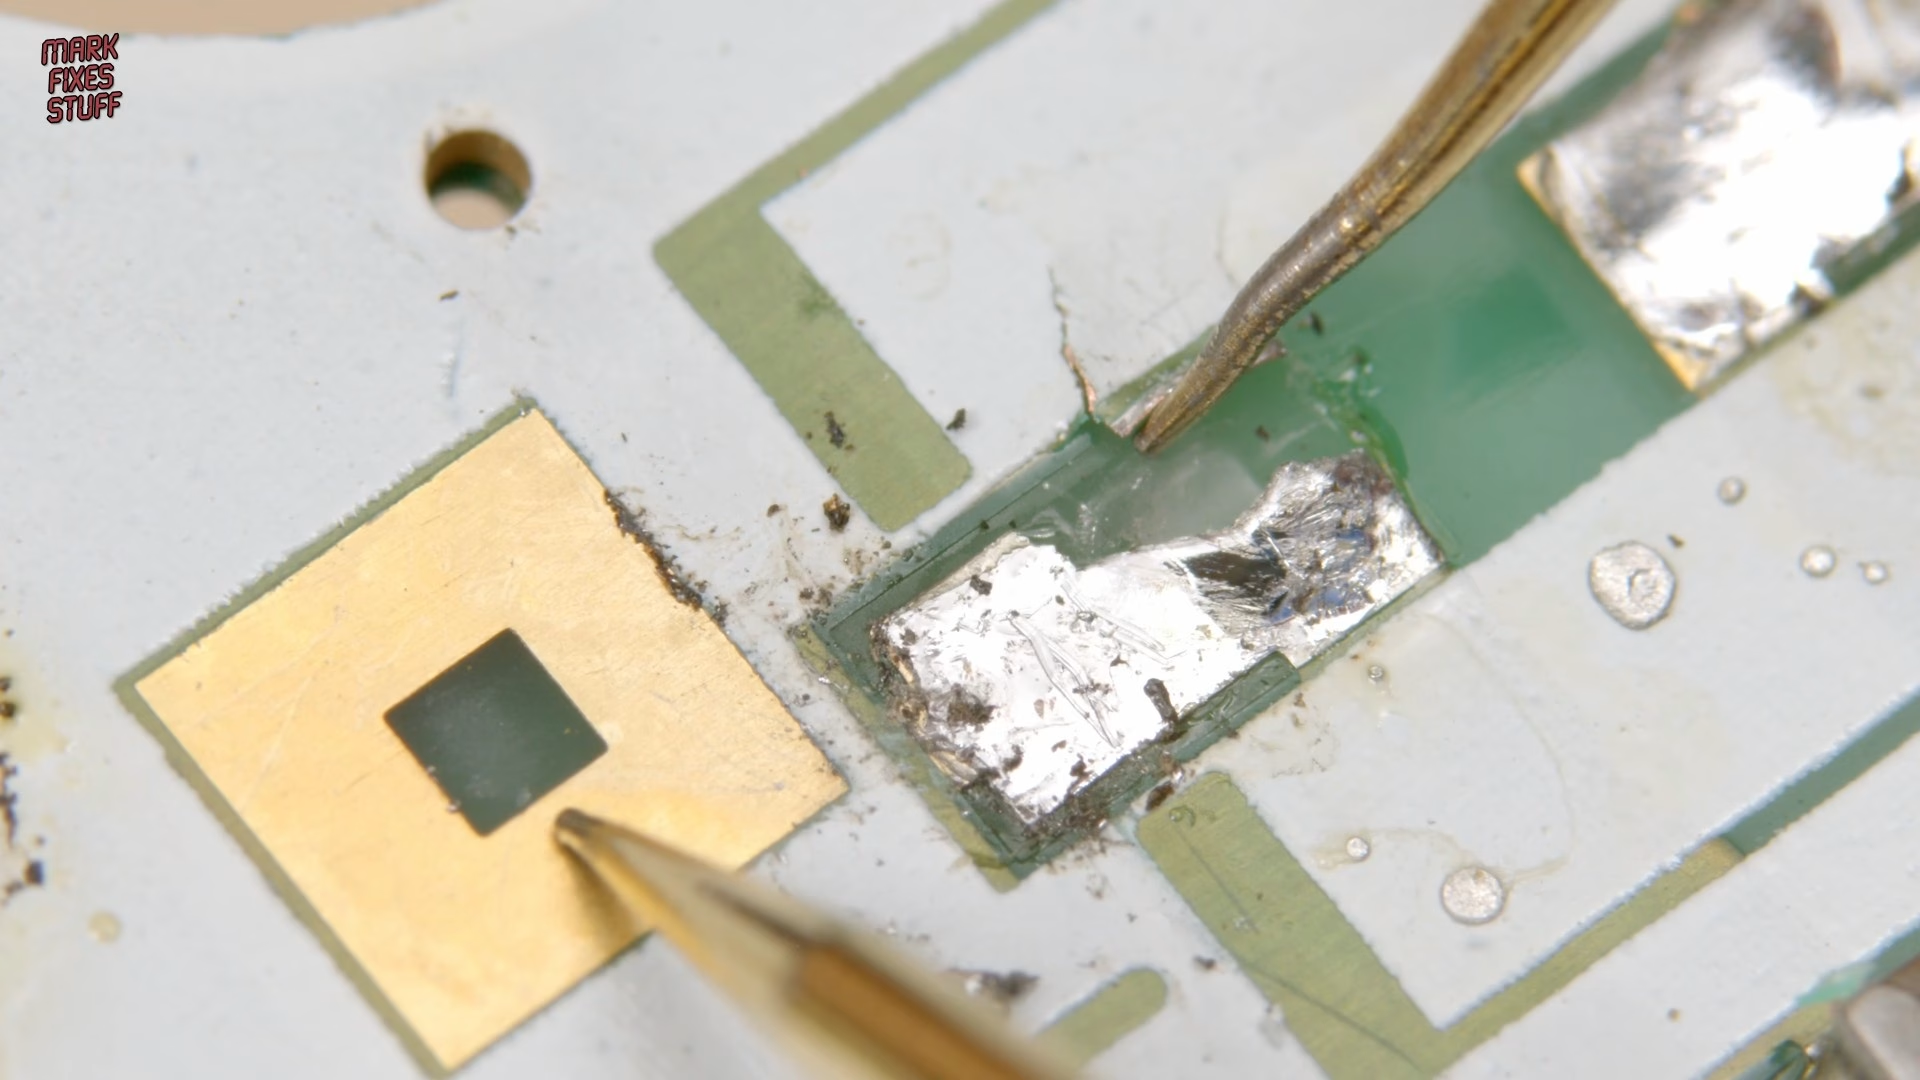
A multimeter showed the pad was still connected to the ground plane in two places, so electrically it was fine. I added a repair anyway: scraped back a little solder mask, cleaned it up, added a generous blob of solder and bridged the two pads with magnet wire.
Then I went back to my usual method for the other two capacitors. I snip from one pad towards the other, so the cutters go through one lead at a time instead of crushing both together, and I use a really sharp pair. Once the top of the can is off, you can see the anode and cathode leads and the black rubber bung that keeps the electrolyte inside (that’s the part that shrinks and lets fluid out on failing caps). Snip the leads, remove the black plastic base and the remaining stumps desolder easily without stressing the pads. I’ve done this hundreds of times, and the only time I’ve lost a pad this way was when leaked electrolyte had already lifted the copper. There was probably nothing wrong with these capacitors, but the orange electrolyte you see is corrosive, which is another reason the whole board was getting cleaned.
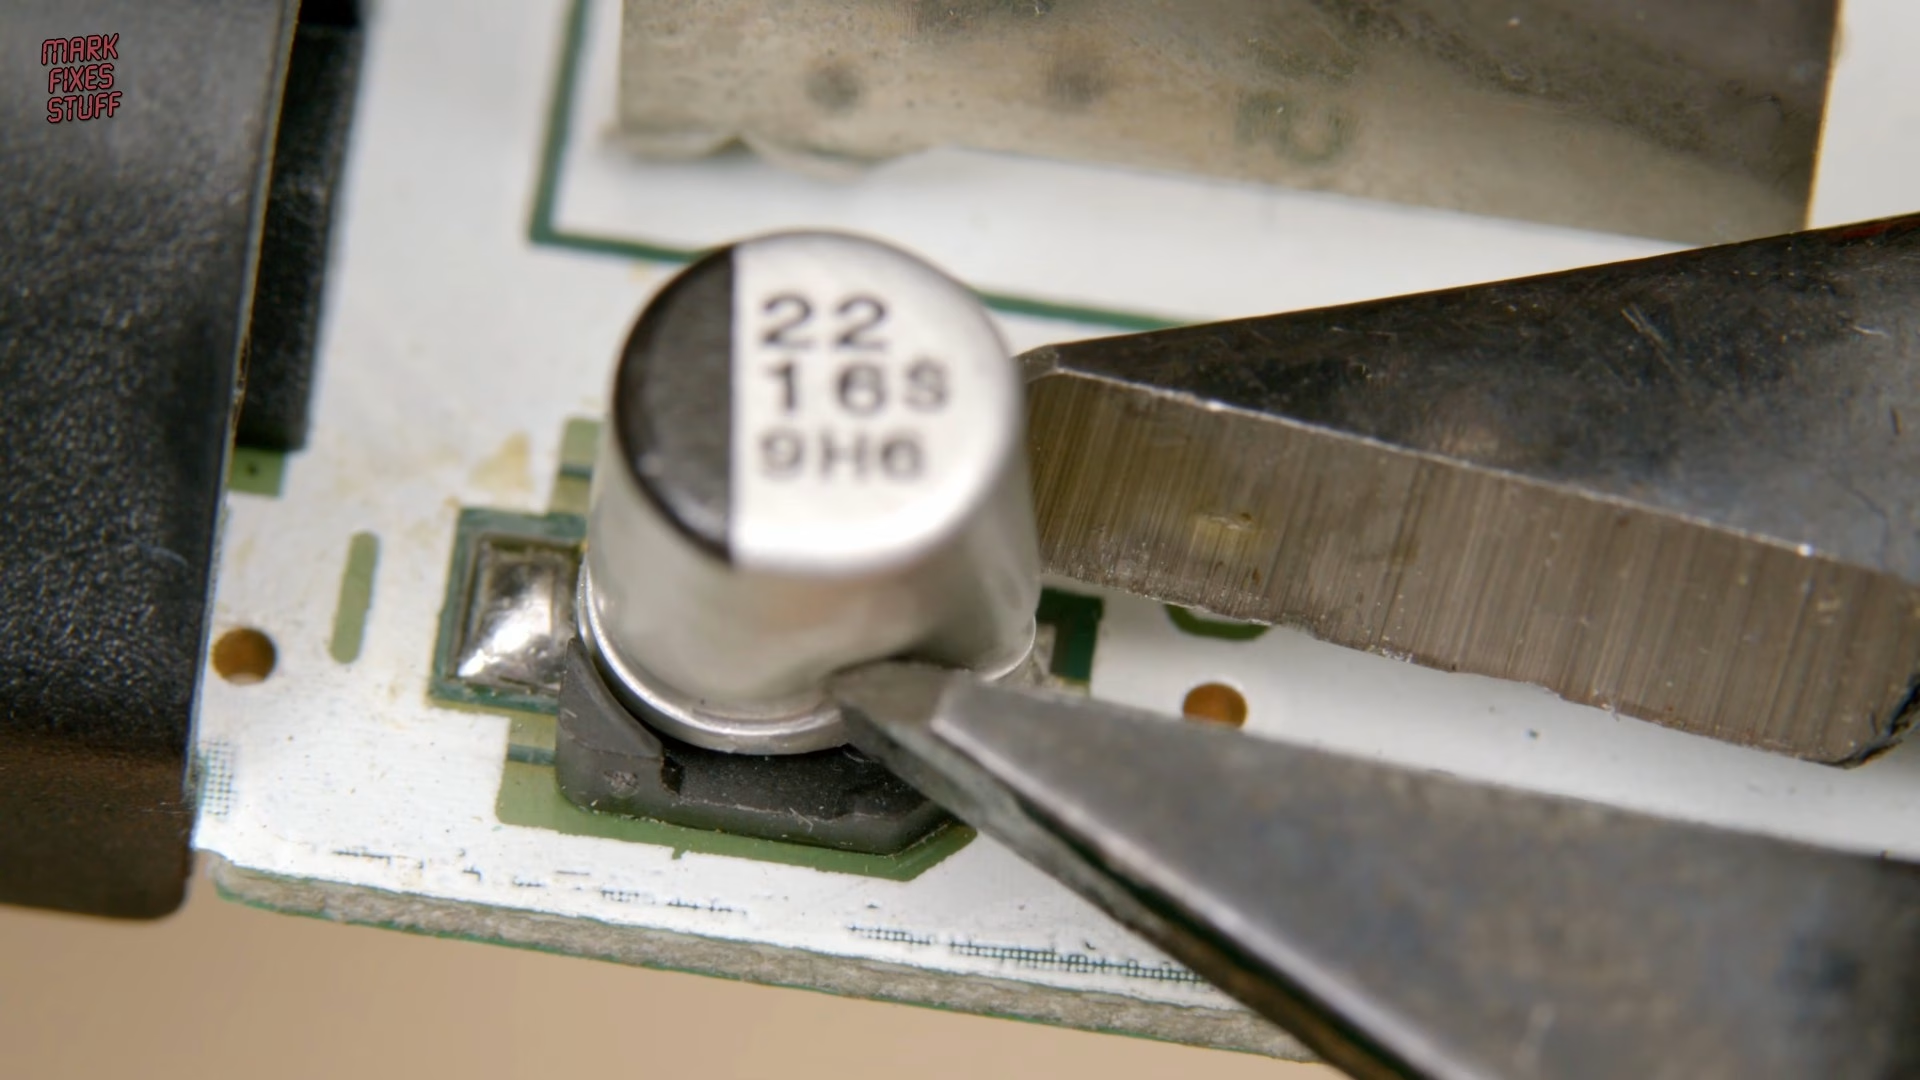
I should have just done this in the first place without trying to be a people pleaser.
Ultrasonic cleaning the motherboard
Into Kylie, my ultrasonic cleaner, it went. She’d been bubbling away with PCB cleaner mixed with distilled water at roughly 10 to 1, with the tank heaters on and the lid closed to hold the heat in. For the stats nerds, that was 10 minutes at 65°C.
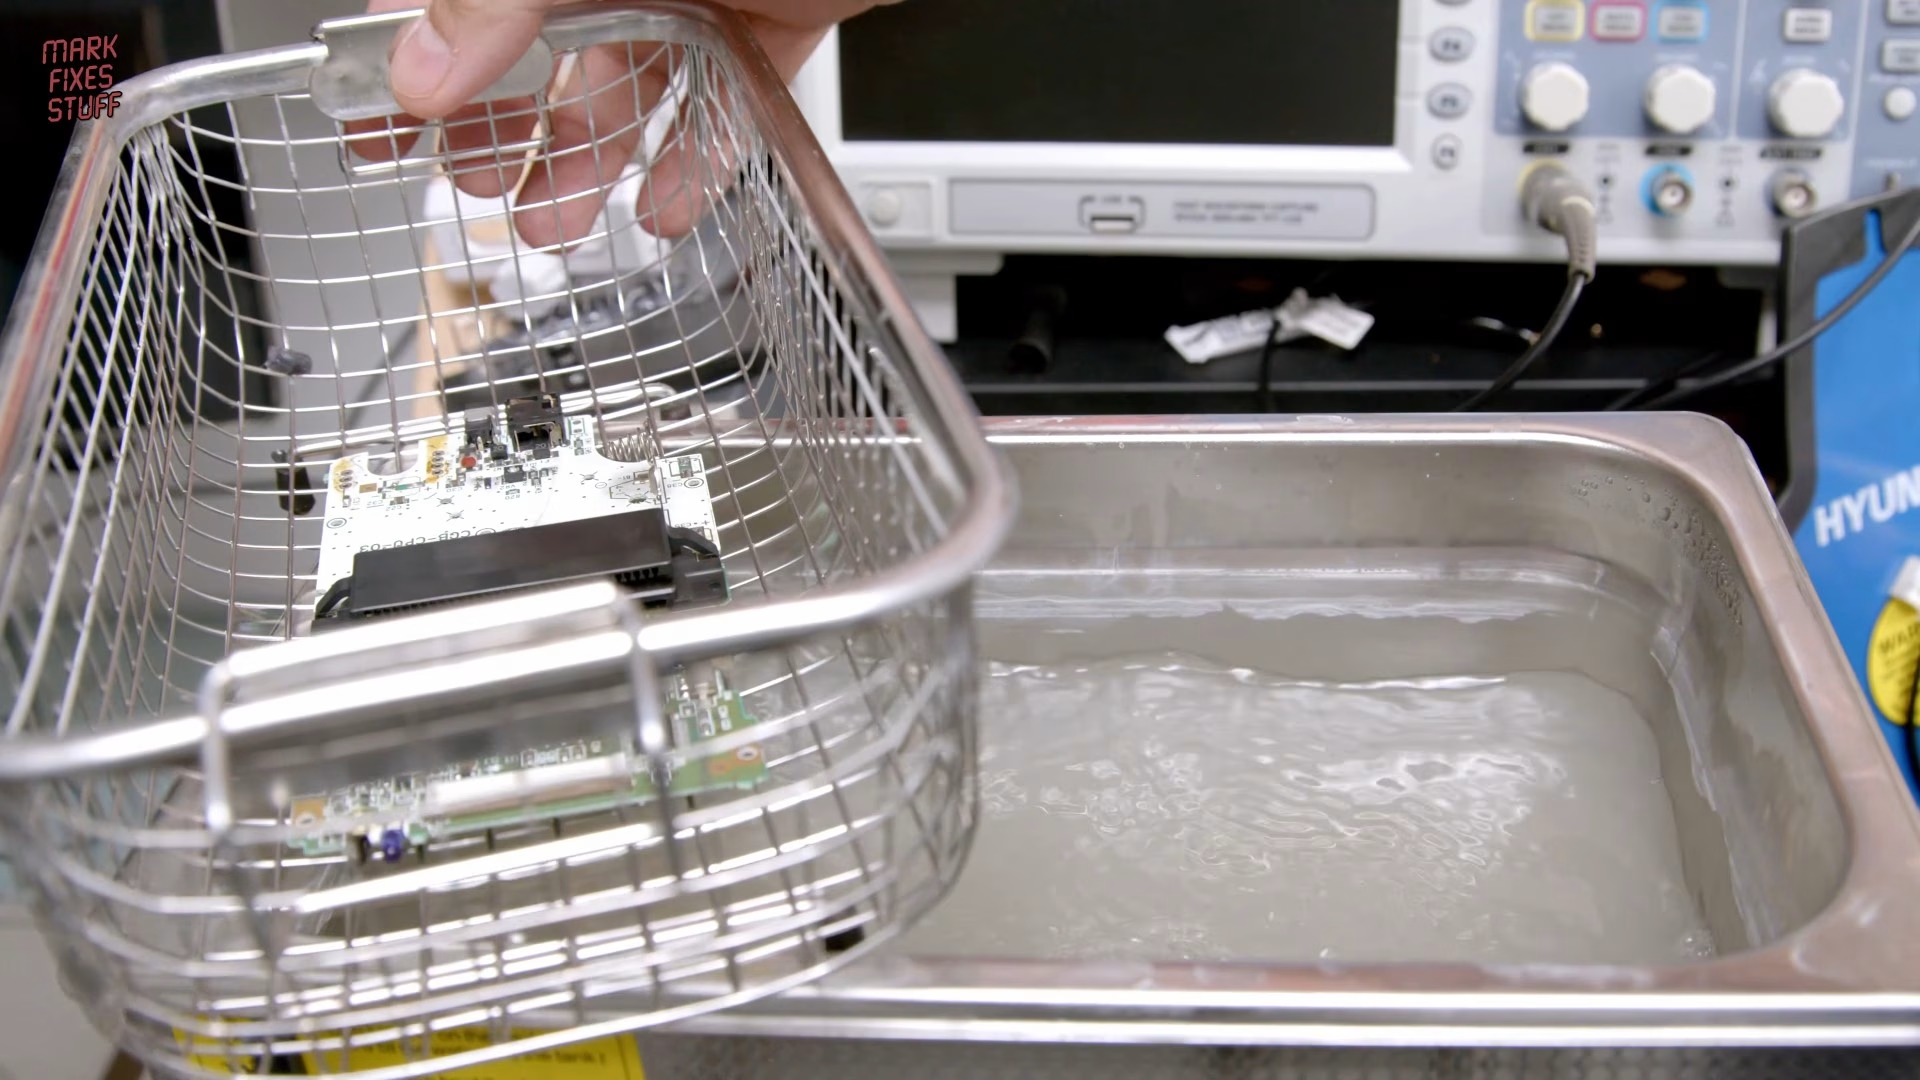
The board came out dripping wet with a water-based solution, so it went straight into a tub of pure isopropyl alcohol. IPA mixes readily with water and then evaporates off the board, taking the water with it, and it’s non-conductive. After a final wipe to lift the last bits of cleaner residue, the difference was night and day.
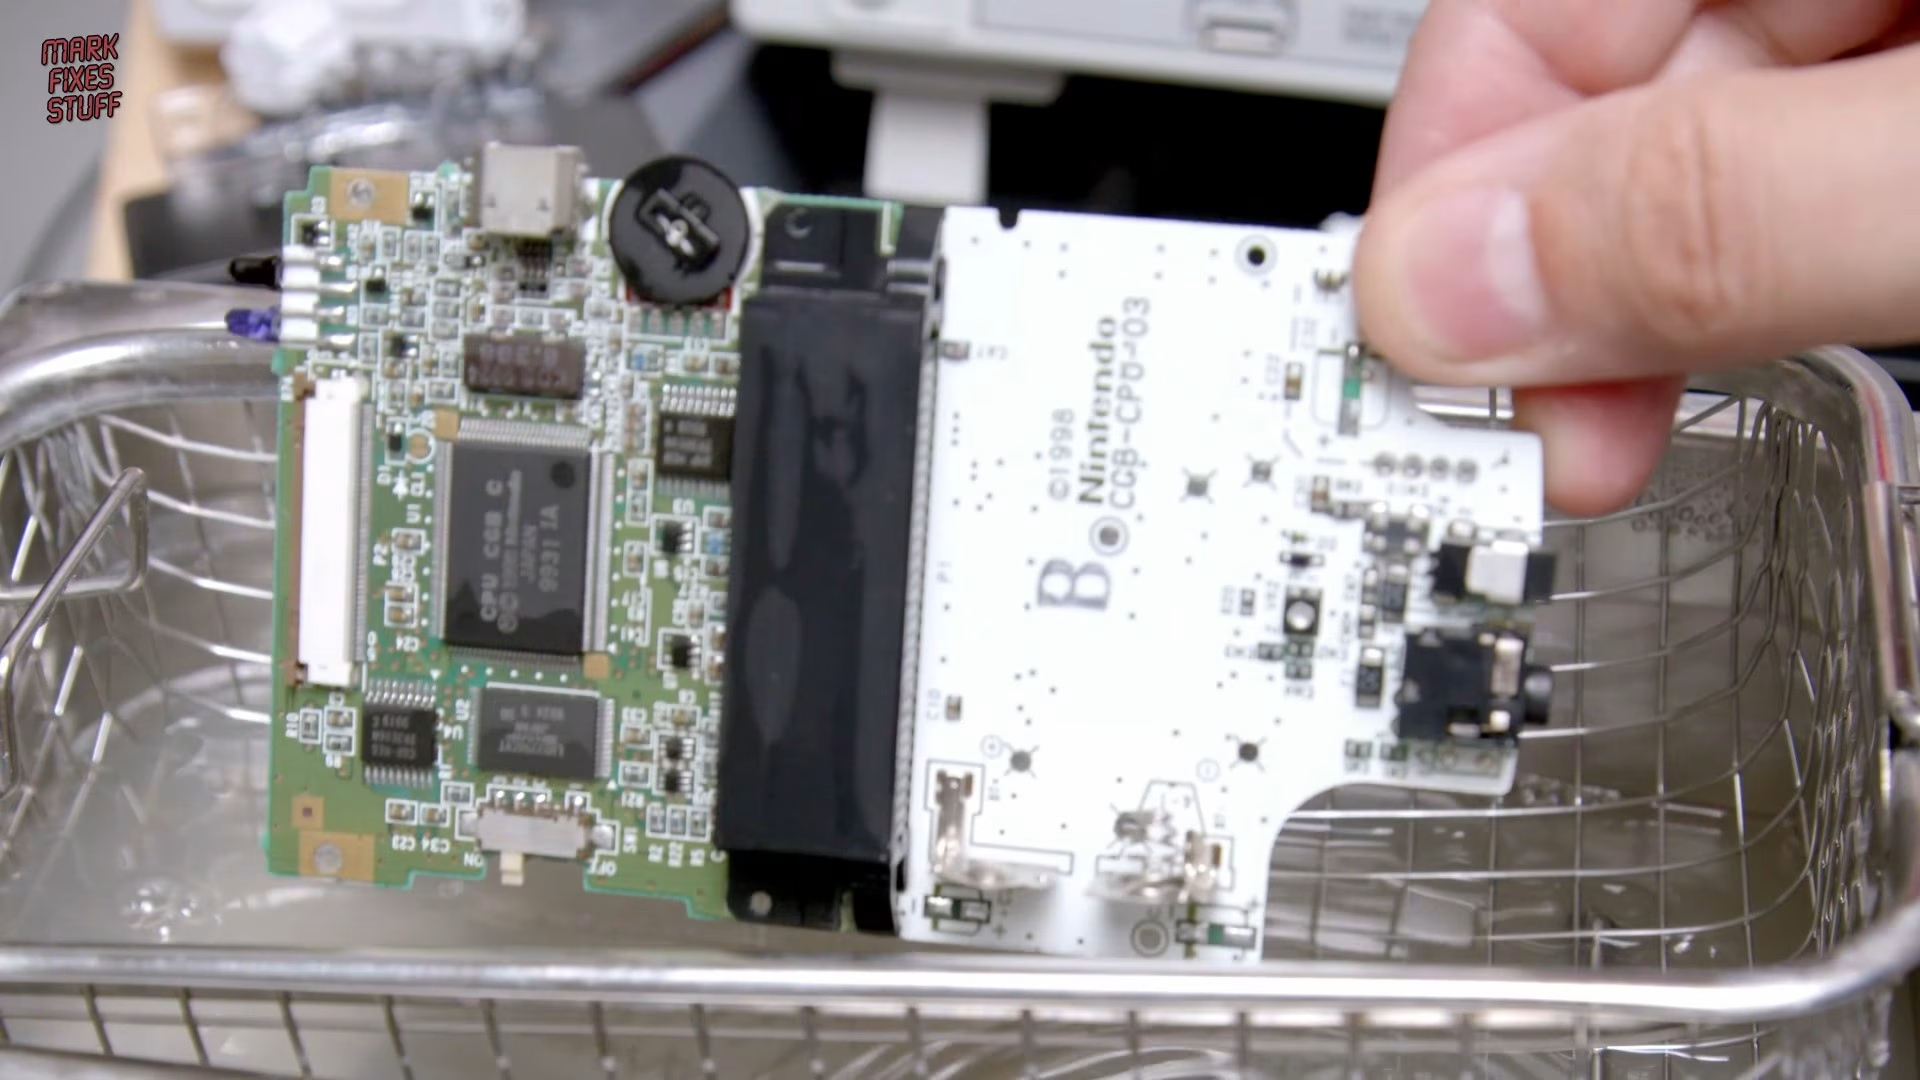
New capacitors went on with the iron rather than solder paste and hot air, specifically to avoid melting any of the plastic parts on the board. Ironically, I still managed to catch a bit of plastic while working around the tripod. Mrs Mark Fixes Stuff, if you’re reading, I’m sorry. The power sub-board then went back on, tacked in place on one pin first so I could solder the rest properly before reflowing that first joint with fresh solder.
Fitting the smoked-grey Game Boy Color shell
The replacement shell is a fairly cheap kit, around £14 from AliExpress. The trickiest job is saving the original screen: flexing the old shell breaks the bond of the adhesive tape so the screen can lift out in one piece. This is always slightly nerve-wracking, but it came out with no cracks. I couldn’t find the tape supplied with the kit, so I reused the original tape, which was still very sticky. If there’s a lazy way, I’m going to find it.
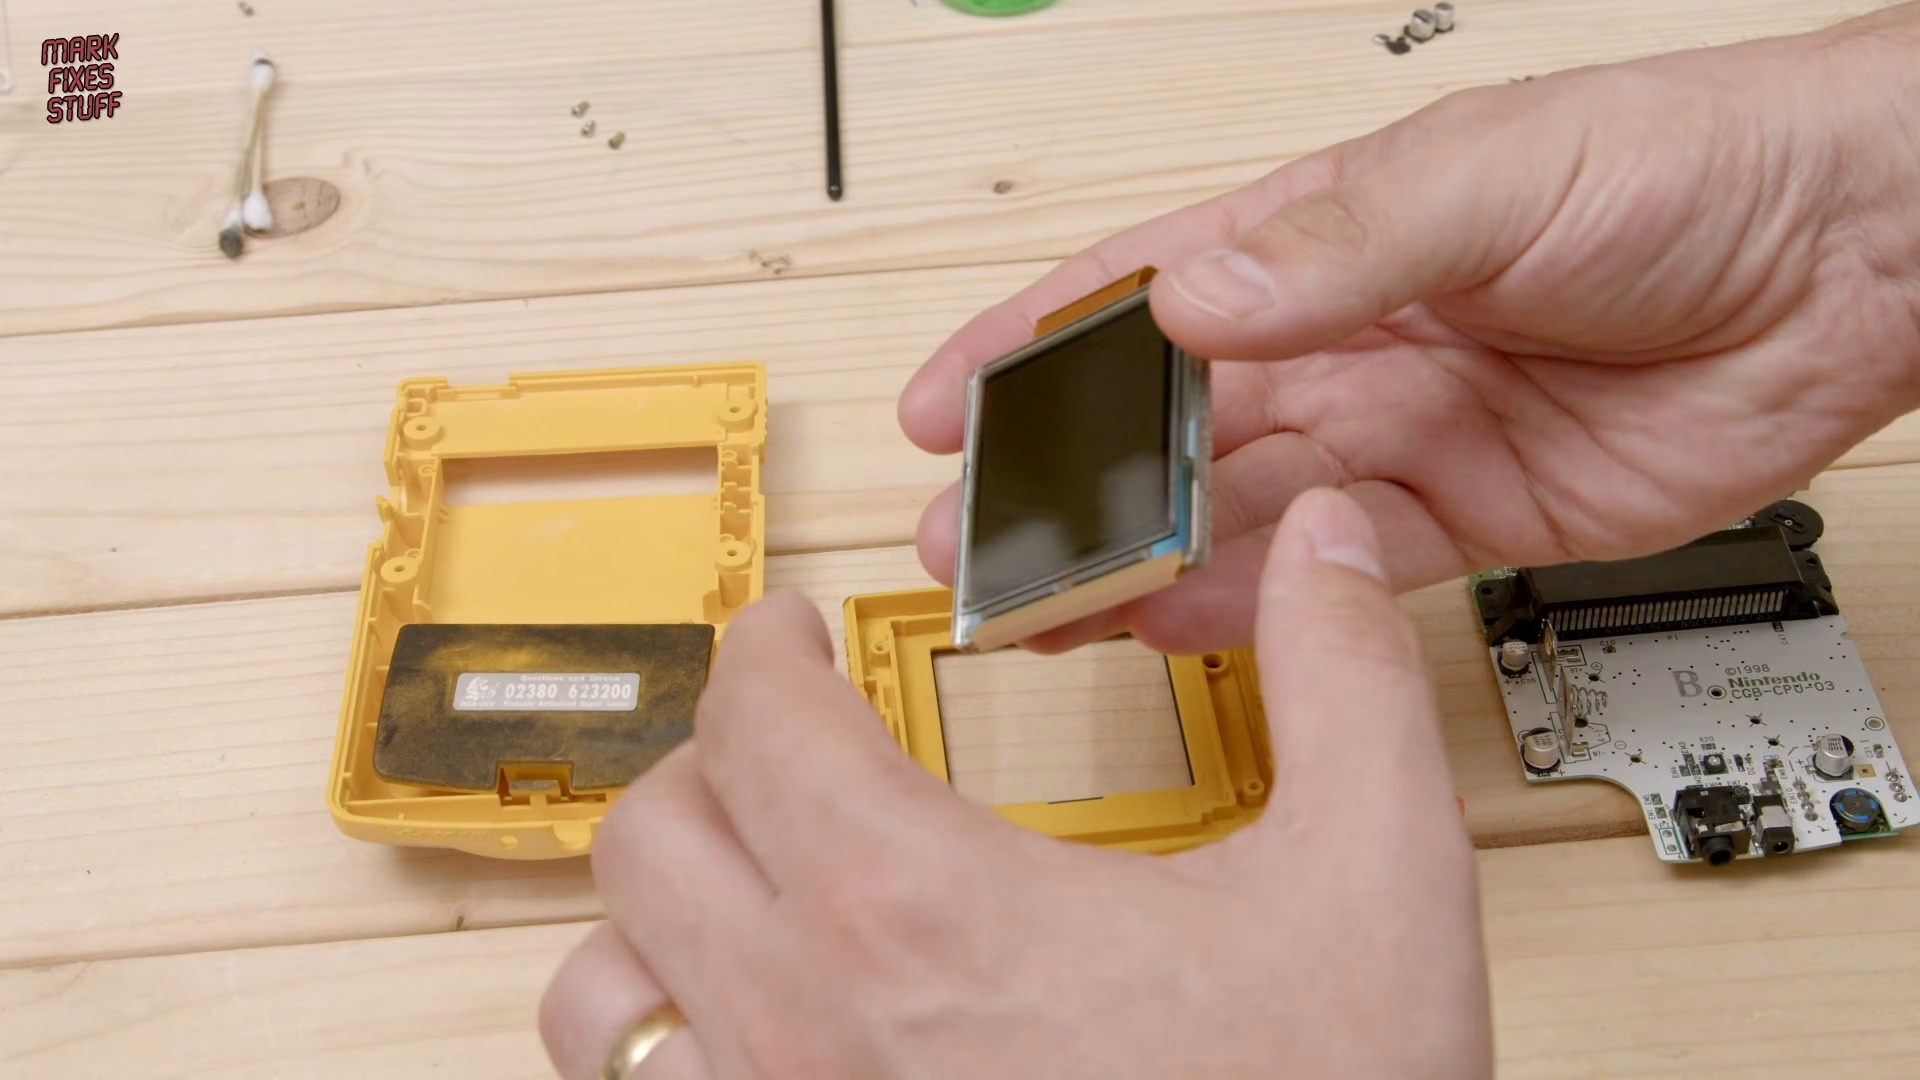
A blast from my battery-powered air duster cleared the dust before the screen and front glass went in, with the protective film left on until the end. The buttons and rubber contact pads are all keyed to the shell, so there’s no way to fit them wrongly. The speaker went back in after clearing its holes with a manual desoldering pump. It’s mono, so polarity doesn’t really matter, but I put the wires back the way they came out anyway.
Reassembly tips for a new Game Boy Color shell
- The screen ribbon hides under the board. Seat it in the ZIF socket and make sure both sides of the collar are closed (you may need to hold one side while pushing the other).
- Line up the board’s power switch with the middle of the shell’s plastic power slider before screwing it down.
- Don’t forget the IR window, which lets the Game Boy Color talk to other consoles.
- Battery contacts often won’t slide into place when the back goes on. A pry tool gets them seated flush.
- New shells have no threads cut yet, so drive the screws in gently and stop when they’re snug, or you risk stripping the plastic or cracking the case.
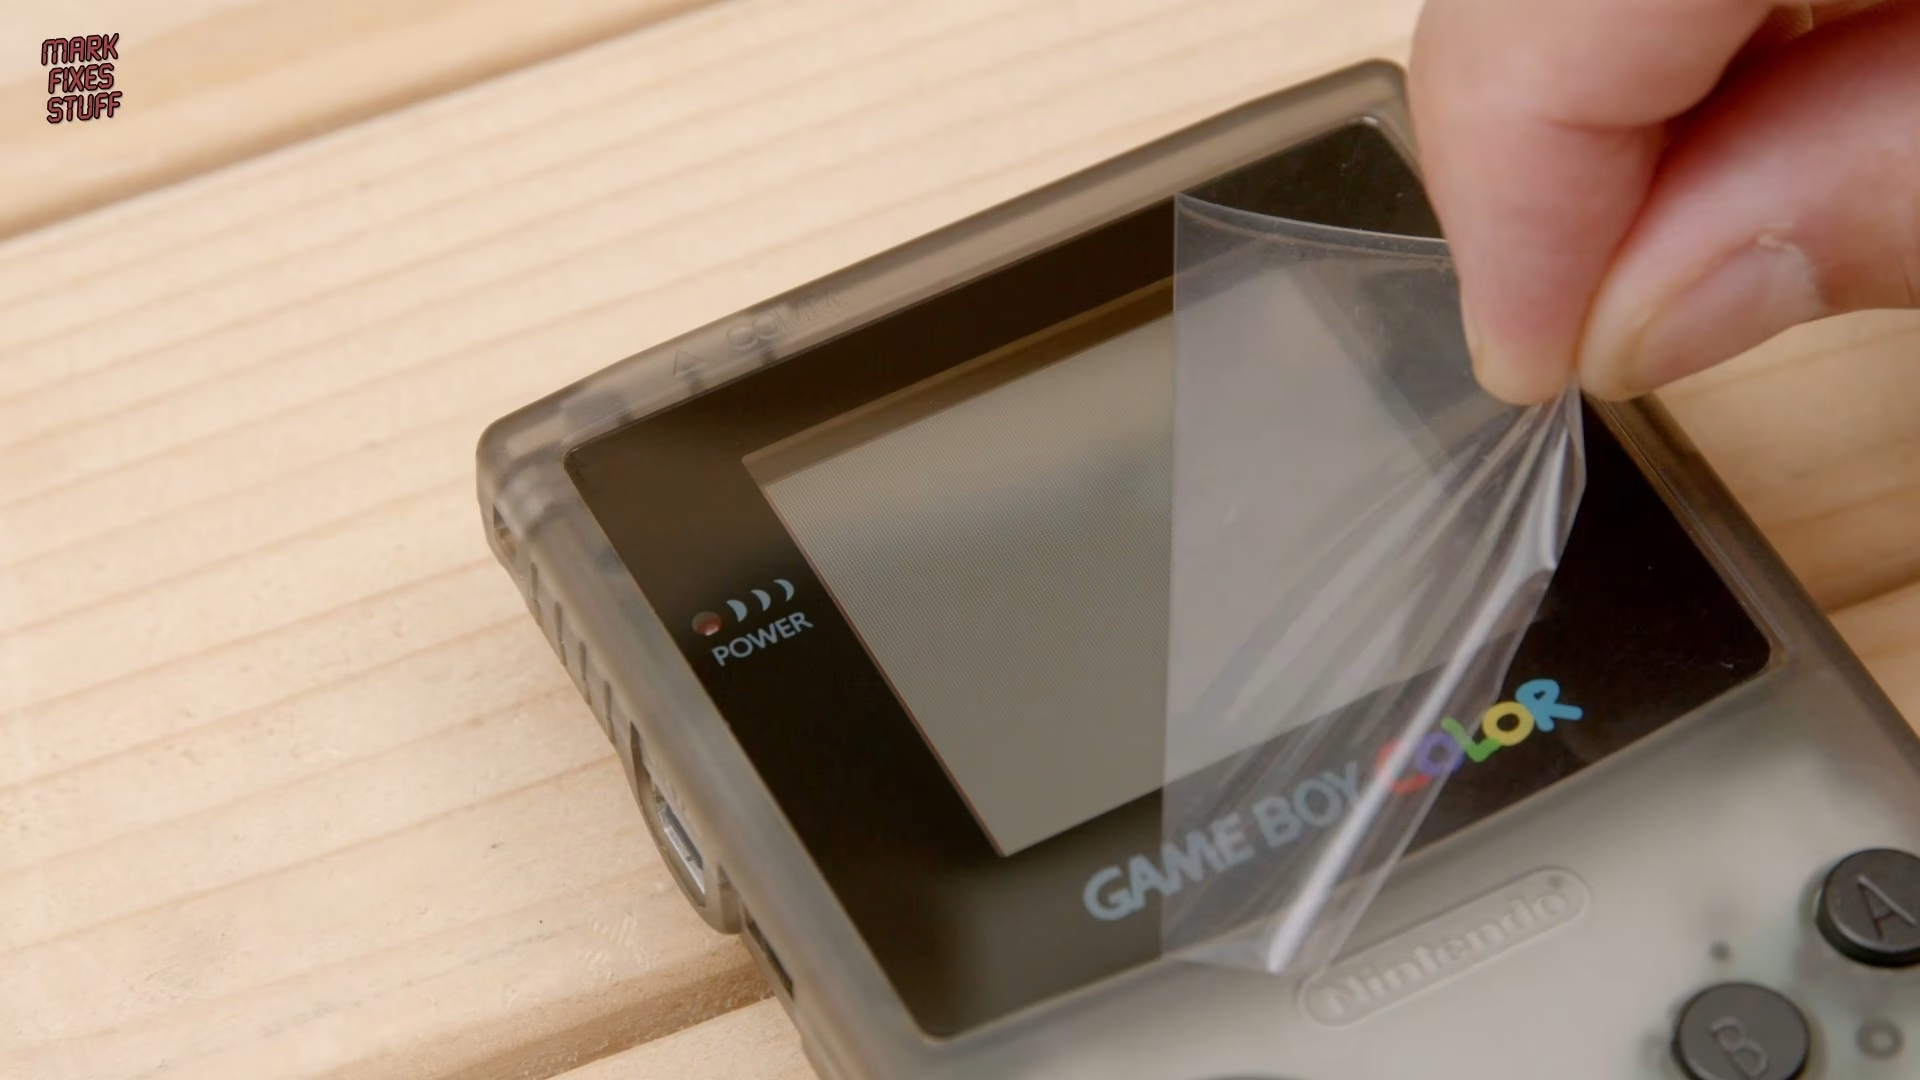
I did consider moving the original label across from the burnt console, but it was simply too smelly, so the new shell gets a replacement label. Two AA batteries later, it was time for the best bit: peeling the protective film off to reveal a clean, clear screen.
How the WELLFIT TM007 went together
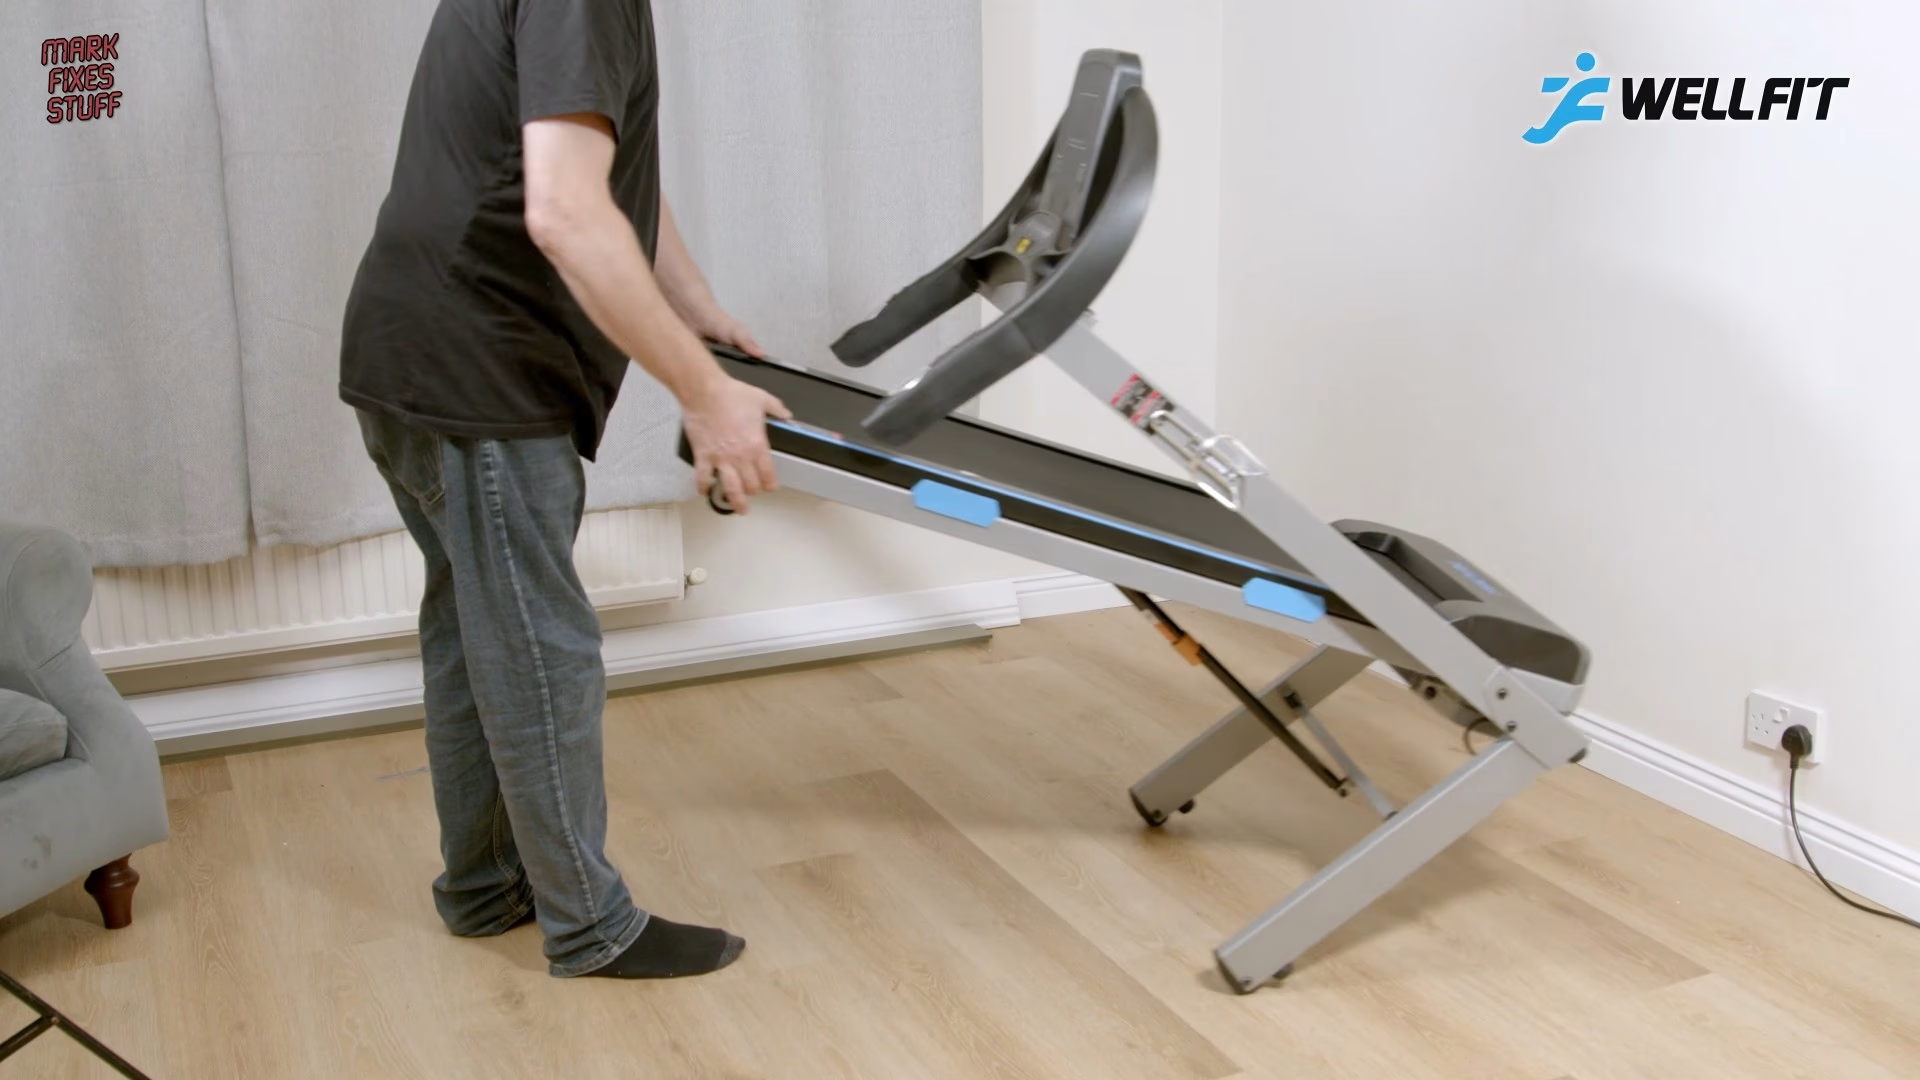
If you’re wondering how that treadmill got into my house in the first place, here’s how it went together.
The WELLFIT TM007 (use code MFS for a discount) is a full-size treadmill rated for users up to 200 kg, with a 45.7 x 114.3 cm running area and a multi-layer shock absorbing belt, which my aching knees appreciated. It went together easily between filming sessions (although screwing on the cup holder felt like a marathon), and once assembled the non-marking wheels make it easy to move around the house.
Right, that’s enough exercise for one post. Back to the bench, it’s time for some games.
Testing the restored Game Boy Color with Tetris
Back at the bench, the console powered up first time, which was a relief. The Tetris cartridge I used was actually in my own house fire. A pile of things fell on top of it during the blaze and protected it, so it came away with just a soot-stained label, even though the case it was stored in melted. It’s incredible what these things can survive.
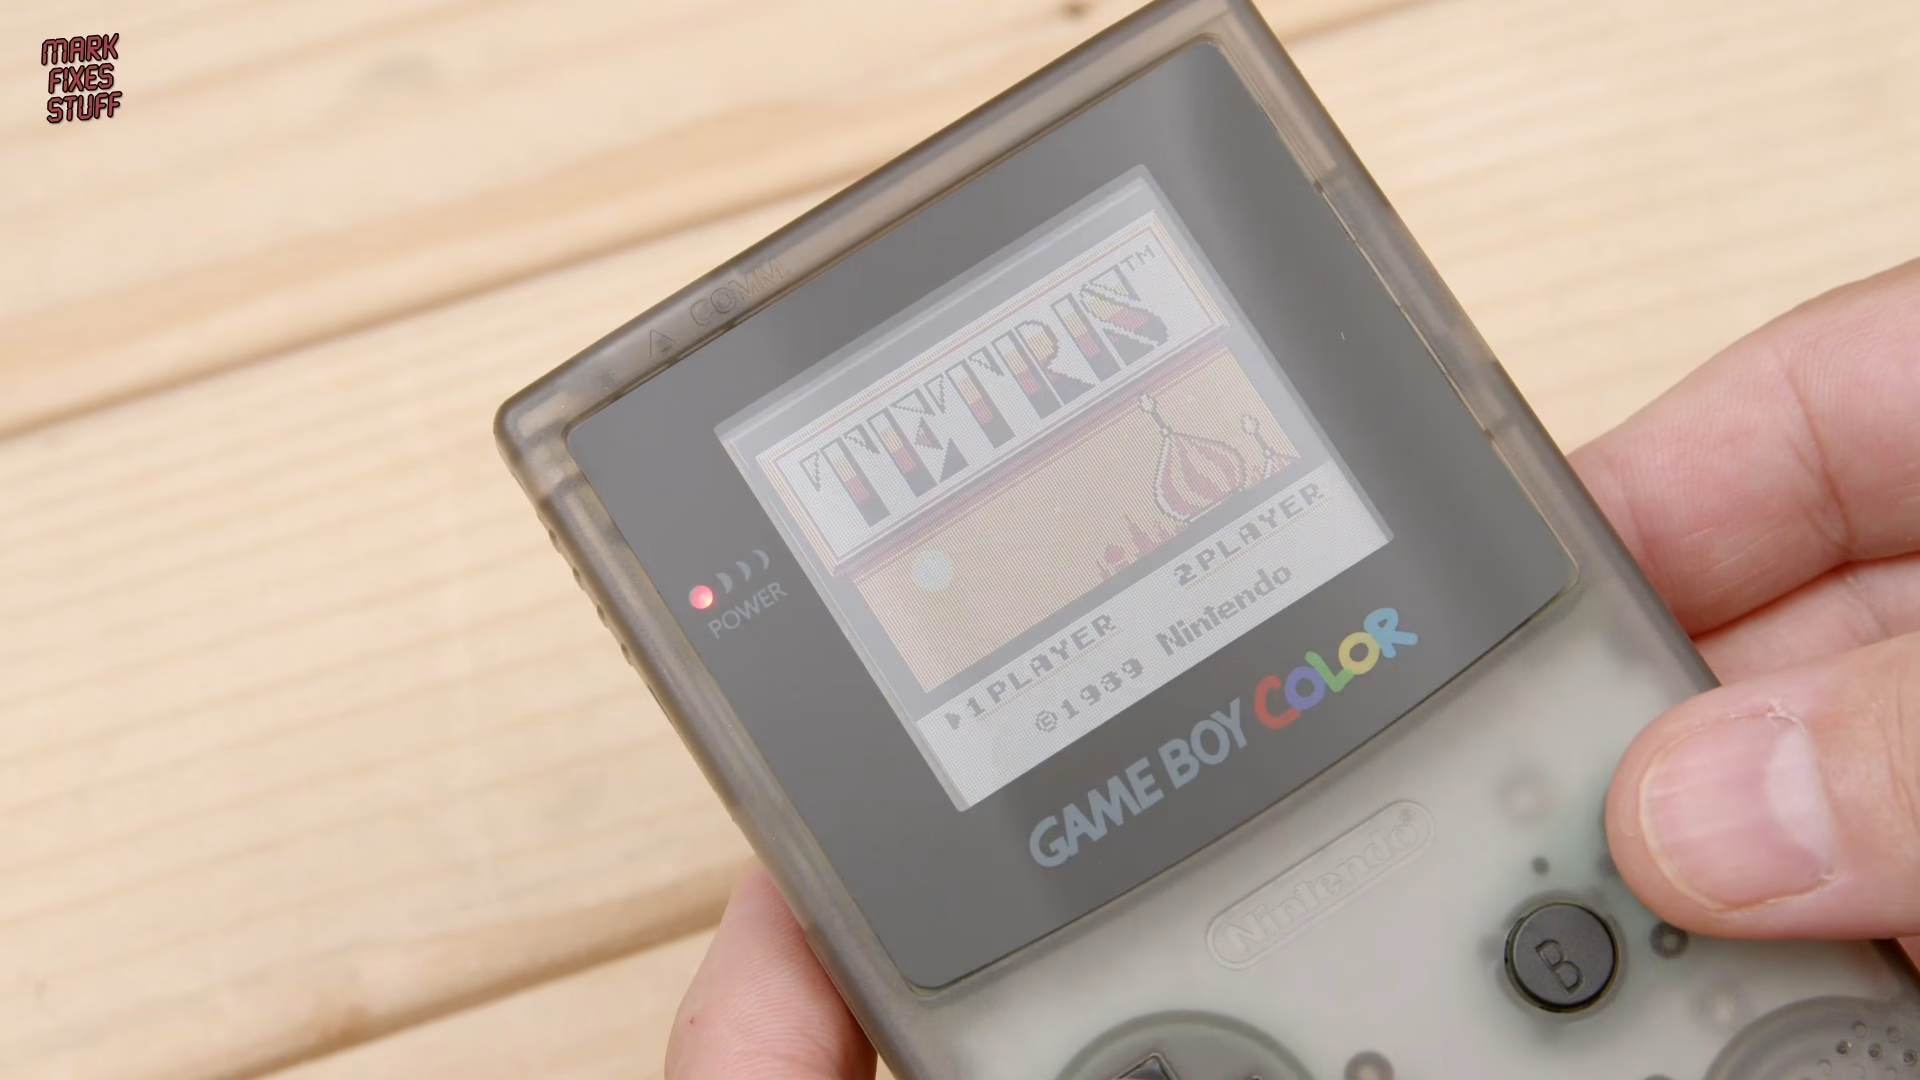
Tetris is one of Mrs Mark Fixes Stuff’s favourite games, and I’ve watched her complete the B-Type mode many times, which is more than I can say for myself. Created in the Soviet Union by Alexey Pajitnov in 1984, Tetris became one of the defining Game Boy games when it launched with the original console in 1989. I followed it up with more running, this time in Carl Lewis Athletics 2000, which I’m also terrible at.
Why I didn’t put the original shell in the ultrasonic cleaner
One more question I always get is why I don’t just put a fire damaged shell in the ultrasonic cleaner. So I did it with the back half of this one to show you. Ultrasonic cleaners lift dirt by creating microscopic bubbles that collapse on themselves and generate intense localised heat. Microscopic or not, that heat can degrade, soften and ruin plastics. Compare it with the battery cover, which only had the cotton bud treatment, and the damage is obvious.
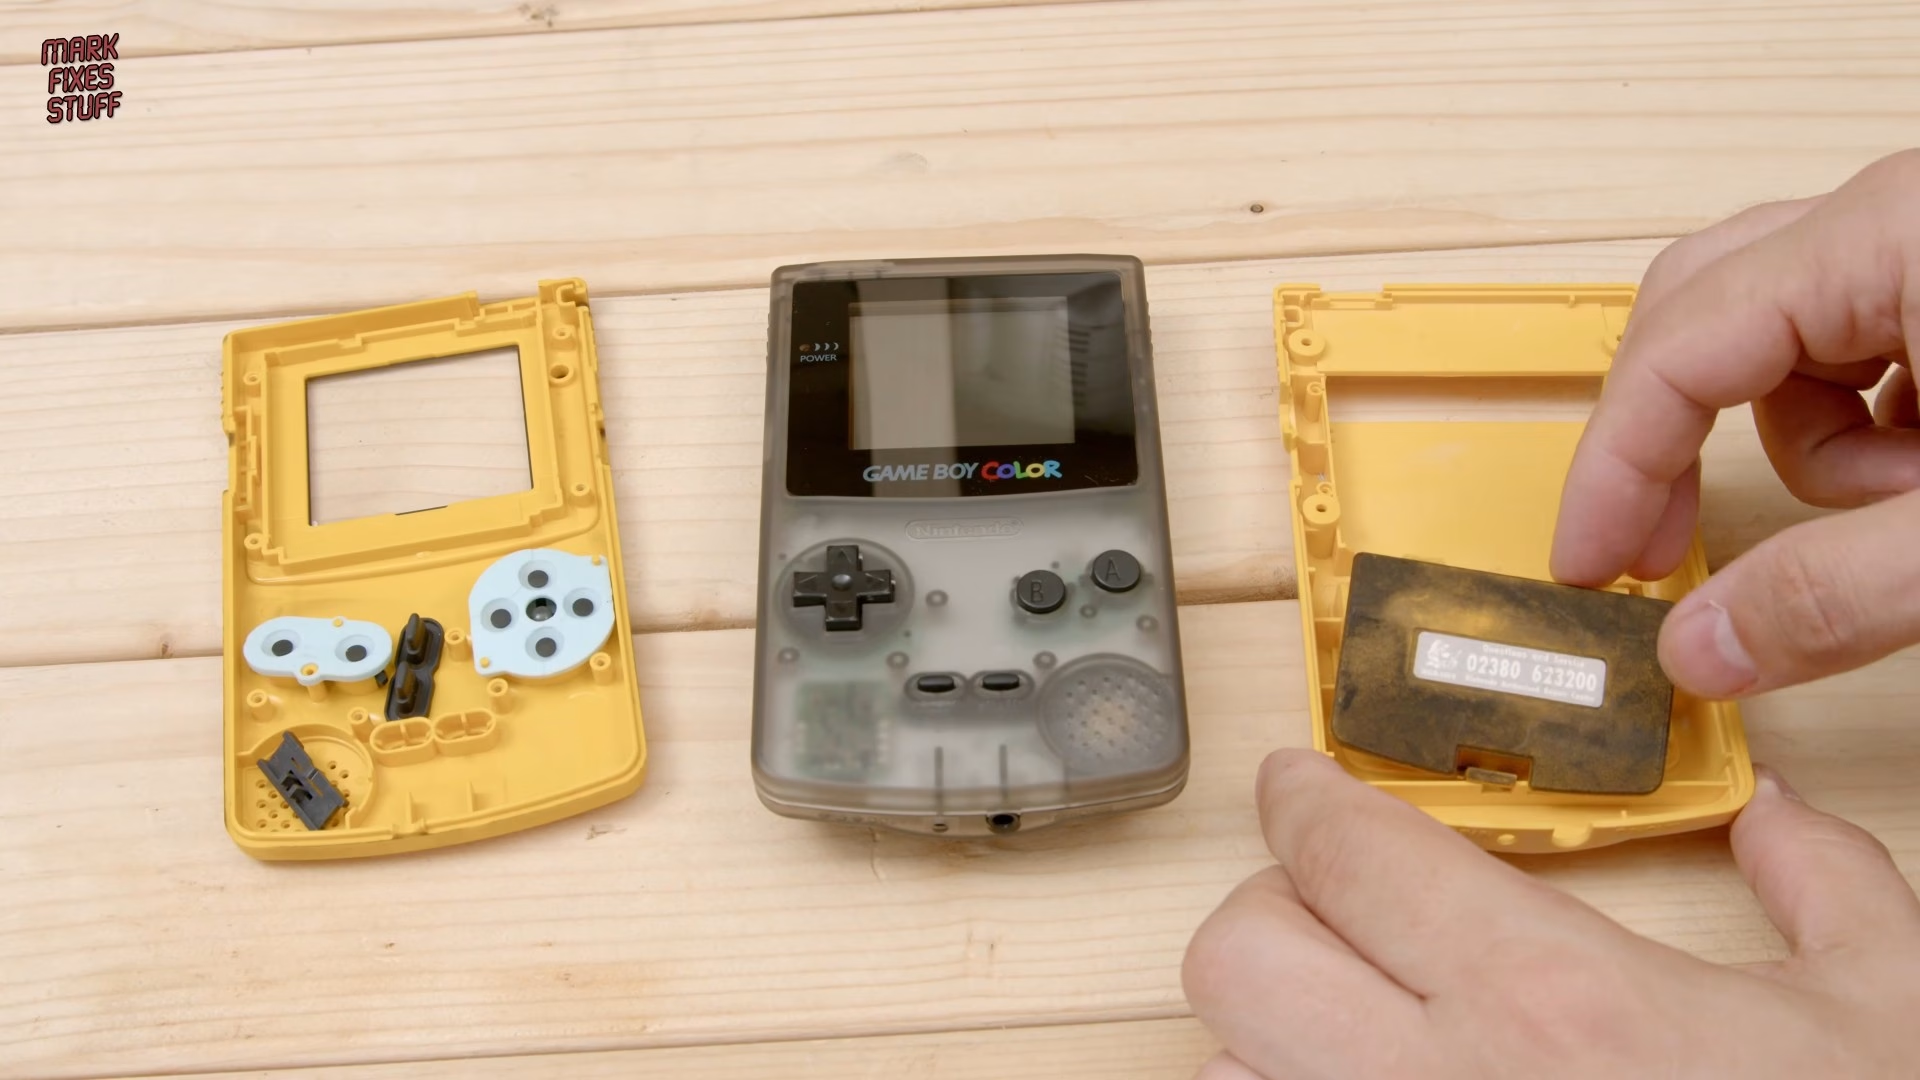
Side by side with the burnt shell, the smoked-grey Game Boy Color looks like a different machine, with its original board and screen still inside. My wife gets her Game Boy Color back, and it no longer smells like a house fire.
Fire damaged Game Boy Color restoration: quick answers
Can you clean soot off a fire damaged Game Boy Color shell? Not when the plastic got hot. In this case the heat let the soot integrate into the surface of the plastic, so cleaning didn’t remove it. The metallised vinyl labels cleaned up better because they stained without pitting.
What screwdriver opens a Game Boy Color? A Y0 tri-wing for the six external screws (two are inside the battery compartment). The three screws holding the motherboard are standard Phillips.
What should you remove before ultrasonic cleaning a Game Boy Color board? In this repair: the speaker, the power sub-board with its wire wound inductor, and the electrolytic capacitors. The screen stays out of the tank too.
Can you ultrasonically clean a Game Boy shell? I wouldn’t. The demonstration at the end of the video shows how the process damages the plastic.
Disclosure: this video and post are sponsored by WELLFIT, who supplied the TM007 treadmill. The WELLFIT links in this post are affiliate links, so I may earn a commission if you buy through them, at no extra cost to you. Thanks to WELLFIT for supporting the channel.
A huge thank you as well to the Mark Fixes Stuff patrons, who keep these videos rolling and get ad-free early access plus my patron-only vlog, Damage Report. If you’d like to join them, you can support the channel on Patreon.
Leave a Reply