
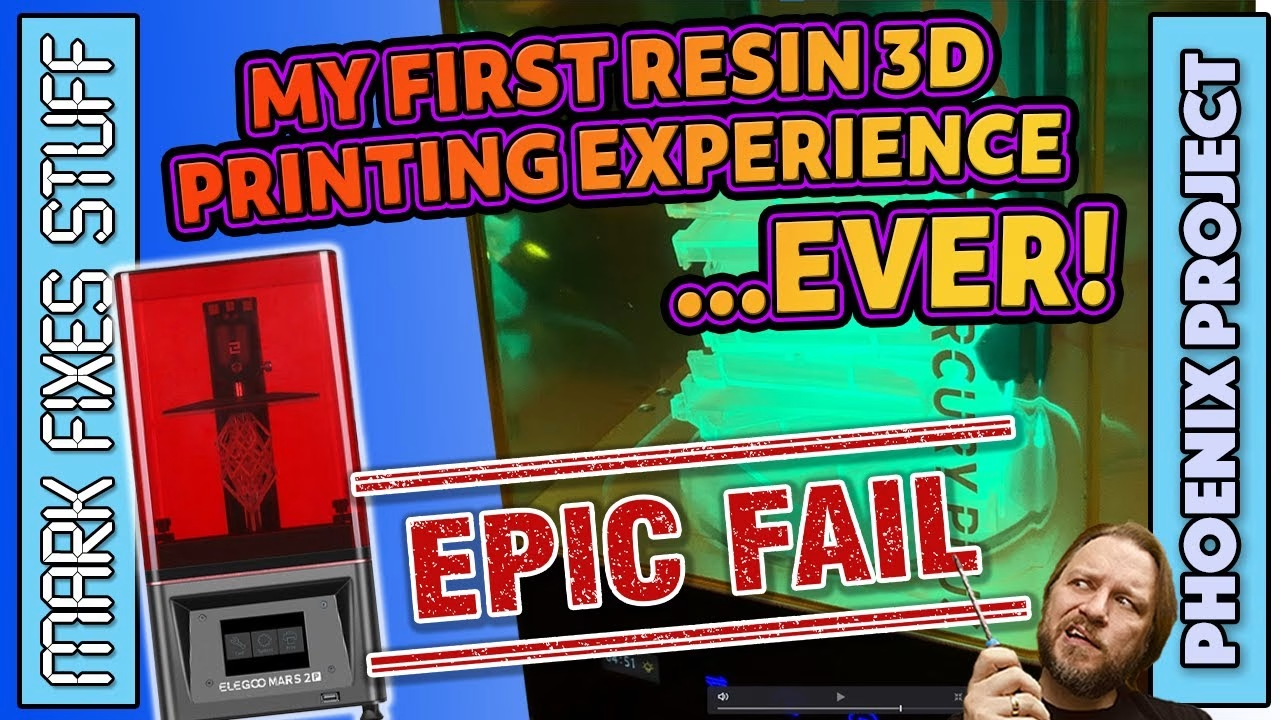
Some of the things that came out of my house fire are painful to look at, but some are hopeful, like this Elegoo Mars 2 Pro resin printer bundle that Elegoo sent just before the fire. I’d bought the wash and cure machine myself to go with it. Months later it was as smelly as ever, so this is my first ever go at resin printing: honest, unvarnished, and a bit of a disaster. Not the printer’s fault, I should add, but my noobish approach. This video was sponsored by TinkerDifferent, a web forum for old tech enthusiasts.
Did it survive the fire?
Elegoo also sent 500g of translucent resin (I was surprised to learn resin has quite a short shelf life from its manufacture date). On first look, Elegoo’s thick packing had kept the smoke out, even though the outer box was smoky. Inside: two spare FEP films, hex wrenches, nuts and bolts, the power supply (cold enough to show condensation, which I checked definitely wasn’t soot), filters, face masks, a USB stick that feels really cheap, some decent side cutters, a plastic scraper, a rubber seal for the cover, and gloves. Safety first: uncured resin is toxic, so I really don’t want to touch it.
On the bench it’s surprisingly compact. Under the foam are the build plate, the resin tank (held by two thumb screws, with the FEP film stretched across the bottom like a snare drum skin) and, underneath, the mono LCD panel that lets UV through to cure the resin. Once it was at room temperature, it powered up and the LCD still worked.
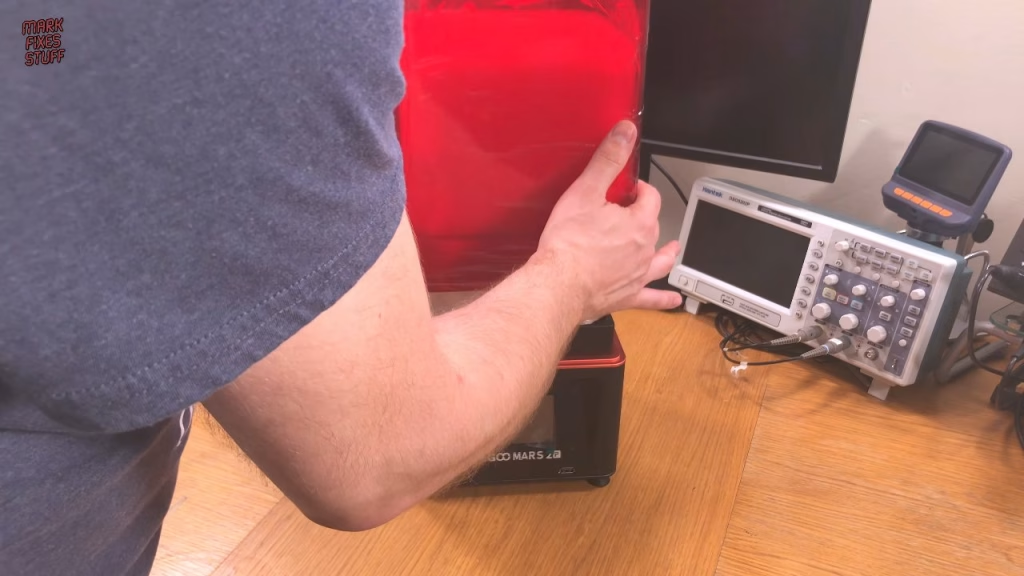
Levelling the build plate
There are hundreds of tutorials on levelling, so I won’t pretend to teach it, and it’s best not to copy me. In principle: loosen the plate screws so it sits flat on the LCD, use a sheet of paper as a stand-in for the FEP thickness, tighten up, then raise the platen fractions of a millimetre until the paper slides out and store that as home. I also bought a big HEPA filter to deal with the fumes.
First test print, wash and cure
With the tray loaded, I printed the test piece from the supplied USB stick. The printer exposes a microscopic layer of resin to UV, raises the bed, then exposes the next layer. While it worked, I set up the wash and cure machine: a magnetic turntable driving an agitator in a tub, with a basket for loose parts or a holder that takes the build plate directly. It won’t run without the lid on, which is a nice safety feature.
The test rooks came out amazing, with detail that genuinely surprised me. I washed them on the build plate in 99.9% IPA (which can apparently be reused until it’s too dirty), then removed them. Brute force damaged one slightly, so for the second I put the plate in a plastic bag in the freezer for 20 minutes, which made removal much easier (and my hands very cold). I cured them for about eight minutes, and I think that turned them a bit yellow. Tips welcome.
The overnight disaster
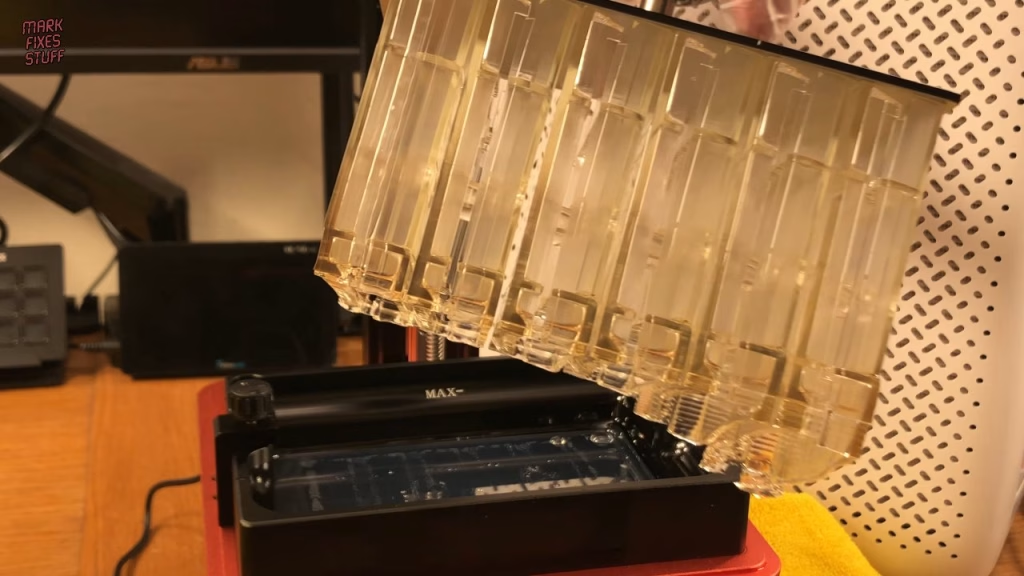
Then I got utterly ridiculous: a full build plate of six ColecoVision cartridge shells from Thingiverse, left printing overnight on an unattended timelapse. There were issues from the very start that a more experienced user would have spotted, and around 4am, while I slept, the resin ran out in the vat. In the morning some cases had missing parts from the very beginning of the print, perhaps exposure time too low, or perhaps printing at the edge of the plate. Running out of resin was definitely my fault.
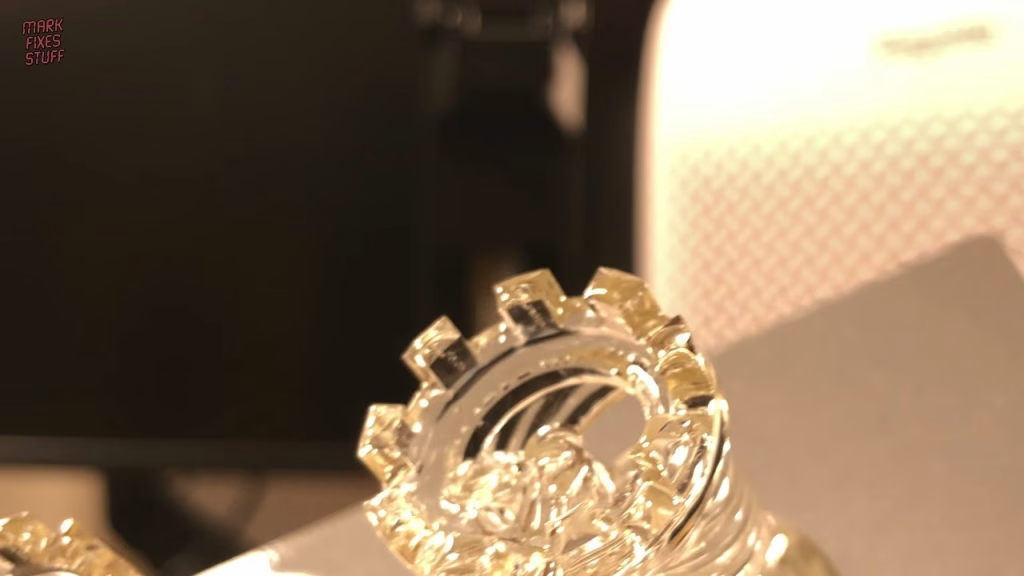
You can’t dispose of uncured resin, so I washed and cured the failures anyway to learn from them. They’re useless, but they look like glowing alien artefacts under UV. I also cleaned the tank, re-levelled the printer (the resin had pooled in one corner) and found the whole thing a really mucky process.
Second attempt
Wanting a win, I printed just two shells, with a longer exposure time and reoriented so the models sat directly over the UV source. These were much better: the outer shells were complete and the cartridge grips were picked out perfectly, though one had some sagging inside, possibly from UV scattering through the translucent resin. Then, perhaps stupidly, I tried another full plate with the longer exposure, watched closely, and it started failing immediately again. That one remains a mystery.
Did it work?
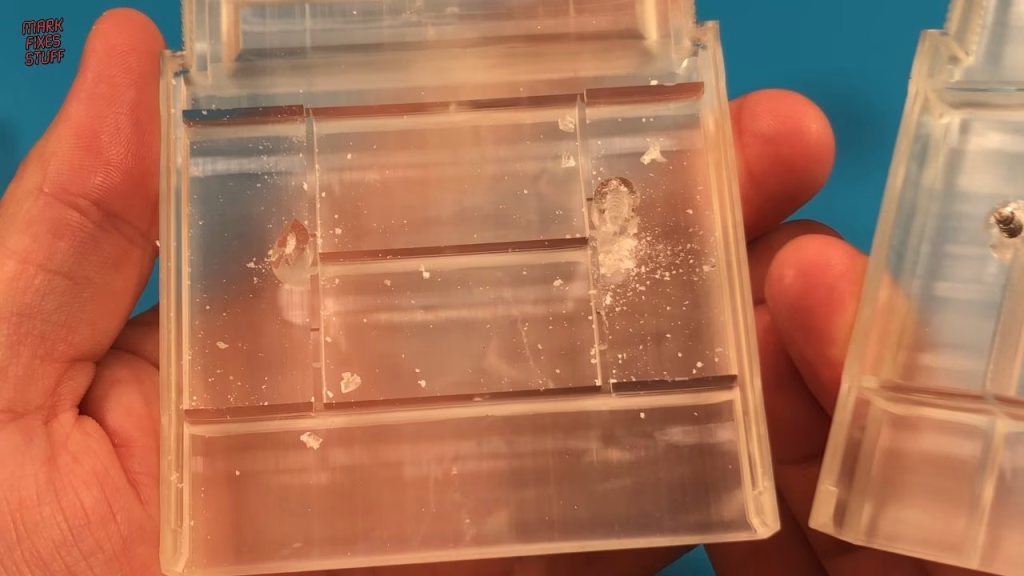
Partly. The rooks are brilliant. The cartridge shells have a funky texture I can live with, are rigid enough and fit together okay despite a few flaws. But the screw posts weren’t quite formed, and the moment you start screwing into them they crumble to dust. Heating the screws doesn’t help like it does with filament prints, so I’d need to design a shell that glues together.
It isn’t a showstopper, because I’ve already been printing decent ColecoVision cases on my filament printer: plain PLA on a heated glass bed, robust enough for what I need, finished with a scan of an original label printed on sticker paper and matte lacquered. The shell model is by FieroLuke on Thingiverse. Big thanks to Kori at Elegoo for the bundle and for being so patient with how long this video took. I look forward to learning to use it properly.
Related
More printing and labels: fixing a 3DO laser with a 3D printed gear, my Atari 2600 label template and de-yellowing an Amiga tank mouse with UV.
Leave a Reply