
Buy the Anycubic Kobra X: UK store link | US store link
Anycubic discount code
- (UK) MARKPAYNE
- (US): UAOLFJBPZN
There is a particular kind of retro repair problem that no amount of eBay sniping will solve… When the part simply does not exist any more. Nobody reproduces it, nobody has a spare in a drawer, and the one photograph you can find online is 240 pixels wide. That is where a 3D printer stops being a toy for printing Benchys and starts being a genuine workshop tool. So this was a full day of printing the unbuyable: a case for the ColecoVision Super Game Module, a cartridge shell for a fire rescued PCB, a missing cable cover for a Sharp Twin Famicom, and a head alignment jig for a Famicom Disk System drive.
The machine doing the work was the Anycubic Kobra X, which arrived as sponsored hardware. It is a four colour filament changing printer that does not need a separate multi material box bolted to the side of your desk, and that turned out to matter more than I expected.
Building the Anycubic Kobra X (the bit I did not read the manual for)
The build is genuinely two parts: a base and a Z axis that goes up and down. Everything is restrained for shipping, and there is a small touch here that deserves calling out, because it is the sort of thing you only appreciate if you have built a few of these. Anycubic include a magnet so you can magnetise the supplied tools. That matters because some of the shipping restraint screws sit directly above the guts of the printer, and dropping one in there is a twenty minute exercise in swearing and tweezers.
To fit the Z axis you push the gantry up roughly three quarters of the way, drop the bolts into their holes and tighten. I started using the pack in tool like a good citizen. That lasted approximately one bolt before I quietly switched to a power driver. Be careful if you do the same, but it is a lot less onerous.
Both belts are pre fitted, which I checked by opening the two access hatches out of pure nosiness. I remember when fitting your own belts was just part of owning a printer, so having a machine that arrives essentially ready apart from bolting the Z axis on is a welcome evolution.
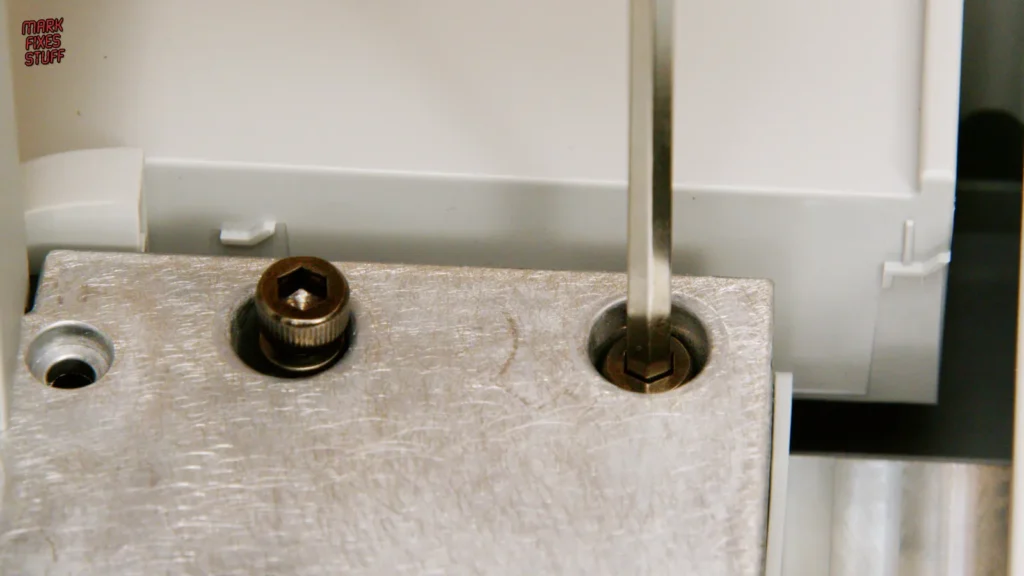
The four cables in the recess only fit their correct sockets, so there is no way to get creative. The filament tubes use tiny pneumatic push fit connectors (the same principle as domestic speedfit plumbing), so they push in until they stop and then will not pull back out. To remove one you push down on the collar to release the gripping teeth. Nice touch: all four tubes are the same length, so it is just a case of matching number 1 to number 1 on the print head, and so on.
Four colours on top of the machine, not beside it
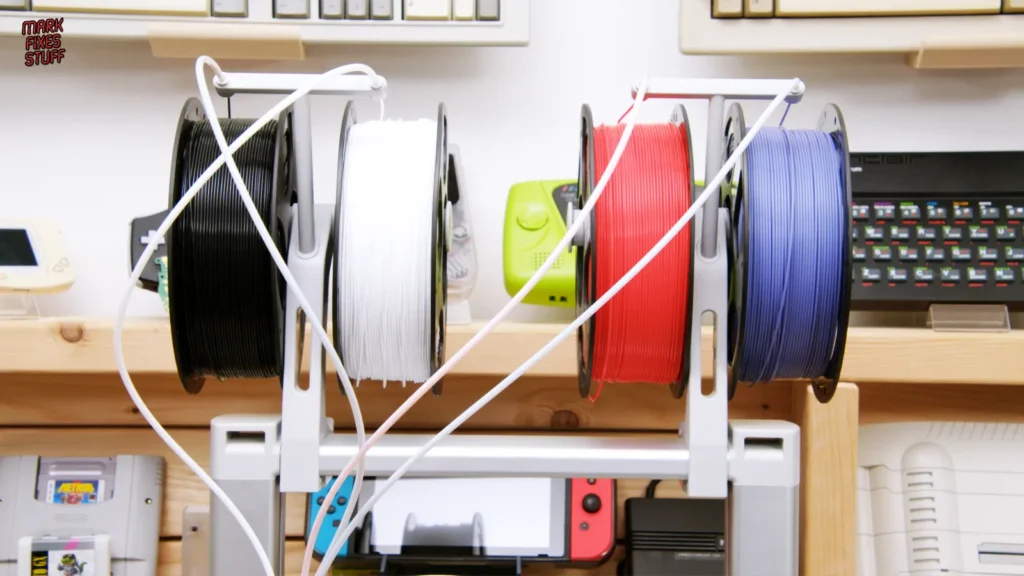
The Kobra X is a four colour changing machine by default, and the spools live on top of the printer rather than in a separate box next to it. The reason that works is that everything down to the print head is passive. The actual switching happens inside the ACE Gen2 head, so the assembly on top does not weigh a ton and does not need its own footprint on your bench. If you are working in a small workshop, that is a real difference rather than a spec sheet difference.
Filament loading is via RFID stickers that you rub against a symbol on the machine. Some of my labels were noticeably more responsive than others, but every one of them did eventually read and give me its little beepy tune.
One warning from bitter experience: the clear tube organiser looks exactly like packaging. I threw mine in the bin and had to go and retrieve it.
Printing a COLECOVISION Super Game Module cased (modifying the model first)
First project was a case for the ColecoVision Super Game Module. I did two modifications in Tinkercad before slicing. The first was rotating the model so the detail was not on the top face, which saved printing a forest of supports. The second was more interesting: the mounting posts had no relief for the board to sit on, so the PCB had nothing to seat against. I made a negative spaced donut and used it to cut the thickness of the board out of each column. What is left behind in the centre is exactly the size of the hole in the board, so the PCB drops on and sits flat.
Anycubic’s slicer is based on Orca, so it will be immediately familiar to most people, and I ran the print on default settings with a 0.4mm nozzle. It took 2 hours, 11 minutes and 20 seconds.
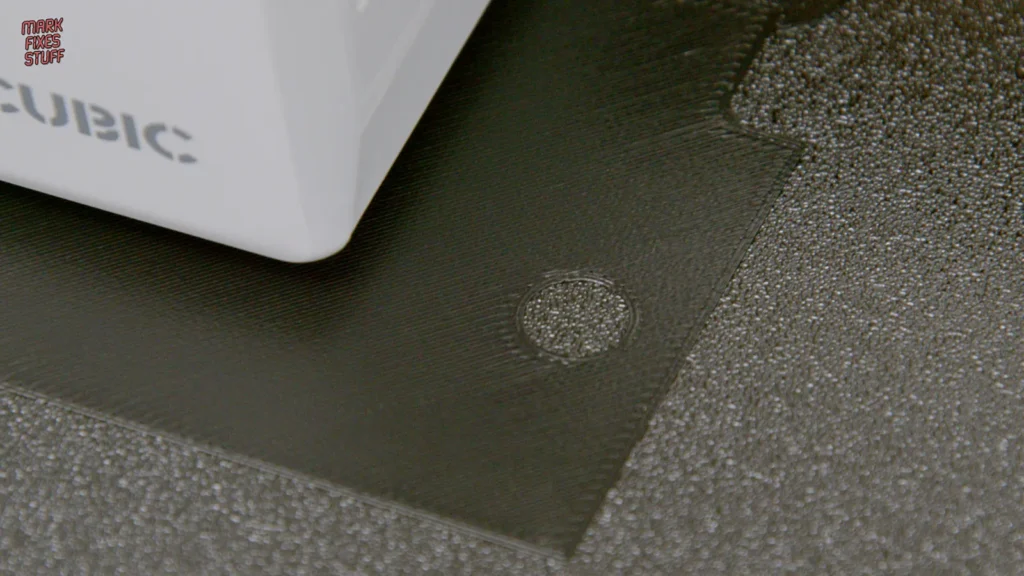
I have been printing for a few years, and anyone who has will tell you the first layer is the whole ball game. The ACE Gen2 gave me one of the best first layers I have seen. The top surface came out excellent with ironing not even switched on, and the texture off the PEI bed is lovely. There was slight stringing and a small inconsistency along one side, which I put down to filament that wants drying. Even brand new filament straight out of the packet benefits from a few hours in a dryer, and matte filaments benefit most of all.
The print I ruined myself: 3,297 non-manifold edges
Next up was a ColecoVision cartridge shell in a lovely Lilac purple, using a model by Jaystonian that I have had printed by a service bureau before. Familiarity plus hubris equals mistake. I saw a warning about floating sections, added supports, and did not read the rest of it properly. Then I set it running, walked away, and left the time lapse recording.
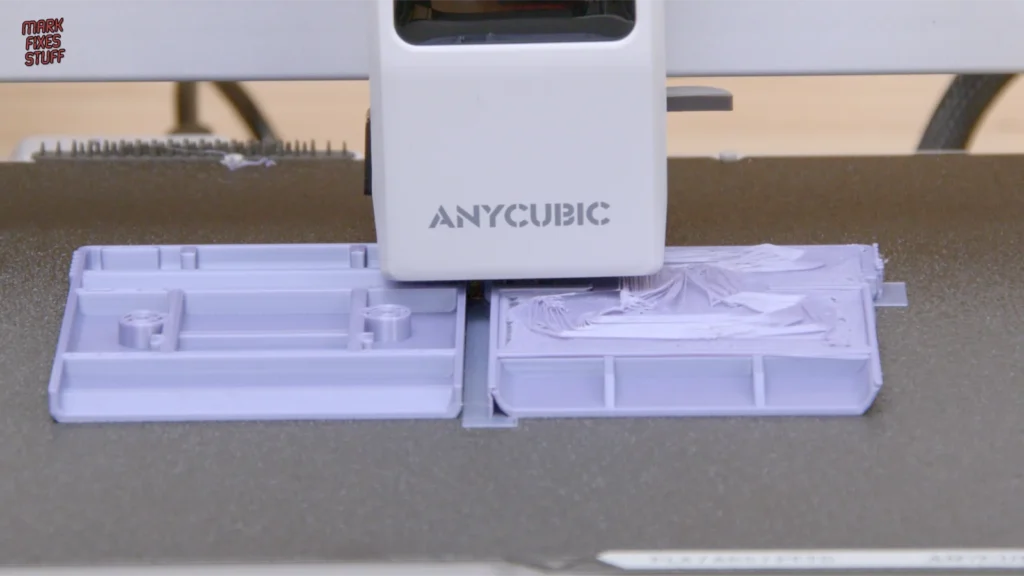
Look at this spaghetti. And it’s all my fault.
Here is what actually happened. Models are sets of 3D coordinates, and the slicer converts them into layers. The left hand half sliced perfectly. The right hand half had an error partway up, and from that point onwards the slicer simply invented geometry as it went. Pulling the failed part open, you can see the exact layer where it stops making sense.
The warning I ignored said 3,297 non-manifold or joined edges. The genuinely annoying part is that on Windows this is a single click to repair, and once repaired it sliced properly. Reprinting that half went perfectly: great unsupported curvature on the sides, supports that popped straight out, and a satisfying release from the bed once it had cooled. The supports on the back were a fight, so I would switch those to tree supports next time.
A SHARP Twin Famicom cable cover, printed without supports
My Sharp Twin Famicom is missing the cable port cover from the underside, which a viewer kindly pointed out. The replacement model is extremely thin, and I only had standard PLA rather than the PET-G I would normally use for something structural, so my expectations were low. It also has a 17 degree overhang that it attempts entirely without supports.
It printed beautifully. For something that thin I expected it to disintegrate in my hands, and the unsupported section in particular is remarkable. A few small blips up close (again, dry your filament) but a fantastic functional print. More importantly, it survived installation: the sliding tabs located into their slots, slid down and locked without snapping. A laser cut sheet bent with a heated ruler would still be the better long term answer for this specific part, but as a test of what the machine will do when asked to do something silly, it passed.
The Famicom Disk System head alignment jig
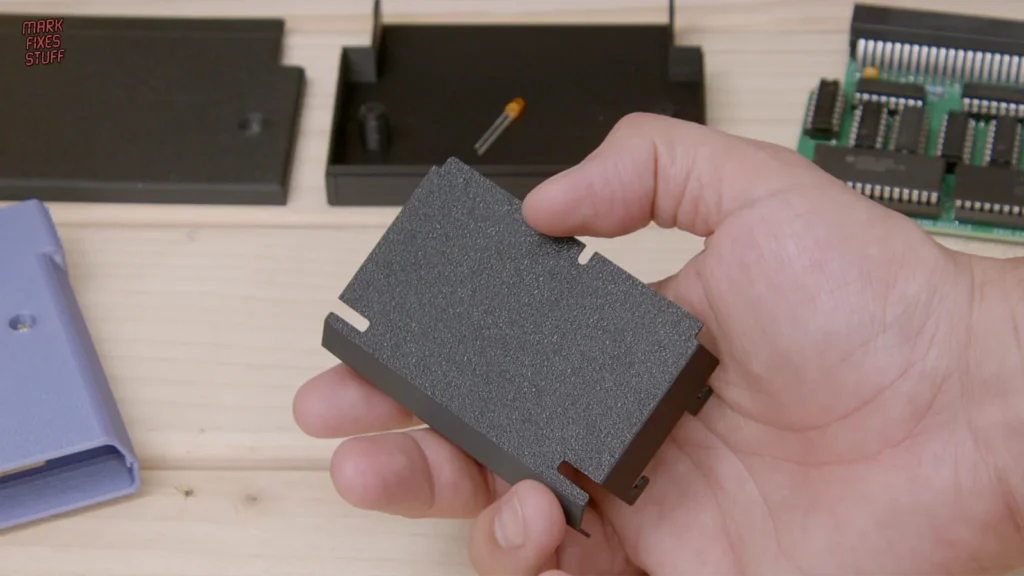
The last functional print was a jig for setting the disk head alignment on a Famicom Disk System drive. When you replace the drive belts you have to set the head a specific distance from the centre spindle, and the jig does that for you. This one is fighting my nozzle rather than the printer: it really wants a 0.2mm nozzle, and with a 0.4mm fitted it cannot resolve the text on such a small model. It may still be dimensionally accurate enough to do the job, but I do not have the belts yet to find out. If it turns out not to be, the options are a smaller nozzle or cutting one from Perspex or tin on the laser cutter. That is a video for another day.
Omega Race CART CASE… and it matches the border!
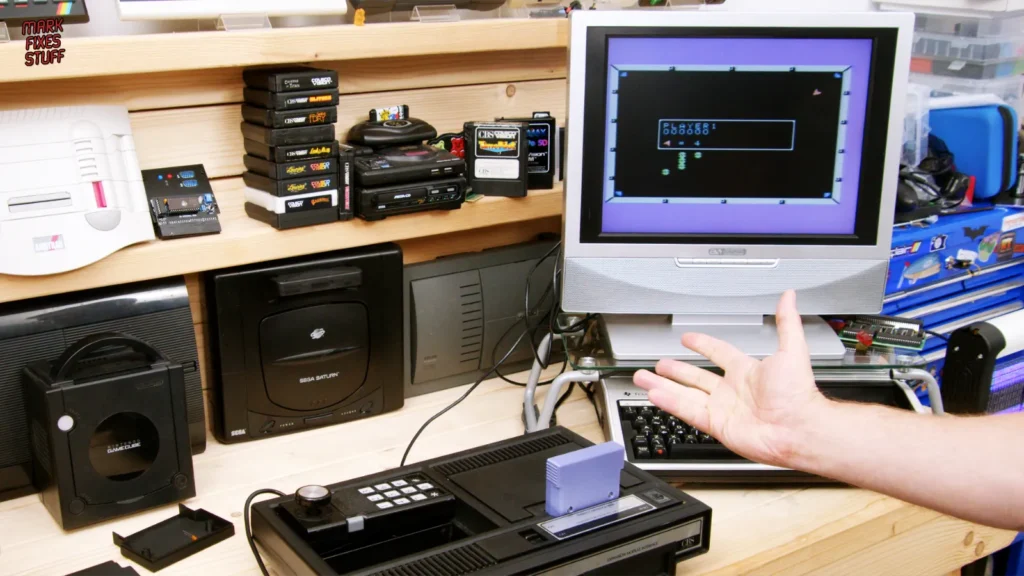
With the shell printed, I put the fire rescued PCB inside and screwed it together. I had convinced myself it was Donkey Kong Junior. It is not. It is Omega Race, and by complete accident the purple shell matches the game’s border.
Assembling the Super Game Module case needed a couple of small jobs. I soldered in an amber LED (I am still not entirely sure why the module needs one, but there is a hole for it, so in it goes), and then the case would not close. The card edge connector legs were sticking through further than I had accounted for and needed trimming down. After that it closed properly, and I ran a fillet of glue along the join so the shell adheres to the PCB. Two M3x10mm self tapping screws finished it: short enough not to split the case, long enough to hold. Powered on, the LED lights, and Caverns of Titan runs.
3D printing a multicolour Ghostbusters logo on the Kobra X
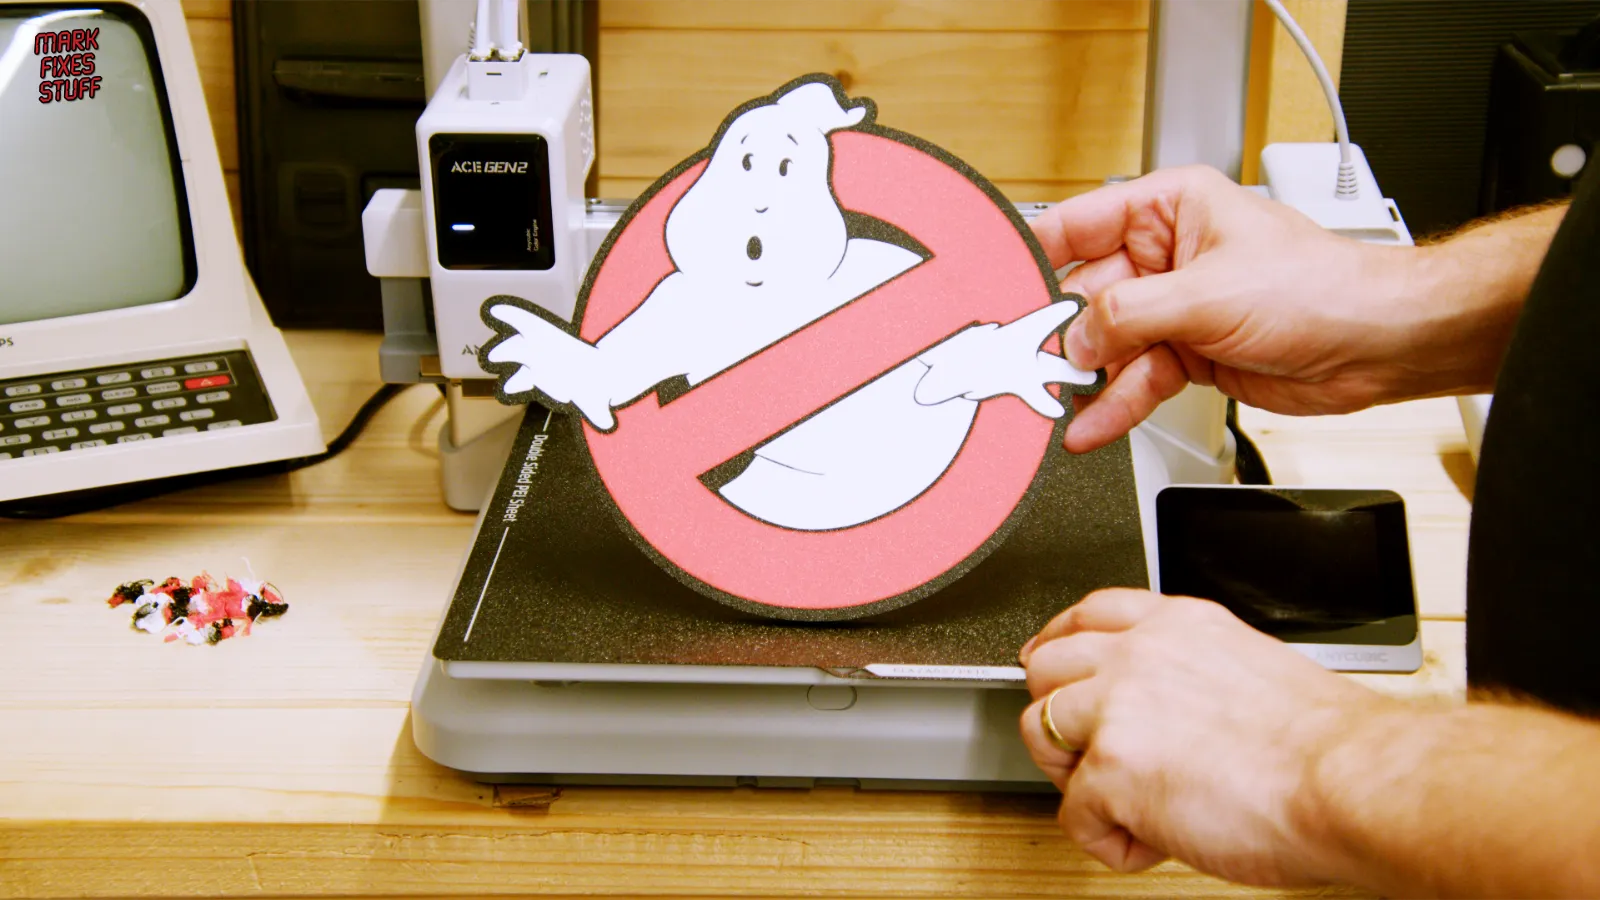
It would be strange to have a four colour printer and never print anything in multiple colours, so I found a Ghostbusters logo on Anycubic’s own MakerWorld, matched the colours to the spools already loaded, and set it going. It is designed as a light box, but I printed the front panel only and used it as a sign for the shelf. Because the filament cutter sits so much closer to the print head on the ACE Gen2, there is noticeably less purge waste and the changes happen faster than I am used to.
Verdict on the Anycubic Kobra X
Easy to build, easy to use, and it gives you four colours without a separate multi material box eating your bench space. The ACE Gen2 head changes filament cleanly and wastes less doing it, and the first layer quality out of the box was better than the other machine on my bench. Across a full day it printed a modified case, a cartridge shell, a part 0.3mm thin with an unsupported overhang, a tiny precision jig and a four colour sign, and the only failure of the day was one I caused myself by ignoring a slicer warning.
If you are in the market, the links and code are below. Check the live price on the store page rather than trusting any number in a video, since promotions change.
Anycubic Kobra X UK: uk.anycubic.com
Anycubic Kobra X US: us.anycubic3d.com
Anycubic discount code: MARKPAYNE (£15 off in the UK, $15 off in the US)
Thanks as always to my Patrons, who get ad free early access to every video. And if you got the lyrics quiz at the end, you are one of the 3%.


Leave a Reply