
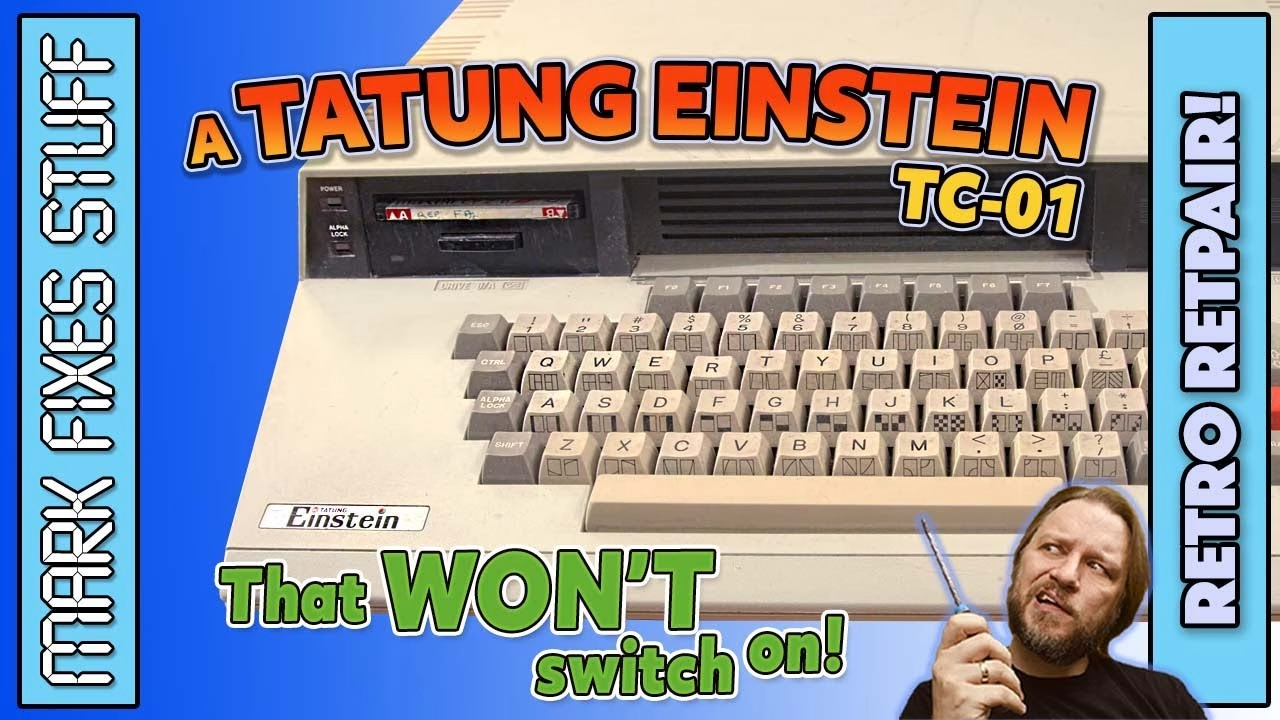
My Tatung Einstein TC-01 wouldn’t switch on at all, and these machines’ power supplies have a bad reputation for failing and blowing fuses. Sure enough, inside the PSU was a vented capacitor and a blown 1A fuse. Rather than repair the original, I replaced it with a modern Mean Well PT-65B, which supplies exactly the -12V, +5V and +12V the Einstein needs, mounted on a bracket I designed and 3D printed to fit inside the original PSU shell. Here’s the full swap, including the wiring. This video was sponsored by PCBWay.
The Einstein arrived in 1984 with a high-quality keyboard and a built-in 3 inch floppy drive, at an eye-watering £499. It was popular with developers but hardly anyone else, so it’s a rare beast now. This one was hunted down for me by my friend and patron Simon Green. Apart from not powering on, it’s in decent shape, with a few cable marks from storage, though the floppy drive has a disc permanently jammed inside.
Why won’t my Tatung Einstein switch on?
No power often points to the power supply, and on the Einstein the PSU is a known weak spot. Getting inside the machine is just two screws, and the internal layout shows Tatung weren’t cutting corners. The PSU sits in the lower part of the machine, held by a flange bracket with two screws. Unplug as much cabling as you can first to make extraction easier.
The PSU is housed in a steel shell held together by two machine screws, with the board on four nylon standoffs. Lifting the lid revealed the problem straight away: a capacitor had vented its ancient electrolyte everywhere, leaving crusty residue all over the top of the unit.
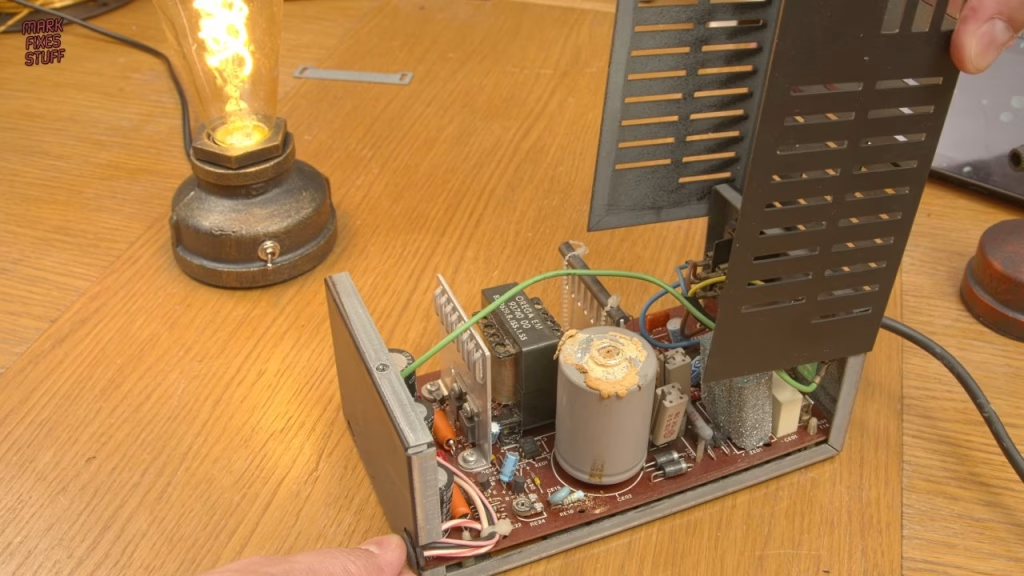
Removing the dead power supply board
The power switch pops out of the shell by pushing in its plastic tabs, and each of the four standoffs releases by pressing its retention clip (with a bit of persuasion). The DC cable carries three rails to the motherboard: -12V, +5V and +12V. On the AC side, the mains switch feeds the live and neutral terminals, and the live input was protected by a cracking example of a blown 1A fuse. It definitely did its duty.
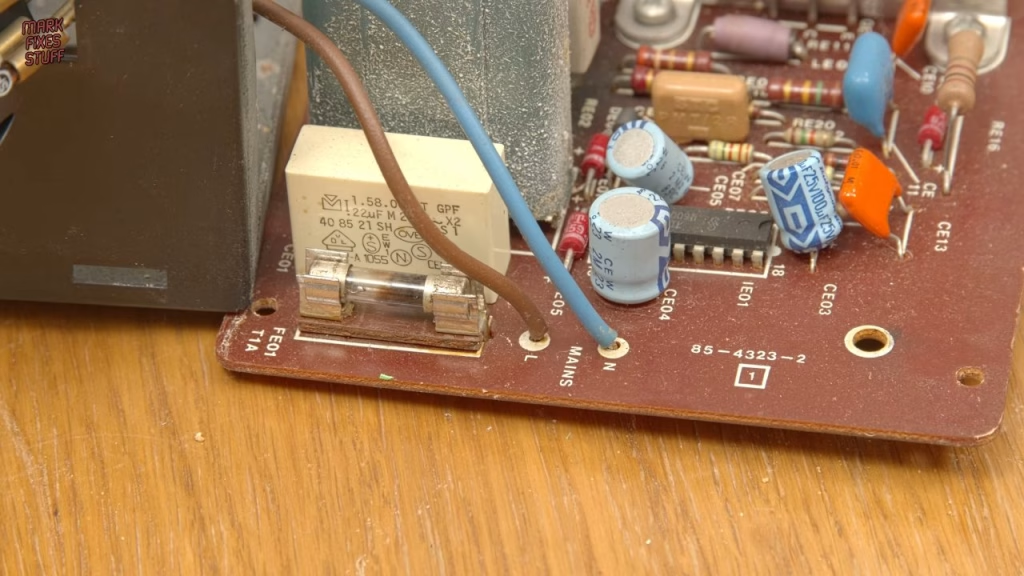
Before desoldering anything, I made notes of which wire goes where. The board has big ground planes, so I went up to 360°C, brushed on generic flux paste to clean the joints and improve heat transfer, and used my desoldering station (a slightly larger nozzle would have been better, but it worked). The DC wires and then the AC live and neutral came out cleanly, after cutting the cable tie that holds the DC cable to the board. I’m keeping the old board for a possible future refurbishment.
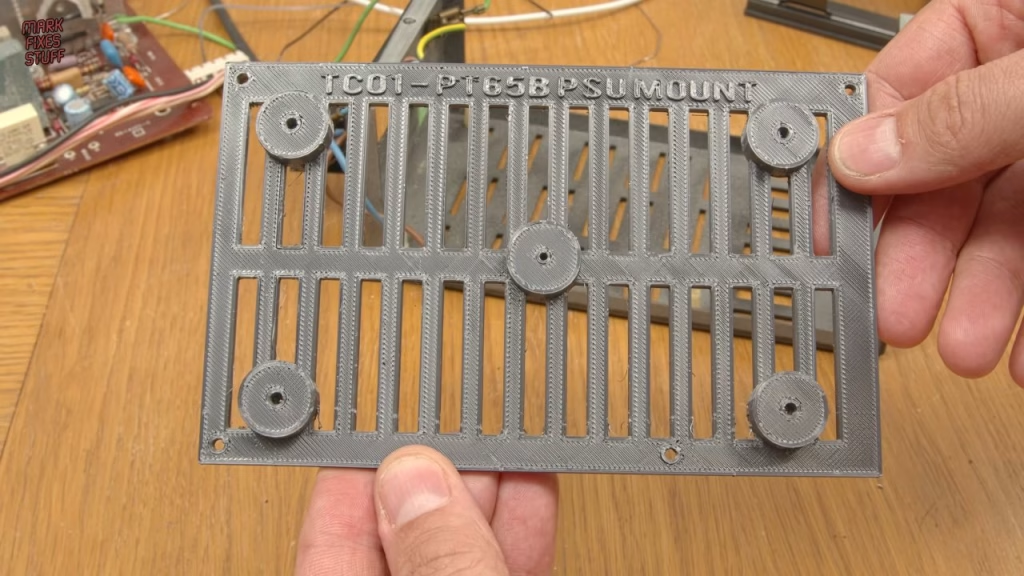
A 3D printed mount for the Mean Well PT-65B
The PT-65B is much smaller, more efficient and not leaky, but its bare underside can’t be allowed to short on the metal shell, so it needs a mount. I first tried a 3D printed bracket by EricGus, designed for Amiga PSUs (on Thingiverse), but in a dry fit I wasn’t sure it was up to the task. So I designed my own for the Einstein: it fits over the existing mounting points, takes screws firmly without splitting, and slips in nice and tight. I printed it at standard settings with 100% infill, and made the standoffs oversized so they run down to the base of the print and won’t pop off along the layer lines. I had to clip a few solder joints flat so the board sits flush. My Einstein PSU mount is on Thingiverse if you’d like to use or improve it.
Wiring the PT-65B to the Einstein’s connector
With no matching plugs for the new PSU’s sockets, I desoldered the sockets and wired straight into the board, alternating pins on the larger socket to avoid overheating it (probably overcautious). The live and neutral wires went in first, with good solid joints.
Every PSU in the PT-65 range has +5V, but the second and third voltages vary by model. The spec sheet from Mean Well’s website confirms the PT-65B’s are +12V and -12V and gives the pin allocation. Matched against my wiring notes:
- Pin 1 (V2, +12V): red and white striped wire.
- Pins 2 and 3 (+5V): pink and white striped wire to one of them.
- Pins 4 and 5 (0V common): solid black wire. I raised the iron 10°C here, expecting the ground plane to be a heat hog.
- Pin 6 (V3, -12V): solid pink wire.
- Chassis earth: solid green wire to the board’s earth tab, which is a challenge to solder because of its thermal mass.
The board is fixed to the mount with 12mm M3 self-tapping pan head screws, so the whole shaft bites and holds it firmly. The holes don’t line up perfectly (I think my scale is slightly off) and some of the printed walls inside the mounting holes came away, so the holes could be a touch bigger next revision. But the standoff pegs are fine, it’s very secure, there’s plenty of airflow, and it survived a firm smack on the desk.
Did it work?
With everything properly reassembled, I checked the output before connecting the rare and precious computer. Off load, +12V read a little over 12V, +5V slightly over 5V, and -12V was in the right range, all fine for a PSU doing no work. I genuinely didn’t know whether the Einstein itself worked, so this was a shot in the dark.
Connected to the board, with the jammed drive plugged in to look for signs of life, the Einstein sprang to life, accompanied by a grinding buzz from a drive that clearly doesn’t work. After tuning in the TV over RF, we had a picture.
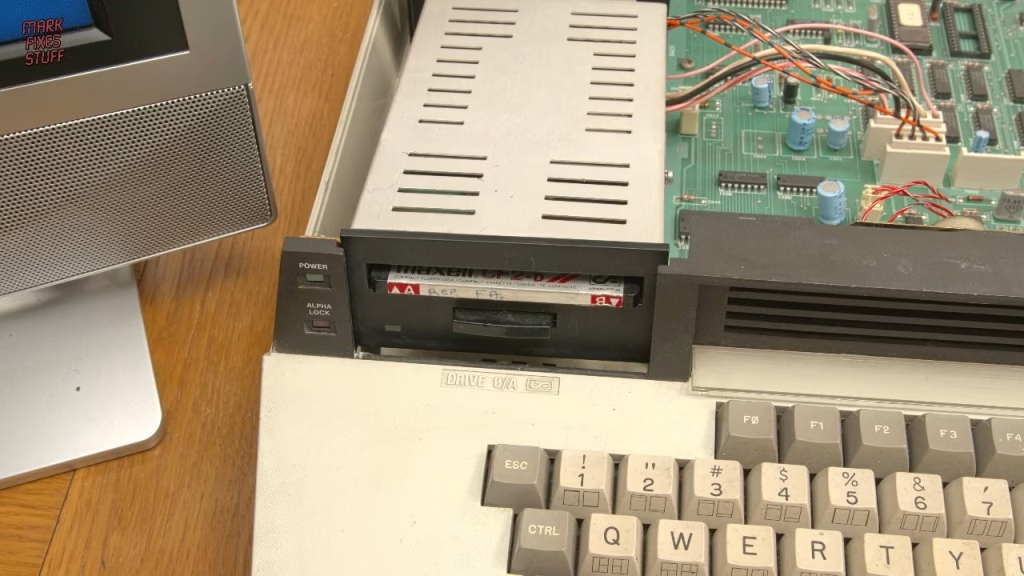
Next up, I strip down that jammed 3 inch drive to see if it can be fixed (spoiler: it couldn’t, but a donor drive came to the rescue). I also want to get a picture from the RGB monitor port, burn a diagnostic EPROM to test the machine more thoroughly, and decide whether it needs a recap.
More from the Tatung Einstein repairs: Tatung Einstein 3 Inch Floppy Drive Repair Fail (and a Replacement That Works), Tatung Einstein TC-01 MODERN UPGRADES & PLAYTEST! Custom Digital Disk Drive mount from PCBWay & RGB SCART.
Related
Later in the Einstein’s story: modern upgrades, a custom drive mount from PCBWay and RGB SCART. More power supply repairs: a BBC Micro PSU after the capacitors exploded and the common Spectrum +2A/B PSU fault.
Leave a Reply