

This Spectrum 128K toastrack belongs to a friend. It was given to them by someone who has since passed away, so it means a lot, and it was sent to me before my house fire. In the chaos afterwards I lost track of it, then found it had survived in a box upstairs. It had been the victim of a botched recap, so the plan was to undo that work, fit fresh capacitors and see if it springs back to life. Along the way my desoldering station died. This video was supported by PCBWay.
First look inside
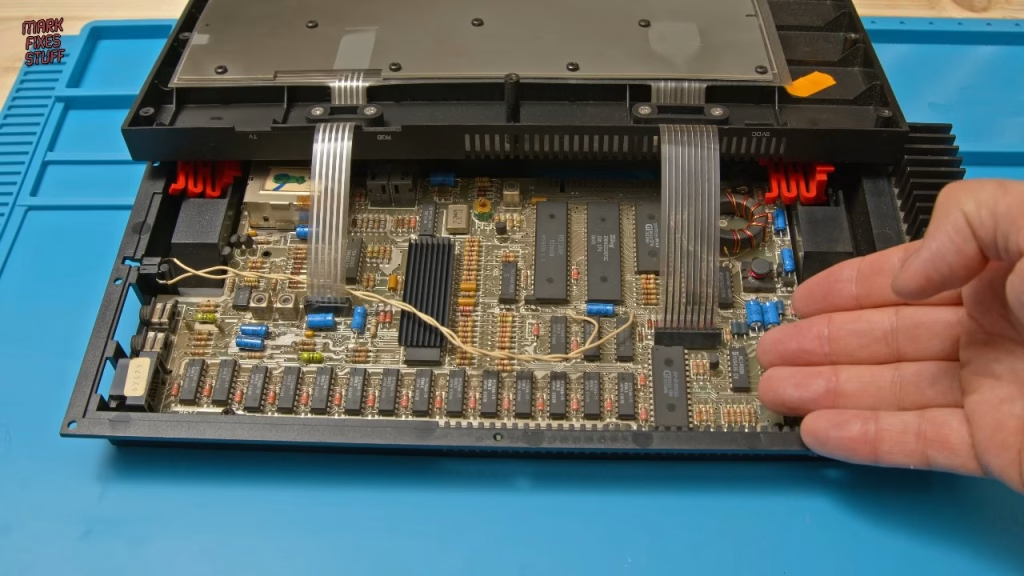
There are some remnants of smoke inside the case but no real damage. Apparently the machine worked before the recap. Things I found while stripping it:
- The regulator wasn’t even connected, so it could never have worked as it was.
- One board screw was about ten times too long: the wrong part in the wrong hole.
- Keep the tensioners for the plastic legs (3D printable replacements exist), and take the legs out so they don’t rattle around.
- Unplug the membrane tails by gripping firmly and pulling gently, and push the reset switch out of the left side of the case before lifting the board.
For parts I bought (with my own money, this isn’t sponsored) a recap kit from Retroleum. The instructions list all the values at the top and include a map showing each capacitor’s location and polarity. I also bought their jailbar reduction kit, which will come later.
Desoldering a bodged recap
My desoldering station was set to 480°C, far too hot, so I knocked it down to 360°C. The first lead cleared instantly; the second wouldn’t clear at all, which is odd off a ground plane. The station had failed. So it was old school: an Engineer SS-02 solder sucker, whose silicone tip lets you get right onto the joint. Counterintuitively, adding fresh solder first gives the sucker something to grab.
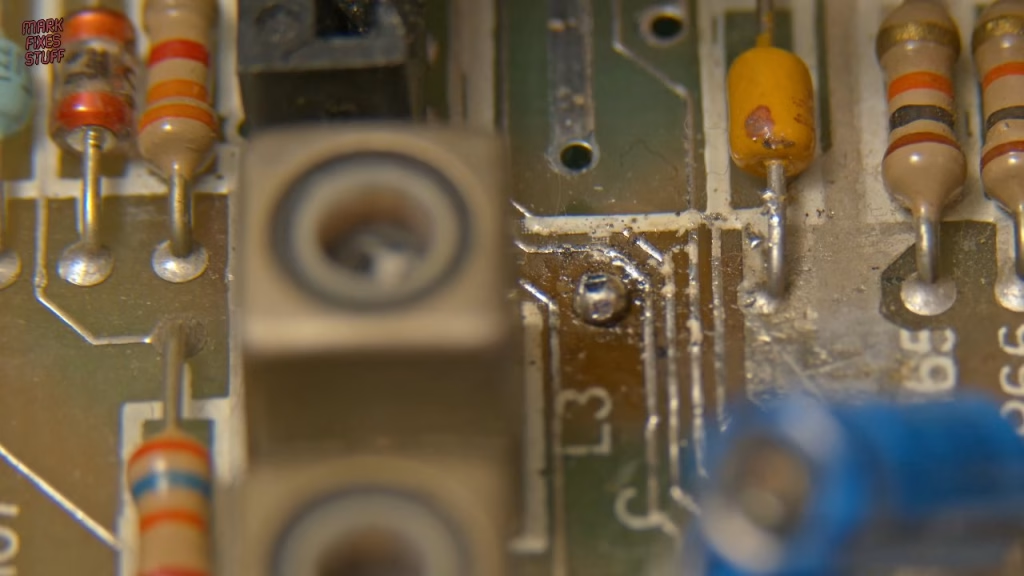
Some of the previous work was grim. One lead went to a ground plane and clearly hadn’t been heated enough to take, leaving a lump of solder under 1980s solder mask. Fresh solder, flux and braided wick sorted it, as capillary action draws the solder into the hot copper. Another lead didn’t go through the board at all, and one was just sitting in cracked solder, not connected to anything. The trick with wick is to start moving it as soon as solder runs along it, or it sticks (as mine did once). I cleaned up spatter on the tracks quickly so as not to lift them, then gave the board a preliminary clean with isopropyl alcohol.
A rescue from a patron
The next day I found the desoldering gun had an unclearable clog right in the nozzle, so the station needed a new gun. Then something amazing happened: Damian, one of my patrons, heard about it and had a new desoldering station delivered, even though his cat was very unwell at the time (the cat has since recovered well). Thank you, Damian. It’s even better than my old one, clearing holes in record time.
Fitting the new capacitors
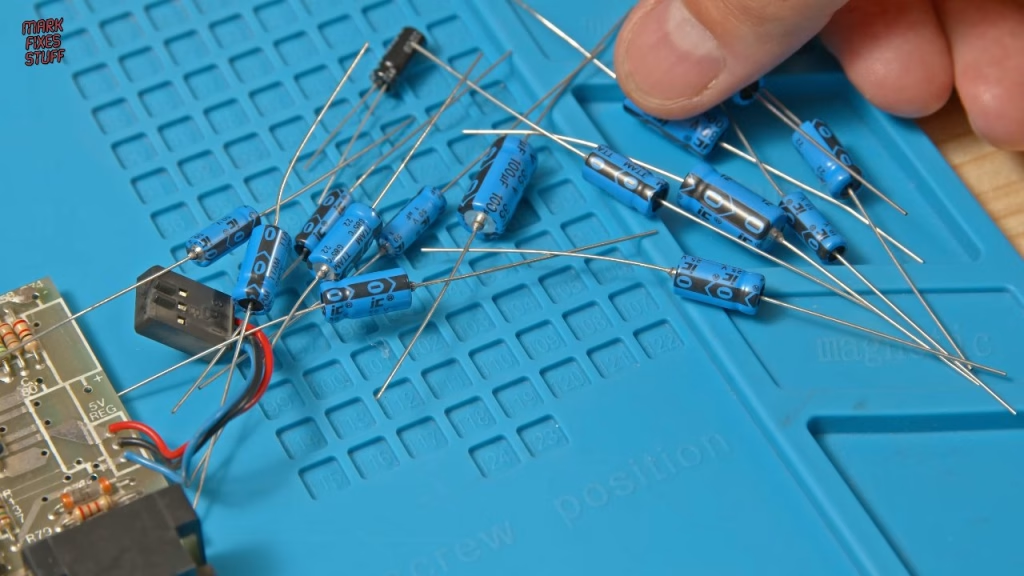
The kit’s 47µF parts are made by Illinois Capacitor (since acquired by Cornell Dubilier), which I use myself. I check polarity against the map, fit each with the value facing up so it can be read later, bend the legs to hold it in place, add a little extra flux, then heat pad and lead together and feed in leaded solder. Bending legs adds stress to the joint, which is why some military specs avoid it, but this isn’t going to the moon.
Did recapping fix it?
The board goes back into the lower case for testing, because that’s where the heatsink and regulator live. Make sure the regulator plug goes on the right way round, with the two black plastic tabs up. I used a Retro Computer Shack RGB cable and a 9V 2A centre negative supply; a supply that isn’t centre negative will destroy your Spectrum.
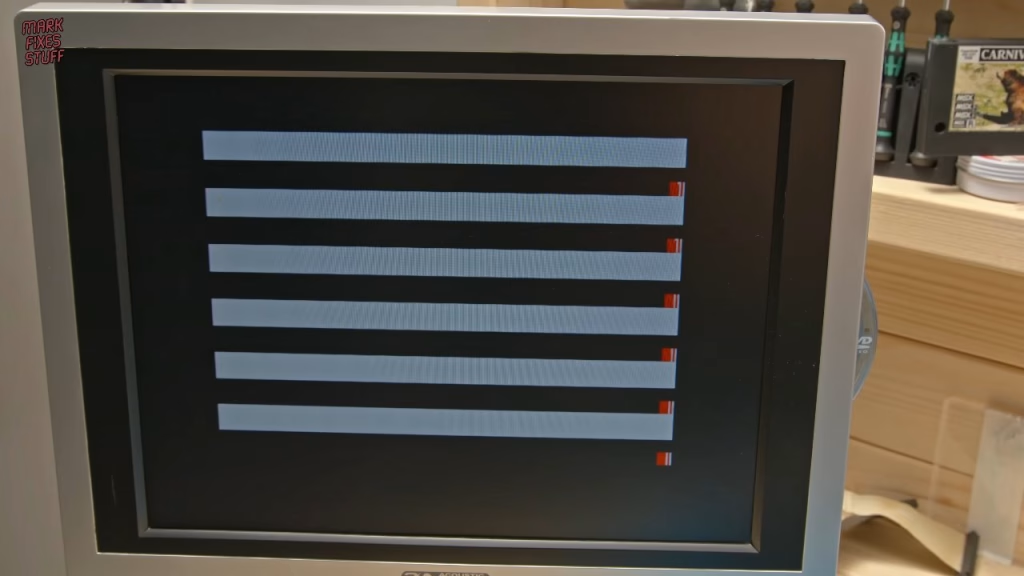
It powered on, which is progress, but no: it was a fail. A second power cycle gave a blue border, which is useful information. My gut feeling, without any diagnostics, is that it’s something to do with the processor or the ROM rather than the RAM. So there will be a part 2, where I plan to build the ByteDelight ZX Diagnostics Cart and see what that tells us.
More from the ZX Spectrum 128K Toastrack restoration: Spectrum 128K Toastrack Fix Part 2: Building the ZX Diagnostics Cart, ZX Spectrum 128K Toastrack Won’t Boot: Fixing the Z80 Reset Circuit (Part 3).
Related
More Spectrum 128K work: the Spectrum 128K toastrack group fix and common Spectrum +2A/B power supply faults. If your joints look suspect, see how to spot and repair a dry solder joint.
Leave a Reply