

Part three of turning a garden cabin into my retro repair workshop and filming studio, and this is the one where it starts to feel real: an insulated floating floor, a painted finish, and proper electrics run down from the house. This video was kindly supported by PCBWay; massive thanks to Elaine Hu and the team.
Steps, skirting and an insulated floating floor
While I was inside, Seth built a set of concreted steps in about an hour and a half, and a skirt around the bottom of the cabin. The cabin sits on stilts, so closing that gap should really help with the thermals. Then he cracked on with the floor: a layer of silver Recticel insulation as the base for a floating floor. Recticel has about triple the thermal insulation of the material we used in the walls, and if I’d had the budget I’d have used it for the whole build.
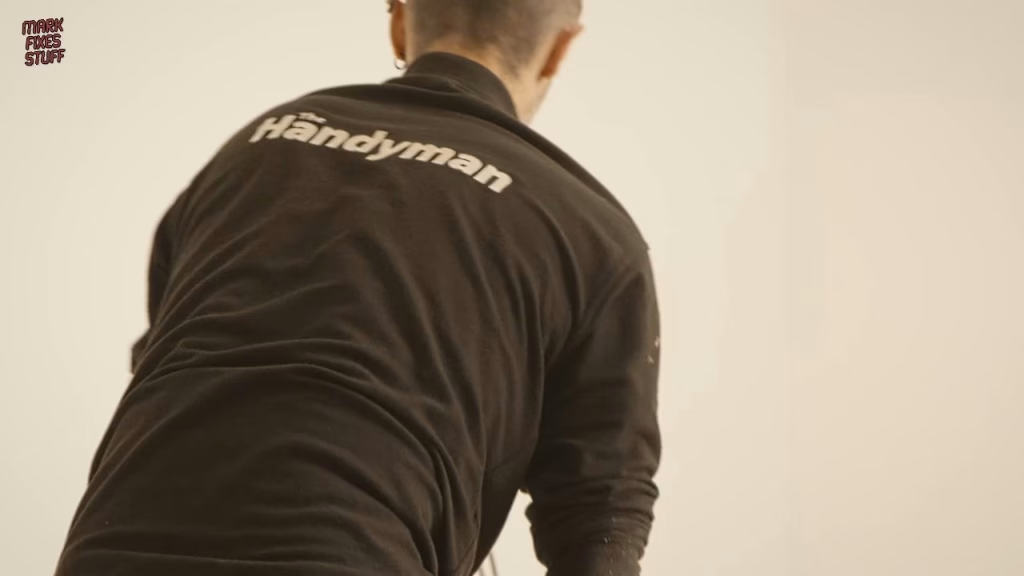
It looks easy. It isn’t. Seth remembers several measurements at once (I forget one before I’ve crossed the room) and goes back and trims things I’d have called good enough. Good tradesmen are hard to find, and I’m lucky to have him on this.
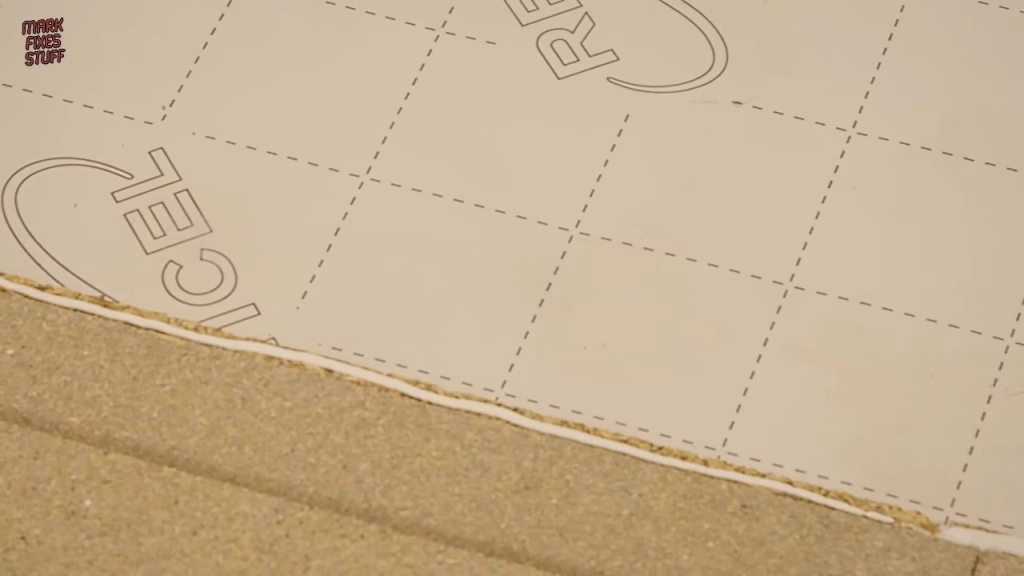
Why paint the floor grey?
There was no budget for laminate, so it’s floor paint. I picked a neutral grey on purpose: a coloured floor reflects colour back onto whatever you’re filming, so an orange floor would give everything an orange tinge. It took a couple of coats and another day. (The one chipped board corner? That was me dropping it. Filler will sort it.)

Getting power to the cabin
Electrician day started at 5:30 in the morning, which for a night owl like me is brutal. Terry from T G Wood Electrical Services and Seth know each other well, and it showed. About 100 metres of armoured cable runs from the house, under the paths and down the garden, entering behind the cabin. The house needed a new consumer unit to support it, and the cabin has its own consumer unit with three circuits: lighting (bright LED battens), sockets, and a separate one for the heaters, because it will get cold down there.
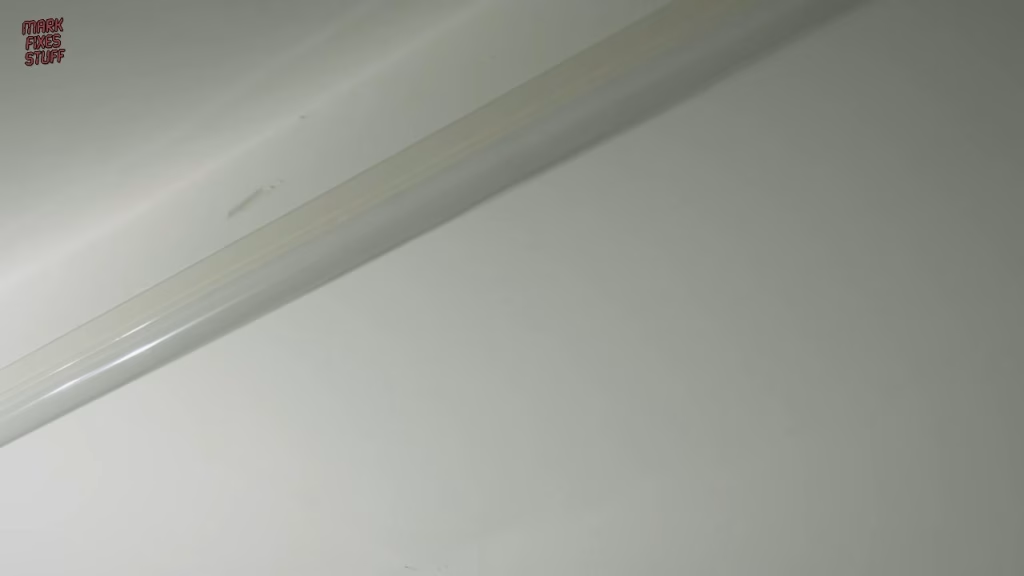
The hole through the house wall was drilled at a downward angle so any water runs out, the cable run up the wall was lined up with a laser and fixed with cleats, and Terry found a route through the roof overhang into the loft. Hooking it into the house supply took some detective work, then came the switch on. We’ve got power in the cabin. Terry checked and signed off all the work before he left.
What’s next?
We now have walls, a floor, lights and electricity, and the next video is moving in. I can’t wait: there are so many projects that have been on the back burner because of fires, moves and everything else. Thanks to Seth (The Rye Handyman) and Terry, and to my patrons. If you’d like to support the build or get ad free early access to videos, you can join on Patreon.
More from the workshop and studio build: Building a Garden Workshop for Mark Fixes Stuff: From Bare Soil to Watertight, Retro Cabin Studio Build Part 2: Insulation, Ceiling and Paint.
Leave a Reply