
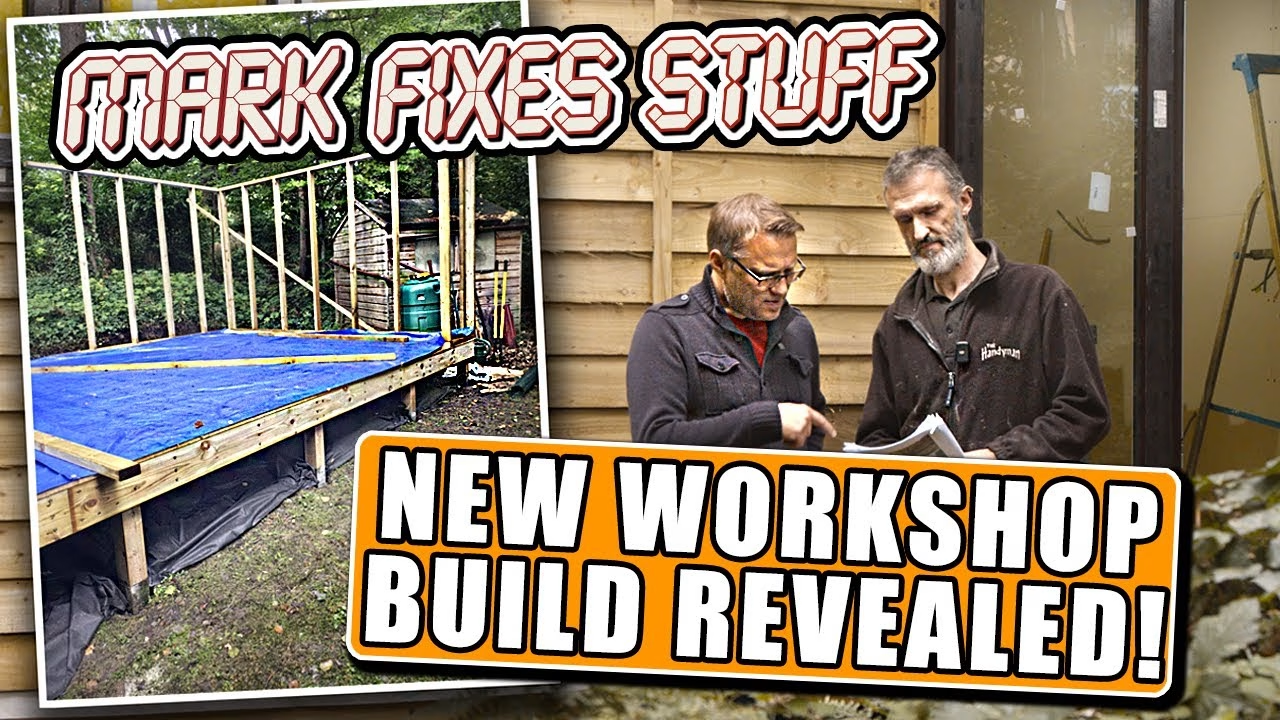
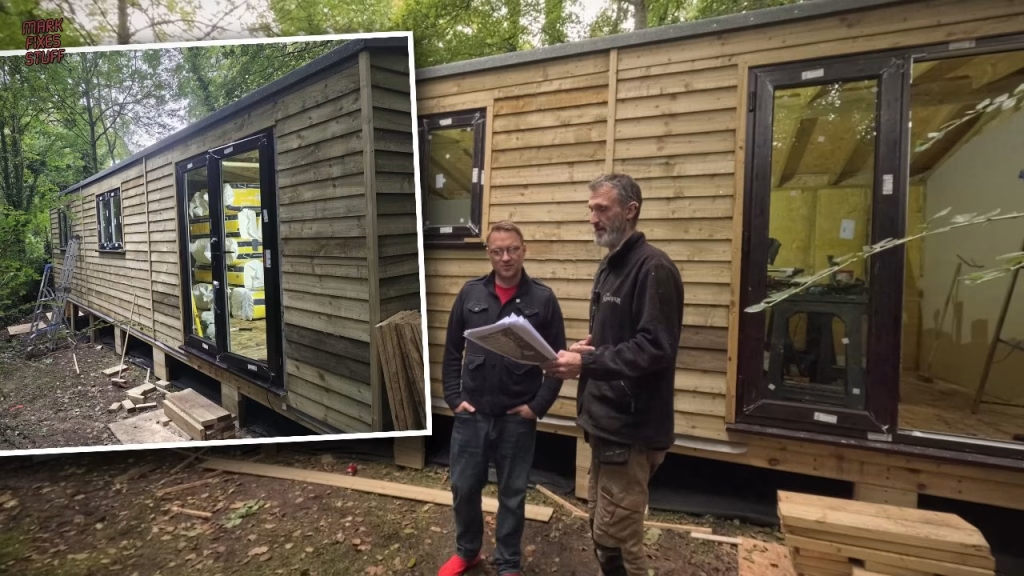
Big news about the workshop. My plan was to convert the garage into the ultimate Mark Fixes Stuff workshop, but after months of planning I hit a roadblock: the conversion would have needed planning permission, which is expensive and slow. So instead, we’ve built a purpose-built workshop in the garden, designed to fit within the UK’s permitted development rules (single storey and under 2.5m high). This video was sponsored by PCBWay.
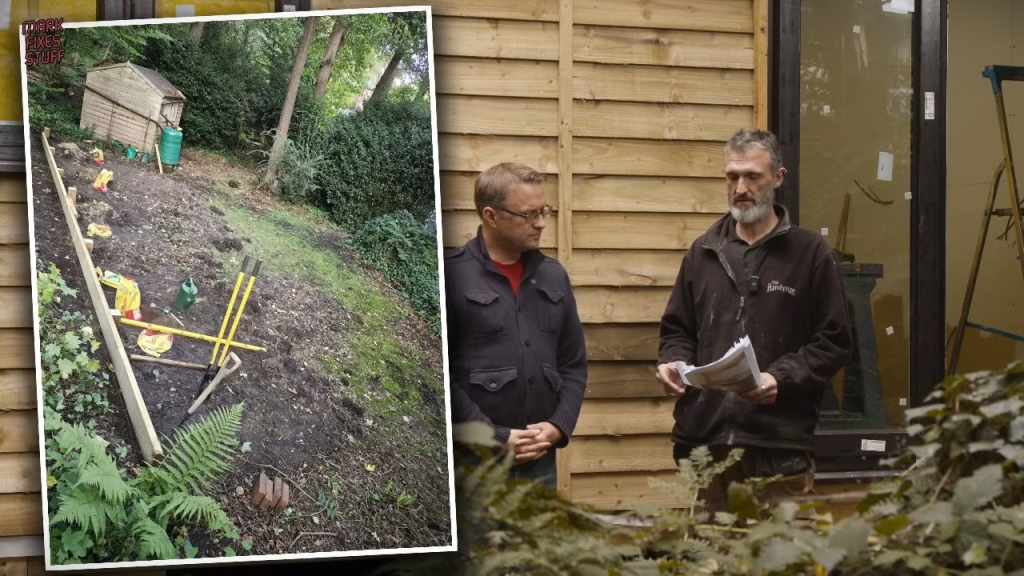
The builder is Seth, who runs The Rye Handyman (carpenter and builder, but he covers most things). I wasn’t around to film the early stages, so Seth took photos and we talk through them, mostly with me asking what everything is. Honestly, I don’t understand any of this sort of stuff.
Foundations on soft ground
It starts with a beam across the back, posted and concreted into the ground, then joists coming outwards, squared, levelled and concreted in too. The ground is soft for at least the first foot, and uneven, so a lot of soil had to be dug out; otherwise the cabin would have been on much taller stilts. (No Roman hoards, sadly.)
The posts are incised treated timber, which lets the pressure treatment go much deeper and gives a 20 year in-ground contact rating. They’re also wrapped in a bitumen sleeve right where posts always rot: the zone between in the ground and above it. Seth reckons it’ll outlast me.
Floor deck, walls and roof
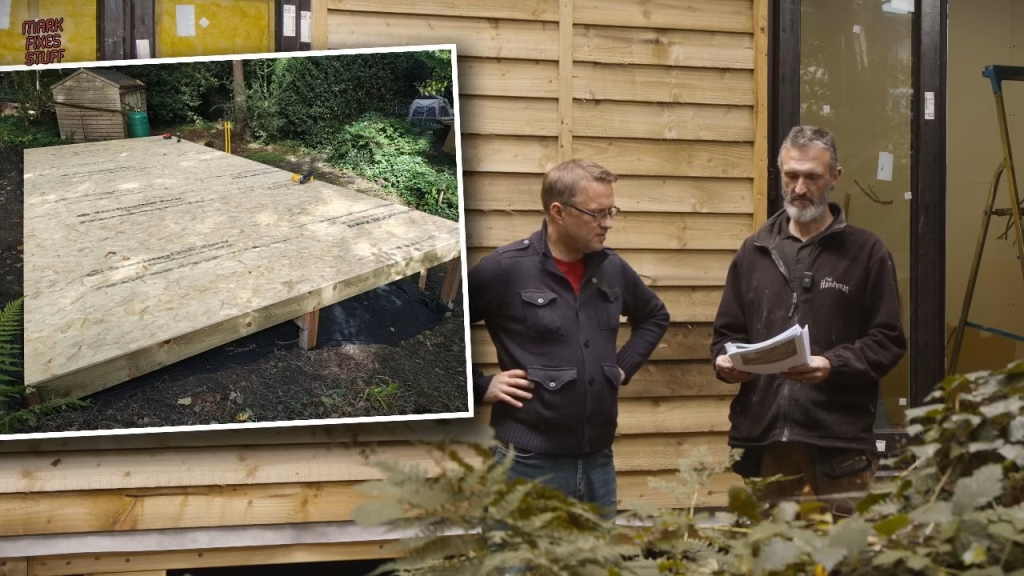
On top of the joists and extra bracing goes 18mm OSB3, a structural grade sheet, covering the whole deck. Underneath there’s a weed control sheet and chicken wire staked into the ground to keep critters out (a determined badger might still win, apparently). A blue tarp kept the OSB from getting soaked while it rained during the build.
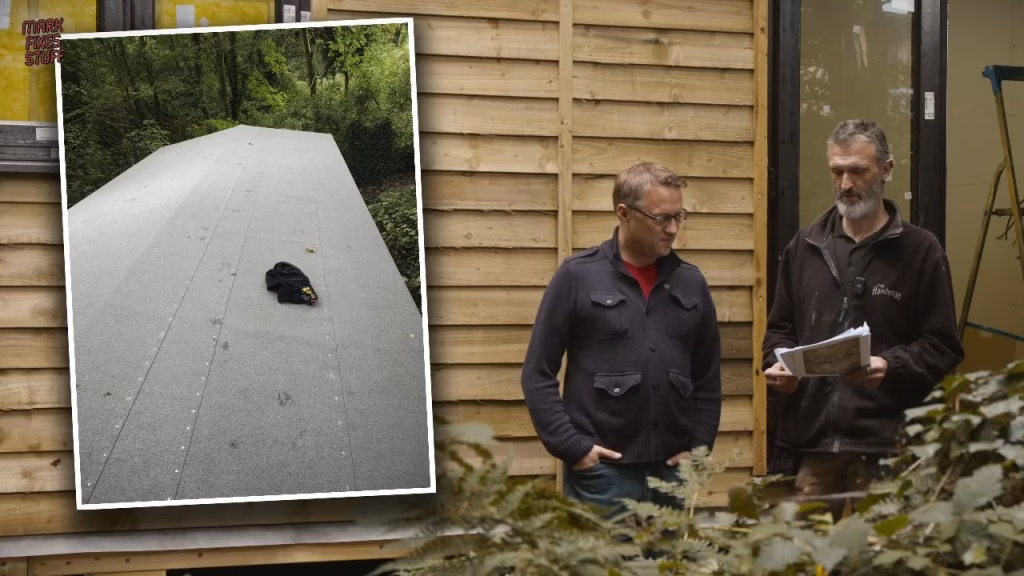
This isn’t a kit: Seth designed it in his head and turned a pile of wood into a building. The walls went up and were clad outside in 11mm structural OSB for stability. A ridge beam runs down the middle of the roof, long enough that it got a supporting post. Then a breather membrane all round (overlapped bottom to top, so it keeps moisture out but lets the wood breathe), roof boarding in 18mm OSB, screwed and nailed, and seven rolls of green mineral felt with plenty of overlap.
Cladding, insulation and a door
Outside it’s clad in treated feather edge, which will be treated again once everything is finished. Inside, the walls got 100mm cavity insulation, the roof will get the same, and the floor will get rigid polyurethane foam insulation board, foiled on both sides. With the door sill in and a glazed door fitted, it’s watertight. From a pile of dirt to that is pretty amazing.
What’s still to do?
Inside it’s being drylined with plasterboard: joints taped and filled, then sprayed white. Cabling has started for the electrics, and there’s still insulation, flooring, workbenches and furnishings to come. We’ll cover the rest as a video diary.
If you’d like to help finish the workshop, you can support the channel on Patreon. And if you donated before and don’t want your contribution to go towards the new workshop plan, just message me and I’ll happily sort a refund, no awkwardness required. Thanks to Seth, who you can find on Instagram as The Rye Handyman.
More from the workshop and studio build: Retro Cabin Studio Build Part 2: Insulation, Ceiling and Paint, Retro Workshop Studio Build Part 3: Floating Floor and Electrics.
Leave a Reply