
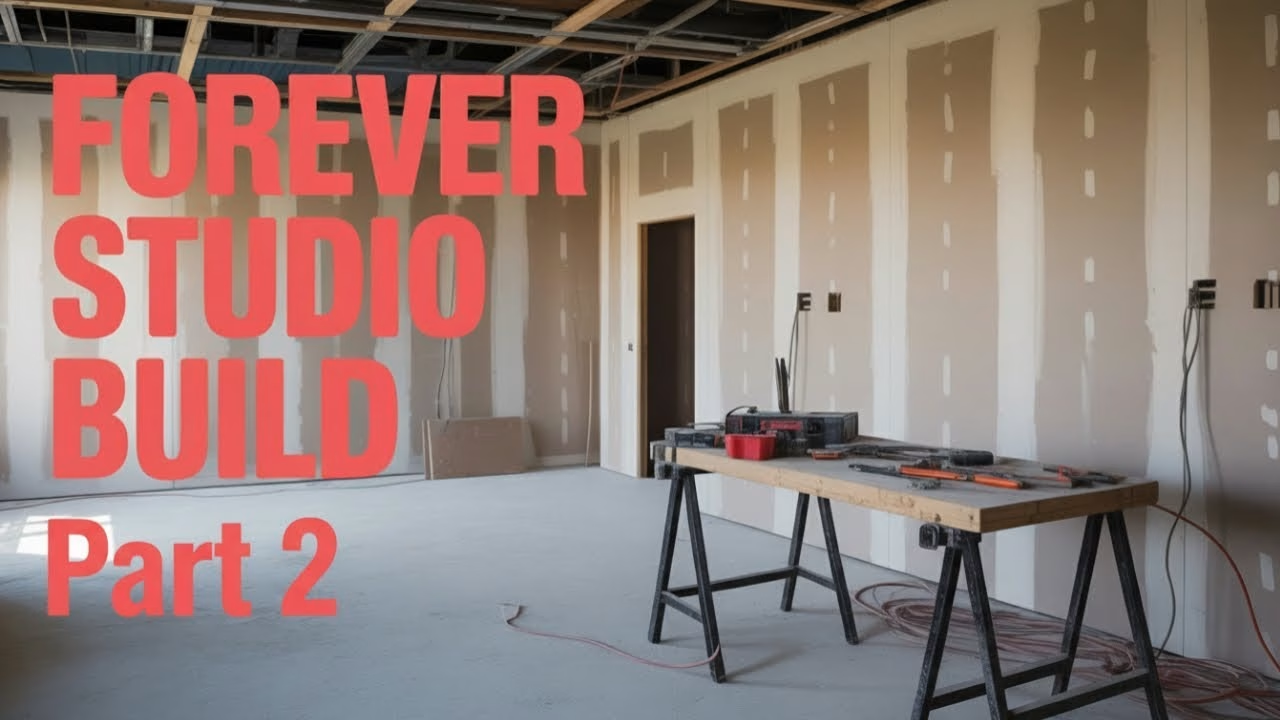
In part two of the cabin studio build, the wooden box we left you with last time becomes a proper room: insulated walls, plasterboard, a boarded ceiling and a lot of brilliant white paint. Seth does the real work; I nobly supervise and occasionally hold something wrong. This video was sponsored by PCBWay, so thanks to Elaine and the PCBWay team for supporting the channel.
Insulation and plasterboard
First the walls were filled with 100mm cavity insulation, so nobody freezes their fingers off while soldering in winter. While I was at work, Seth boarded all the walls, and I came back to find an opening window too. There’s no budget for a plasterer, so Seth did the filling on the plasterboard himself.
The ceiling
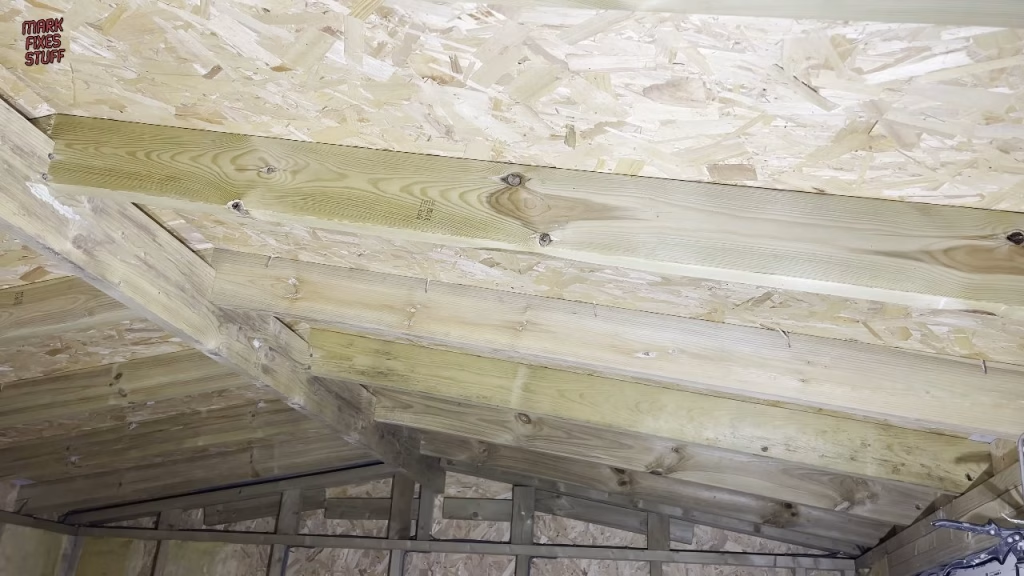
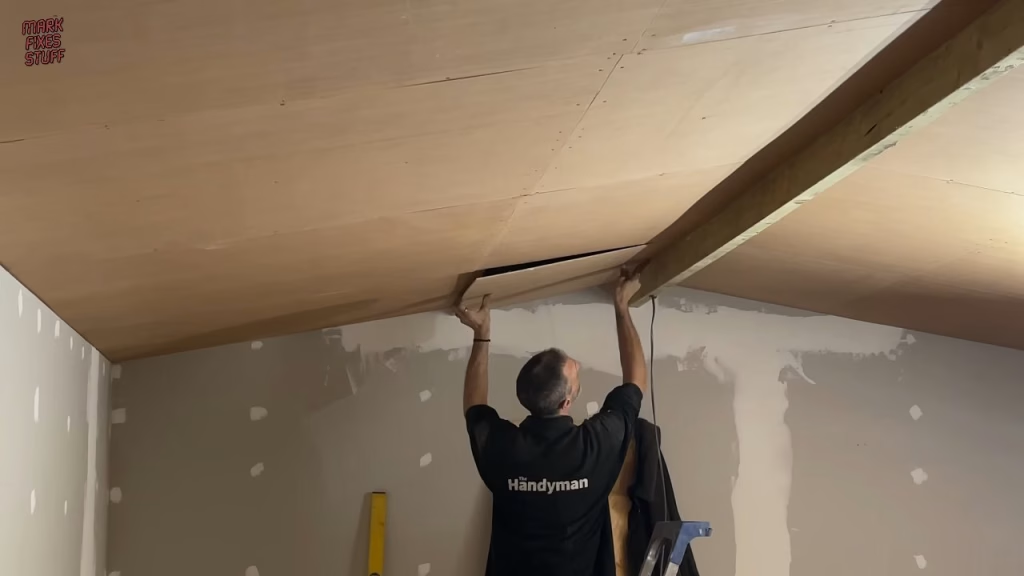
Seth warned me the ceiling would be brutal: all overhead work that makes your arms ache. By the time I got back the next day he’d done the whole thing, leaving just the last panel for the camera, each one fixed with multiple fixings because if it falls down, we’re screwed. I’m really impressed with the progress; coming back from work to see the cabin taking shape was a welcome sight.
Electrics planning: no, Pritt Stick won’t do
The cabling for lights and power has to meet Part P and the 18th edition of the UK wiring regulations. My suggestion of fixing an extension lead to the ceiling (glue, not nails, for the record) was gently overruled. Seth made sure I’ve got plenty of sockets, with just under 3.7kW available from the socket circuit, and separate circuits for the lights and heaters. Final connections will be done by a qualified electrician.
Sanding and brilliant white paint
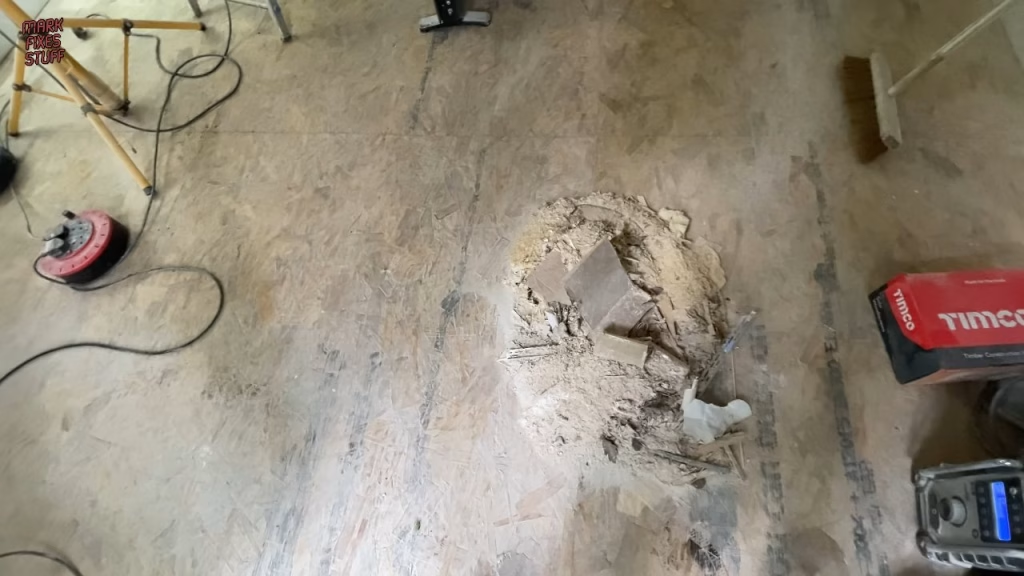
The next day I arrived to what looked like a pile of budget muesli in the middle of the floor: Seth had spent the morning sanding all the filler, and it was really dusty. Then came painting, in brilliant white so the room is bright and reflective for filming. It took coat after coat over several days, and Seth’s mood went downhill with every one. Even with the second coat still wet and patchy on camera, it was starting to look fantastic.
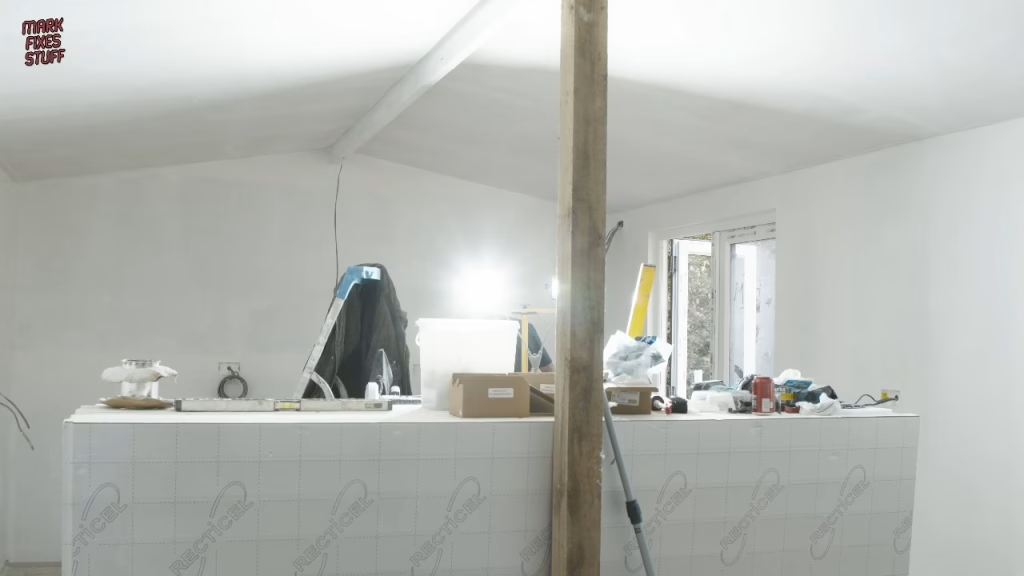
What’s left?
The floor is next: Recticel rigid polyurethane foam insulation board, taped, then topped with chipboard flooring. After that, the armoured cable for the electrician, the cladding skirt around the base of the cabin, the steps, and a final treatment on the outside. Then I can finally move in.
This build is a huge step forward (and a big financial risk) for the channel: every future repair video will come from this cabin. Patrons get ad free early access and our Discord, where I’m lovingly bullied into answering questions. You can join on Patreon. And huge thanks to Seth for doing such a fantastic job.
More from the workshop and studio build: Building a Garden Workshop for Mark Fixes Stuff: From Bare Soil to Watertight, Retro Workshop Studio Build Part 3: Floating Floor and Electrics.
Leave a Reply