
This was originally a quick private video for the owner of this Panasonic 3DO FZ-1, who’d bought it as working but found it had an intermittent fault. It’s such a common 3DO problem that I made it public in case it helps others. The culprit is a pair of capacitors in the power stage that dry out and leak: sometimes the console works, then it gets worse and worse, until there’s no LED at all. Here’s the diagnosis and the fix (excuse the shaky camera; it wasn’t meant for public consumption).
Why does a 3DO FZ-1 work for a while and then die?
Full disclosure: I tested it before I started filming, and it fired up enough to load a disc (Super Street Fighter II Turbo) before the screen went blank. Then came a blinking red light, and then no light at all. That’s completely typical, and it’s one reason these get sold as working. They sit in storage, the seller fires one up and it works for a while, it gets boxed and sent, and after a little use the failing capacitor gives up and the console stops working. There will almost certainly be leakage on the board.
Finding the capacitor leakage
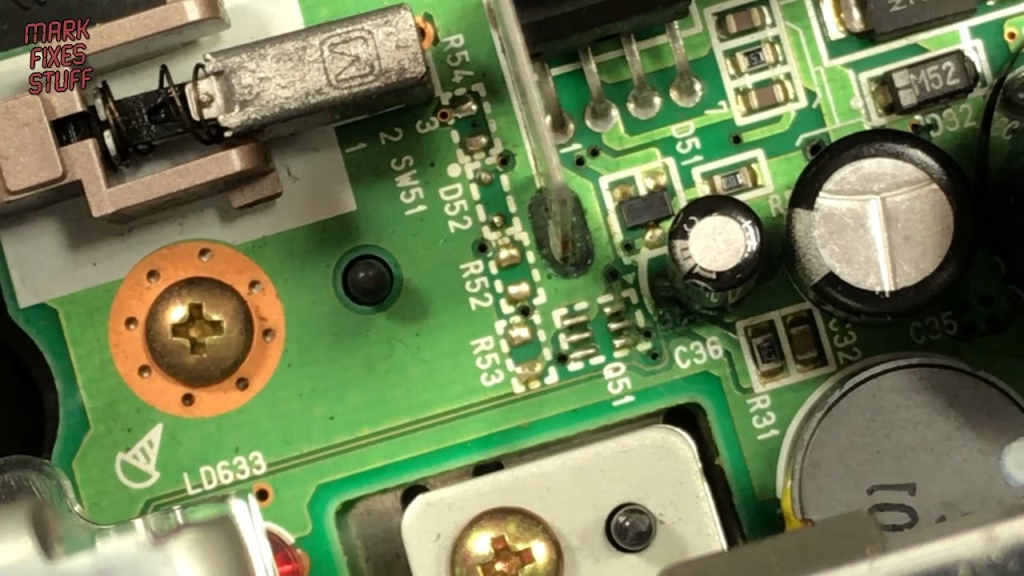
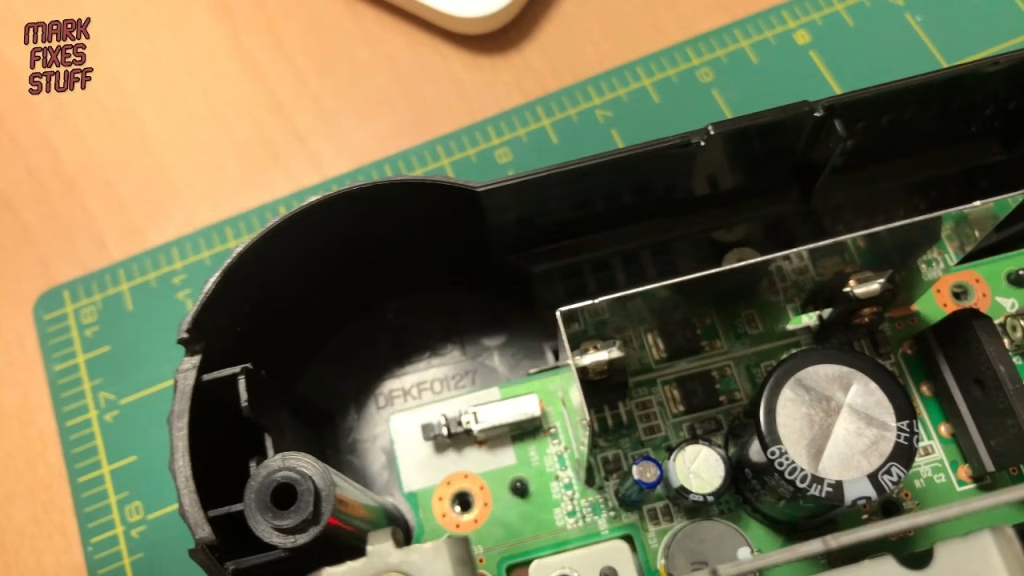
With the case screws out (the lid is just a bit stiff), the problem area is down in the power stage. Around C36 you can clearly see the electrolyte has leaked, with the silver turned a urine yellow compared with the other contacts. A little damage has reached the top substrate of the board, but it’s something we can work with.
A quick sanity check I always do on these: the memory backup battery. It read 3.09V, so it’s fine. I’ve never found one that needed changing yet.
Measuring the old capacitors’ ESR
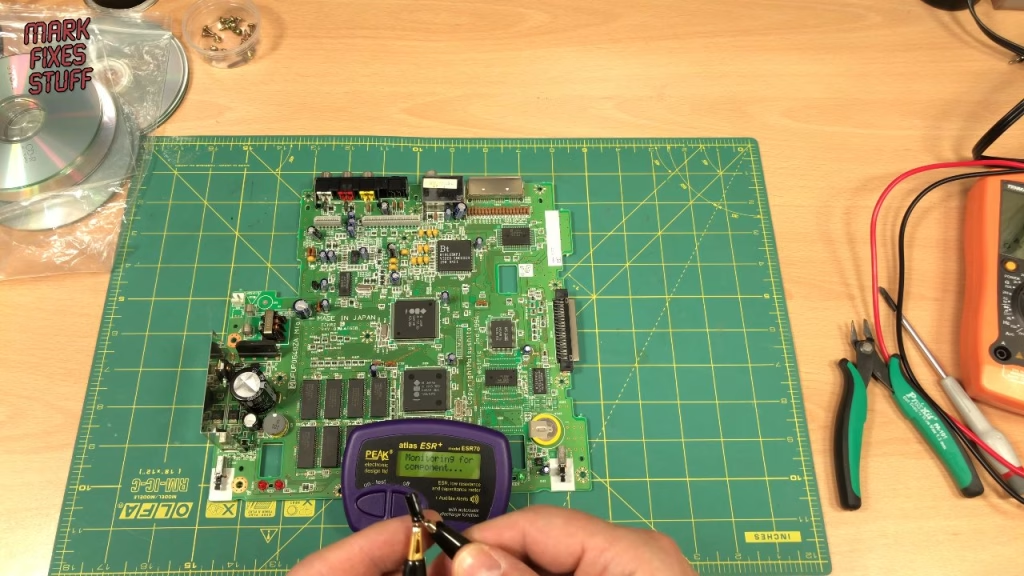
With the first capacitor out, I put it on my Peak Atlas ESR meter. It’s a 10µF 16V part, where you’d expect around 0.4 ohm ESR as a rough maximum. It measured 2.3 ohms: massively resistive, effectively a brake on the flow of energy. Its capacitance had also dropped to 8.2µF, which is borderline even if you allowed a 20% tolerance. The other one measured around two ohms too.
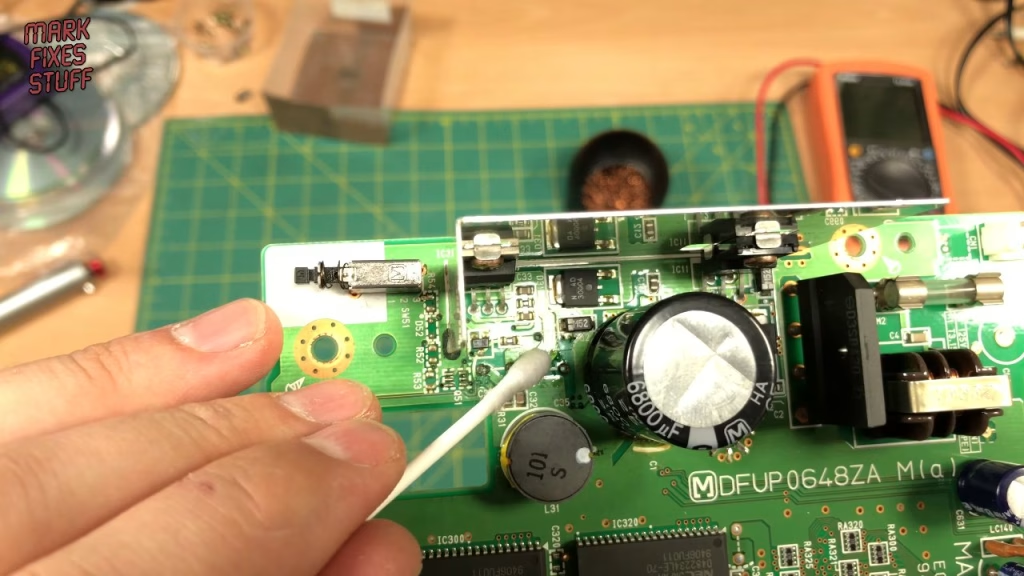
With the capacitors removed, there was fresh wetness on the board from the recent power-ons, which had made C35, the larger capacitor, leak a bit more. A cotton bud lifted electrolyte mixed with the top substrate, where it had started eating into the board, and the underside of the old C35 showed the matching wetness. I checked the large capacitor and a few others nearby with the ESR meter, and they were fine.
Cleaning and recapping
I cleaned all the leakage off and used a light acid solution to neutralise it so it doesn’t keep eating into the board. The pads were still slightly grey, so I applied no-clean flux; they cleaned up when the new capacitors were soldered in, with no lasting damage to the board. I also checked the AC input, which read 16V AC, so there were no shorts or problems in the transformer winding.
Did the repair work?
Not straight away. As soon as the new capacitors went in, the power stage fuse blew. The strain of the failing capacitors had taken out the voltage regulator in the power stage: it failed open, so the 20V DC input went straight across to its output, the current draw was massive, and the fuse blew. Luckily that didn’t take out any other components, and the 3DO is now up and running: at the time of filming it had been running for about four hours. It gets very warm, but they usually do.
Related
More Panasonic 3DO repairs on the site: unboxing and testing my own FZ-1, the 3DO teardown and repair, whether that no-power repair worked and fixing the laser with a 3D printed gear.
Leave a Reply