
A smashed Sega Mega CD arrived in a carrier bag with leaking capacitors, a save battery ripped off the board and a missing fuse. In part one I assessed the damage; now the parts have arrived, so in part two I recap the main board and the sub board, fit a replacement save battery and a new 2.5A pico fuse, repair a broken track, and then live test it to see whether it can play discs again.
Recapping the Mega CD main board
The main board had capacitor leakage, so the first priority was getting those capacitors off and neutralising the alkaline leakage before it did any more corrosive damage. I think I got to this one in time, but you can never tell.
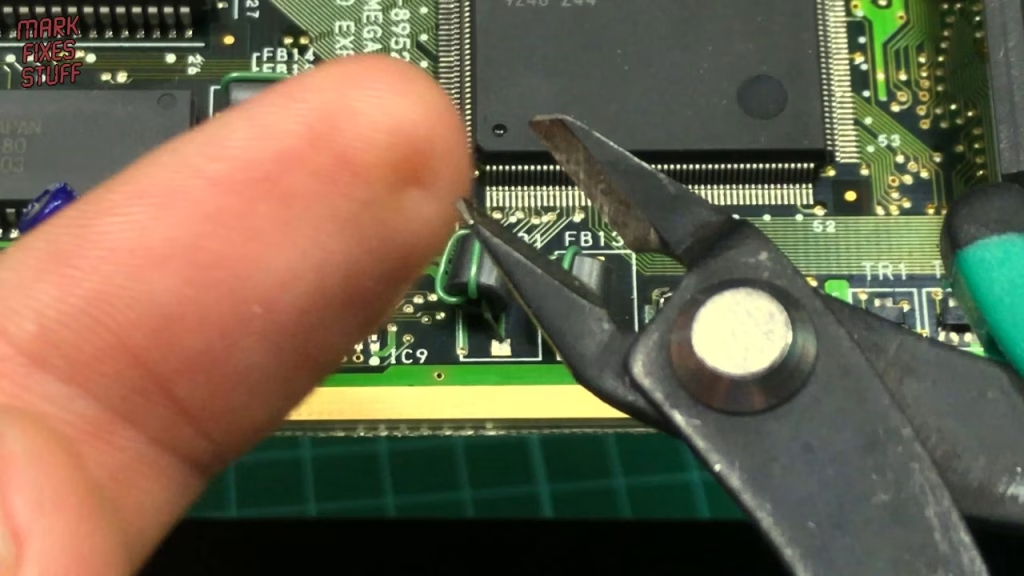
To limit thermal stress on the pads, I cut the SMD capacitors gently off the board with sharp side cutters. Once the top half of the can has been removed, the lower half lifts free of the legs and the remaining stumps come away easily. I find this technique quite safe. The leaded electrolytics got the same idea: I cut through the legs first, because it makes the stumps easier to remove with less heat.
While I was working, the sticker came loose from the EPROM, exposing the quartz window that could be used to erase it with UV light. A dab of glue put it back where it belongs.
Cleaning up the damaged pads
A very weak vinegar solution neutralised the alkaline left behind by the leaking capacitors, which helps stabilise the board. That revealed the damage left on the solder pads. Old, contaminated solder can be hard to shift, so I added fresh solder first, then a generous dose of rework flux (a bit unwieldy out of the can) and solder wick, keeping the wick moving under a hot iron. A wash with isopropyl alcohol and a buff with a cloth left pads that are much easier to solder to.
Fitting a replacement save battery
Someone had physically ripped the save battery off the board. I can see why they tried to remove it, but that large ground plane probably defeated their underpowered soldering iron. I cleared the remnants of the old battery and the holes it left behind.
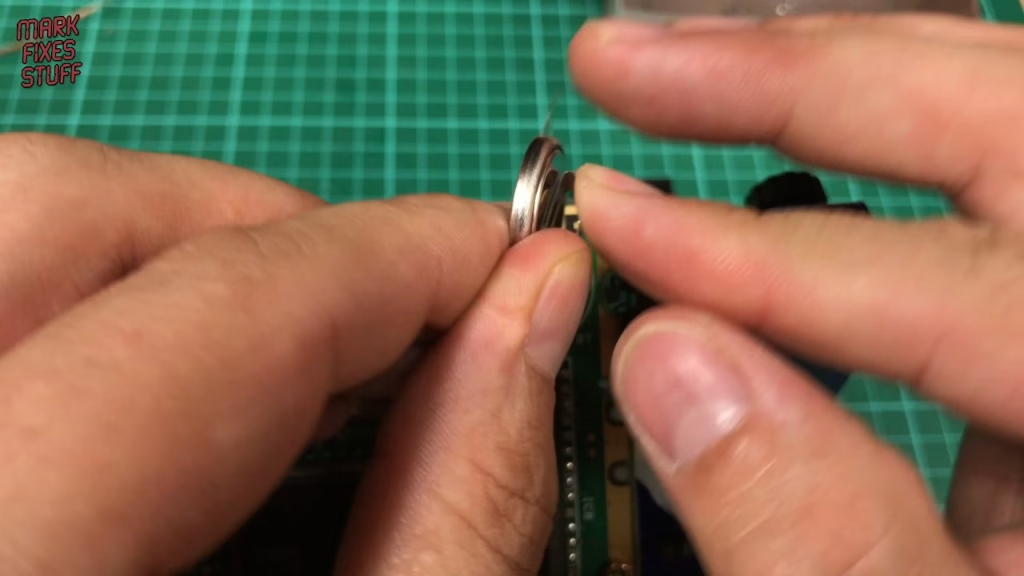
Then a slight problem: I’d bought the wrong battery format. It’s rechargeable, but it’s the wrong shape. With a tab bent back and the legs bent down, a bit of gentle persuasion got it almost perfectly into position. This is my own machine, and I wouldn’t do this on anybody else’s. A quick blob of solder holds it in place so I can use both hands for the other terminals, working fast because these boards are very sensitive to heat, then I revisit that first joint. The battery measured 2.4V rather than 3V, but it’s a rechargeable that has been in storage.
Next came the through hole capacitors, all Panasonic parts. The ground plane on this board is massive and even with a temperature controlled iron it’s a battle between lifting pads and keeping the solder molten. I also reattached a resistor so it’s back the way it left the factory. The surface mount capacitors are Panasonic too: I put a blob of solder on the pad and one on the capacitor lead, joined them with a fine tip iron, then flipped the board and pressed on the top of the capacitor to solder the other side. Each was checked with a meter, and the last through hole capacitor went in at the end because it was in the way of the others. Not my most attractive rework, but much better than the leaky mess it arrived as.
Fitting a new 2.5A pico fuse on the sub board
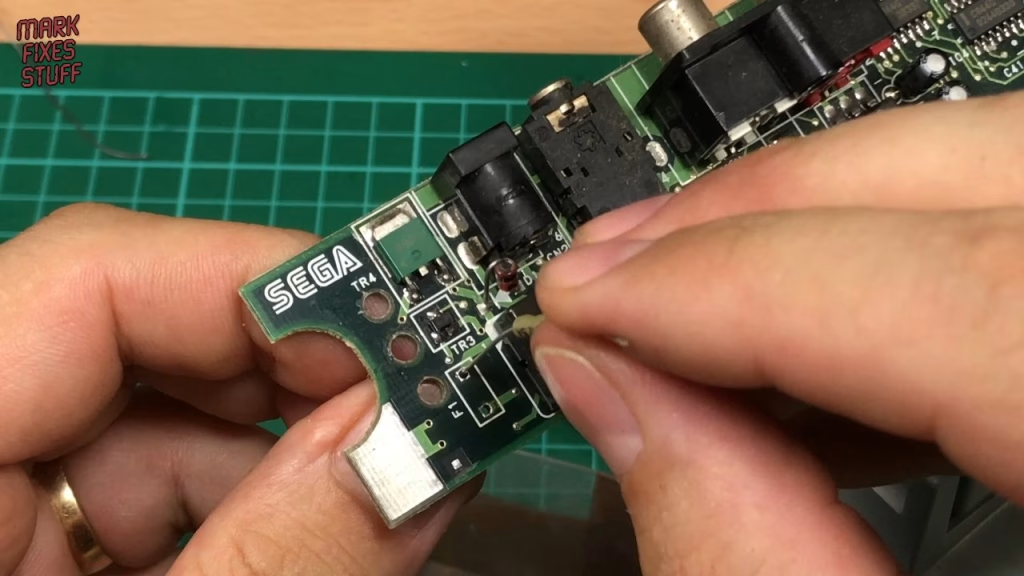
On the sub board, someone had made an aborted attempt at replacing the fuse and left stumps behind. As you’ll know from the previous video, the fuse was completely missing when this unit arrived. I’d already checked TR4 with the diode test function on my multimeter, so I knew that was fine. This board was hard work: the solder didn’t want to clear from the holes, but the board was also very sensitive to heat, so I took it slowly.
After cleaning both sides with isopropyl alcohol, I fitted a 2.5 amp pico fuse. These are normally mounted upright, but I chose to mount this one flat to the board because it just seems more elegant. I bent the legs so it wouldn’t drop out when I flipped the board, and soldered it as quickly as possible to avoid lifting pads.
Recapping the sub board and repairing a broken track
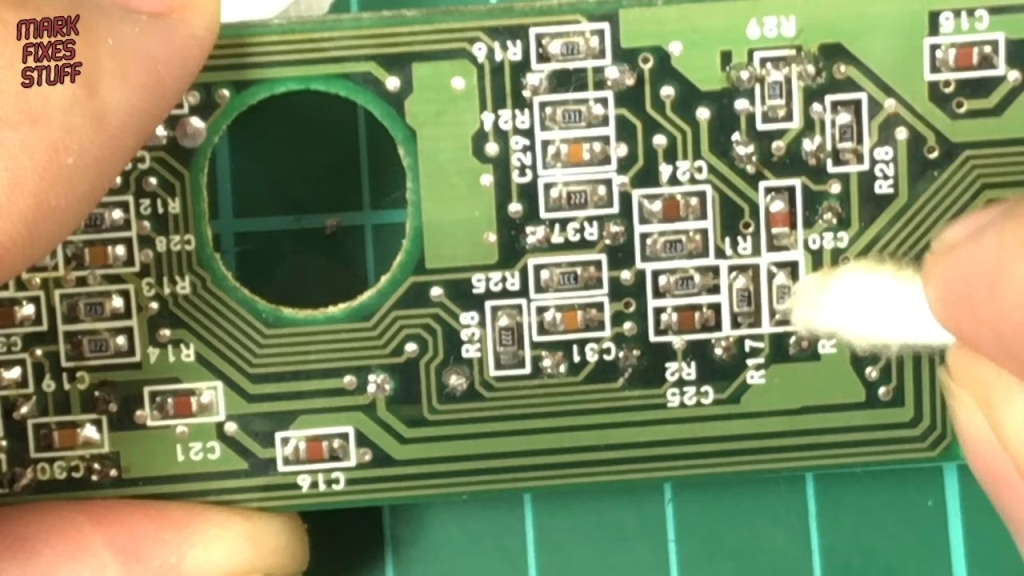
The Mega CD sub board handles power and some audio functions, and its capacitors can go bad too, so I removed them all. That wasn’t easy: some pads simply flaked off at the slightest touch of the iron. After fitting the new capacitors I checked for lifted traces, bridged a couple of small gaps with solder, and then went over the board with the meter.
Then disaster: a break in a track. I scraped back the top layer of the board to expose the copper, cleaned the area with IPA, and bridged the gap with a small blob of solder. The meter showed continuity, and being a bit paranoid I checked the repair from several other points too. They all checked out.
Did it work? The live test
I put it back together just enough to test, because there’s no point cleaning everything if it doesn’t work. Without the case the Mega Drive on top was a bit wobbly, so a pair of pliers held it level enough to stay in line with the connector (don’t try this at home).
The Mega CD and the Mega Drive each need their own power supply: 9V, centre tip negative, able to supply 1.2A (1200mA). Both of mine supply 1.5A. I could only find an old Konix controller, which isn’t very good but is fine for menus, and I used an RGB SCART cable from Retro Computer Shack, which I highly recommend.
It powered up with no visible video corruption. The CD tray opened, even though I hadn’t changed the drive belt yet (cleaning it is part of the cosmetic work to come), and I hadn’t recapped the CD drive. I put in Road Avenger, and it loaded and ran. It plays its audio straight off the CD, which sounded a bit like a record slowed down at one point, but it was running.
So we went from a dead unit to one that is playing discs.
It’s still covered in slime and junk, but the electronics are back from the dead. The next job is cleaning it up and making it cosmetically acceptable.
Related
Start with part one, where the smashed Mega CD arrives, then see how it ends in part three: rust removal, rebuild and gameplay. If you’re dealing with save batteries in Mega Drive carts, see changing the save battery in a Mega Drive cartridge, and for SMD capacitor removal without a hot air station, removing SMD can capacitors without hot air.
Music: Scott Holmes, Driven to Success (scottholmesmusic.com).