
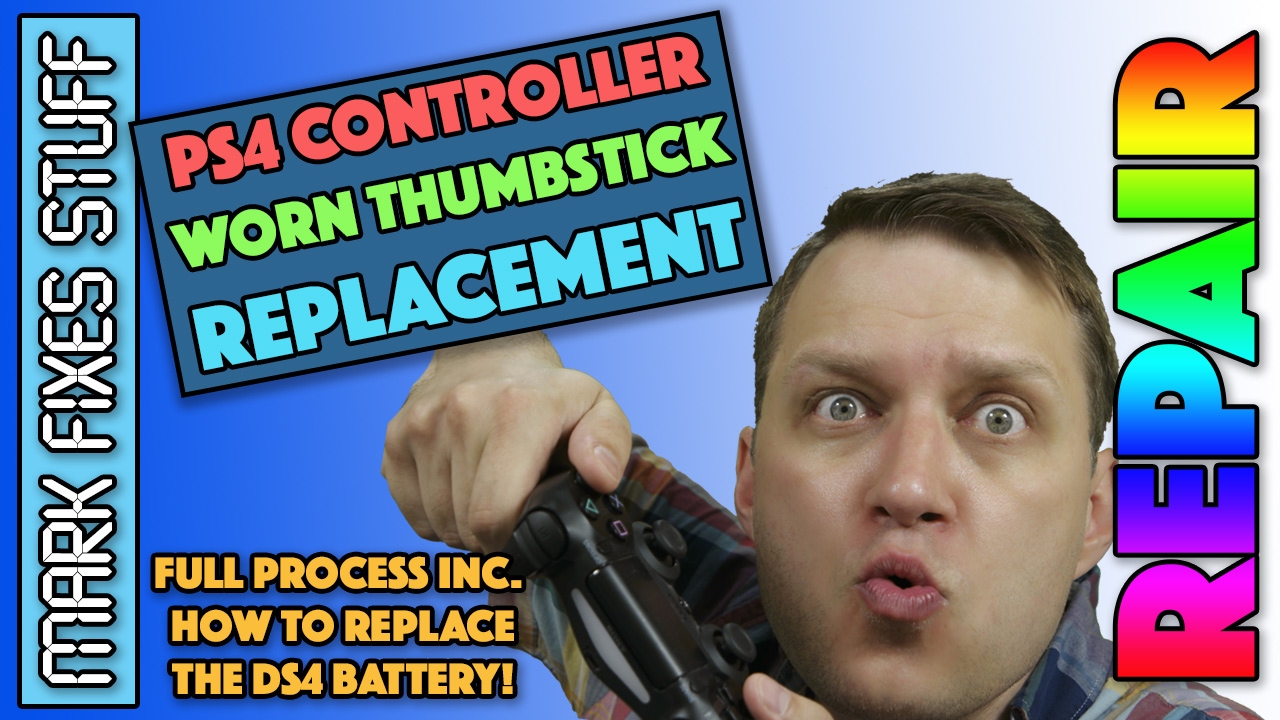
The rubber thumbstick grips on a PS4 DualShock 4 controller wear smooth long before the rest of the pad gives up. Mine was a first generation controller I’d had since buying my PS4 new, about two years earlier, and apart from the slippery sticks it was great. In this guide I replace the thumbstick caps, show where the battery is and how to swap it, strip the pad down for cleaning, and show full reassembly including refitting the triggers. All the fiddly bits are explained, especially cracking the shell open, which most videos skip.
Tools you’ll need
- A 00 size cross-tip micro screwdriver
- Tweezers or dolphin nose pliers (nothing serrated, as you’ll be handling small ribbon cables)
- A spudger, or guitar picks, which work just as well
- A small tray for the screws
- Replacement thumbstick caps (mine were £1.99 for a purple pair, so you can see I’m not cheating)
Why plastic tools and not a flat screwdriver? Metal twisted in a plastic seam gouges divots into the shell that you’ll feel in your hands every time you play. A plastic pick just bends.
Removing the screws
Flip the controller over and remove the four screws with the 00 driver. Watch out for the hole that looks like a fifth screw hole: that’s the reset button. Some controllers have a little rubber bung in it; mine didn’t.
How to open a PS4 controller shell
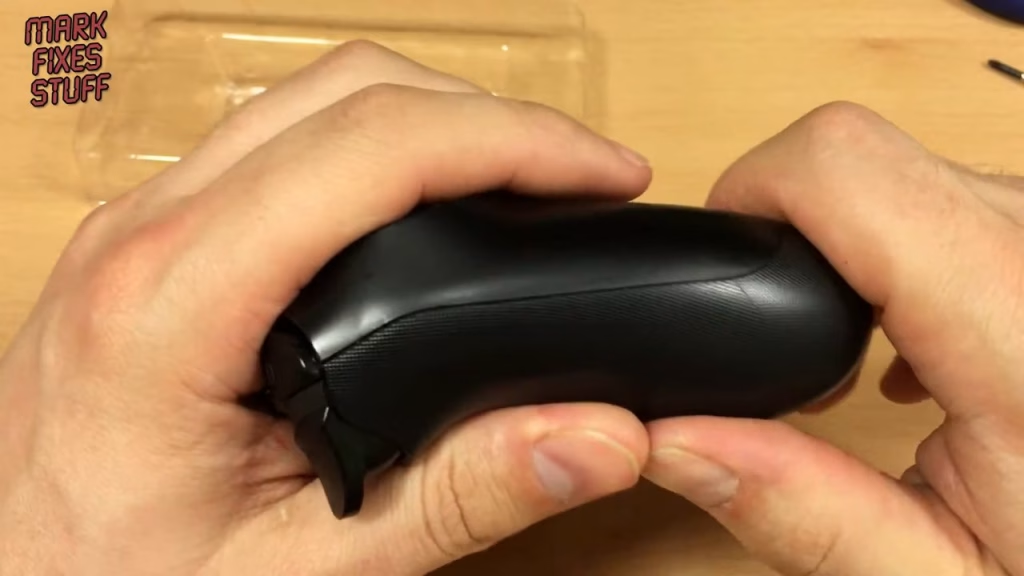
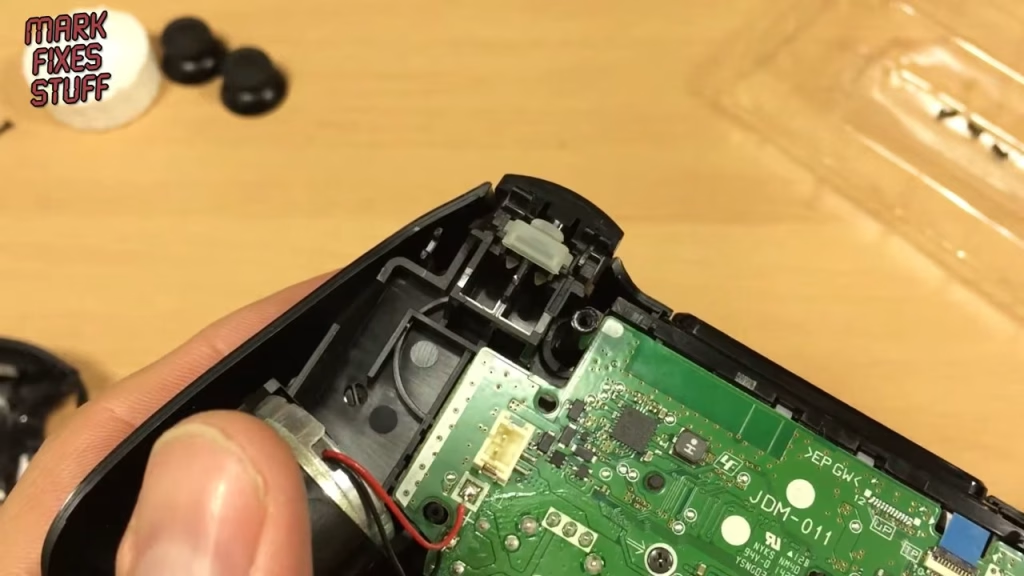
This is the bit other videos gloss over. Hold the controller and flex it to crack the first part of the seam open. Small bits of plastic may drop out from the moulding gates on the clips, which is normal. As you work round, the clips want to snap back together, so push a guitar pick into the seam to press the posts in, and leave it there while you do the other side. The hardest part is inside the handle scoop, where there are two posts close together: get the pick under the scoop, push in and work round. Once that side is open, you’re almost there.
Watch the triggers and springs
As the bottom shell comes off, a trigger often pops off its mount (I did it straight away, and you probably will too). The important thing is not to lose the little trigger spring, or you’ll have floppy trigger syndrome. Put it somewhere safe; refitting is covered below.
Disconnecting the battery and cables
Unplug the ribbon cable with the stiffener, which runs to the light bar and charging port. The battery is just loose in a tray with a small connector: mine is a 1000mAh 3.65V Li-ion pack. If your controller won’t hold a charge, this is all it takes to change the battery: unplug, fit the new one, reassemble. Replacements are easy to find online.
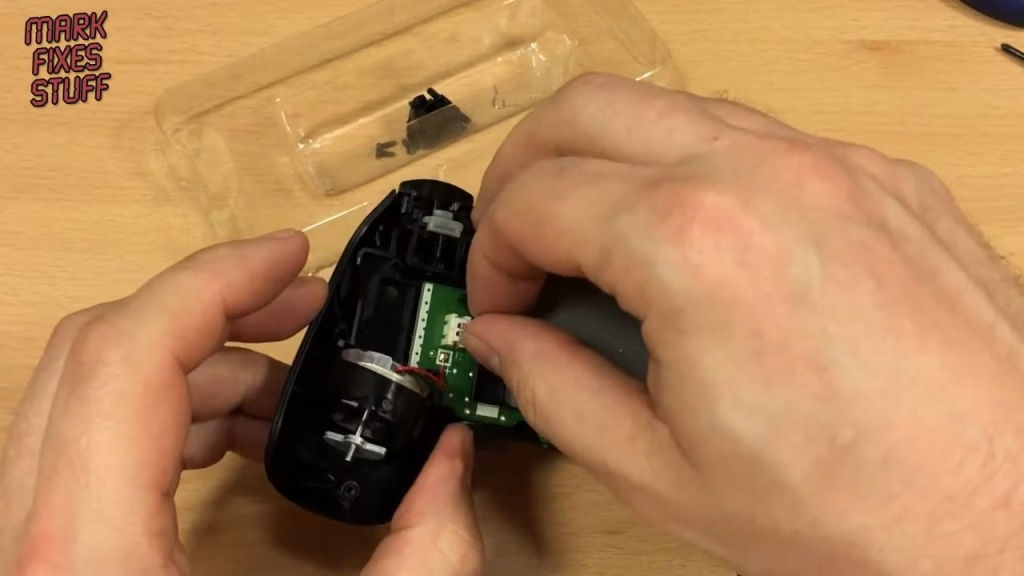
Next, unclip the battery tray with the pliers. When you put it back you may need to re-tension the clips very gently. Be careful round the rumble motors, which are soldered directly to the board, so don’t break those joints. Undo the single board screw, flip up the latch on the zero insertion force connector to release the touchpad cable, and gently turn the board over.
Fitting the new thumbstick caps
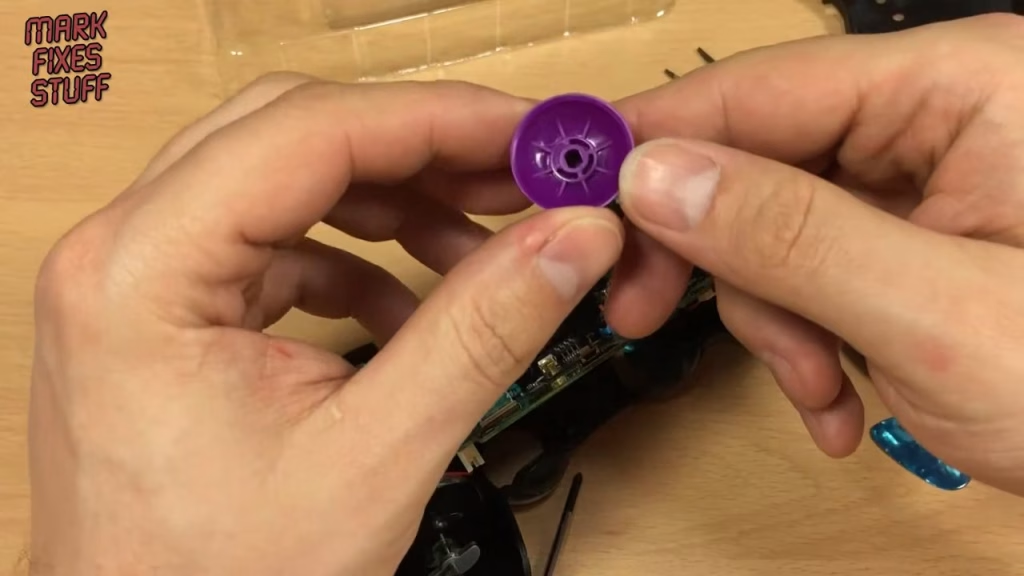
The old caps just pull off: hold the board, get underneath and push up gently. The new ones have a key inside (I think they fit either way round), so push them down onto the stick until they seat. You can replace the whole thumbstick mechanism if it’s worn out, but at that point I’d personally just buy a new controller.
Cleaning the buttons and touchpad
Lift out the inner chassis carefully, again minding the rumble motor joints. The buttons sit on rubber caps you can simply pull off, much easier than a SNES or similar pad, and the touchpad pops out too. I cleaned around the buttons and chassis with a toothbrush and some IPA (plus a cheap cleaning paste), and found plenty of cat hair and sweat. Some of the marks round the buttons aren’t dirt, they’re wear.
Reassembly: buttons, touchpad and D-pad
Fit the touchpad by locating one edge in its groove and twisting it round. The face buttons are keyed so they only go in one place, and the rubber caps hold them in once fitted; then press the conductive pad down so its four black posts go through. The D-pad drops in either way up. The home button and the rectangular share/options type button only fit one way (fat end to the top, because of the slope), and the left and right buttons are mirror images, so they can’t be swapped.
Feed the touchpad ribbon through the slot in the chassis before seating it, then refit the board screw (all the screws in this controller are the same, and real screw holes are marked with a white circle and arrow). Don’t over-tighten into plastic. Slide the ribbon back into the ZIF connector up to the line and push the latch down. Check the spring on the stick hasn’t come off.
How to refit PS4 controller triggers
Each trigger has a spring that sits in a gully on the controller and a matching gully on the trigger. Fit the spring to the trigger, clip the trigger down so the spring goes in its gully, then push forward until it clicks. If your triggers feel floppy, you can bend the spring out slightly to restore some tension, as they get compressed over time.
Closing it up
Drop the battery tray back over the board (the clips just stop it falling off), reconnect the battery and plug the flat cable back in with its silver contacts facing the pins in the socket, pushed in as far as the line. Then guide the two plastic ribs on the bottom shell between the trigger and shoulder buttons, push the shell down until it clips together, and refit the four screws until they just start to resist.
Did it work?
Yes. It powered up, the battery was connected, the D-pad, sticks, triggers, light bar and touchpad all worked, and there’s no scarring down the seams because I used plectrums rather than a screwdriver. The new purple sticks are lovely and grippy.
Related
More PlayStation repairs: removing stuck discs from a PS3 fat Blu-ray drive. For the kit I use on jobs like this, see my top 13 tools for fixing stuff.