
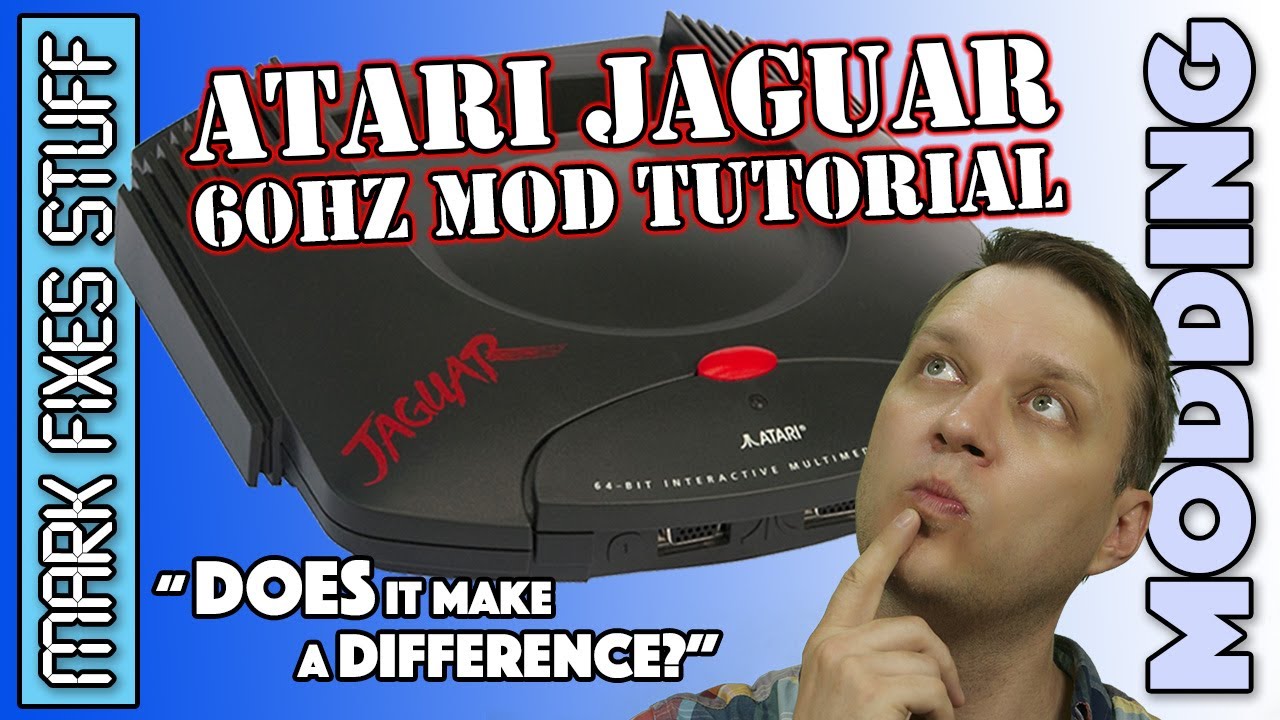
A UK PAL Atari Jaguar runs at 50Hz, slower than its 60Hz American siblings. In this tutorial I go step by step through making a PAL Jaguar output at 60Hz: removing the zero ohm link at R140 and fitting a switch so I can flip back to PAL 50 whenever I like. Then I compare before and after footage of games to decide whether the mod is worth doing, or a waste of time.
Getting into the Jaguar
Four screws on the bottom and the lid lifts off quite easily. Underneath is an absolute monster of an RF shield held down by a lot of tabs (so many tabs). A plastic tool is handy for levering them up without breaking your fingernails, and the top of the shield needs a bit of massaging to come away.
With the board revealed, I spotted some residue around one of the capacitors. It could have been leakage, or just old flux, so I did a literal acid test with spirit vinegar: if it’s capacitor leakage it will fizz like crazy. No fizzing means it’s just crud, so I cleaned the vinegar off with IPA and a cotton bud. Build quality on the board is superb, like most Atari machines. You can also see the 68000 here, intended for port control but used by plenty of programmers because they knew it better than the Tom and Jerry chips, which were harder to program and quite buggy.
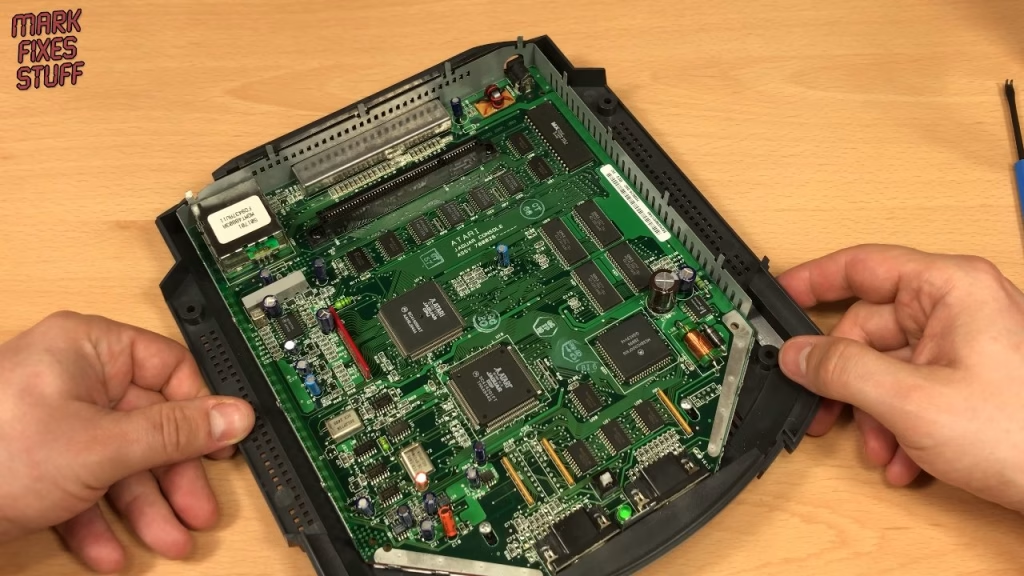
The main board is held in by only four screws: two silver ones at the front and two black ones either side of the cartridge slot (note the different colours). With those out, and being mindful of the bent tabs, the board comes free of the lower shield.
Finding and removing R140
The mod point is R140 on the underside of the board. You’ll often find a zero ohm resistor linking the two pads, and that link needs removing. The switch then goes across the same two points, so closing it restores the original PAL 50Hz behaviour.
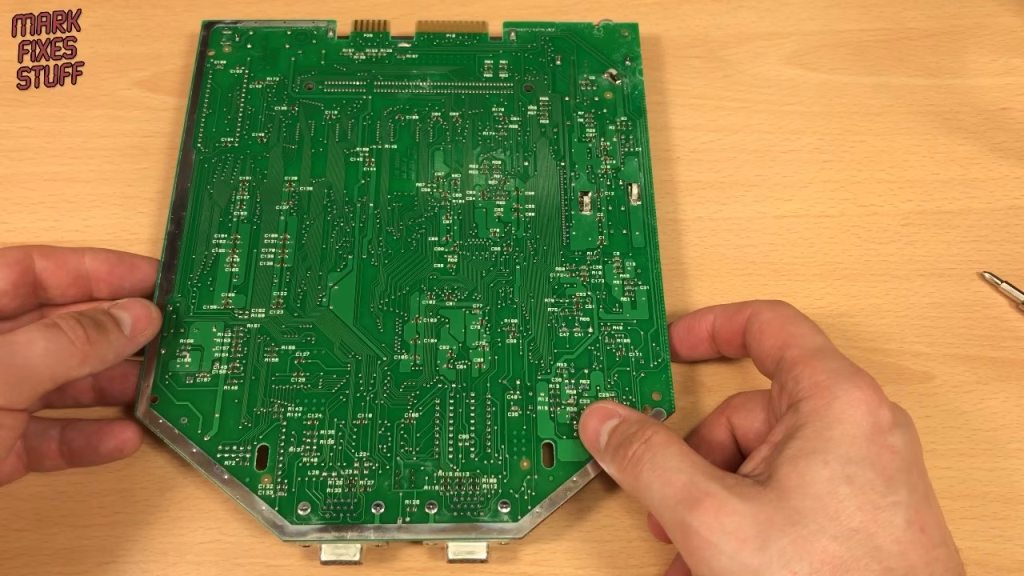
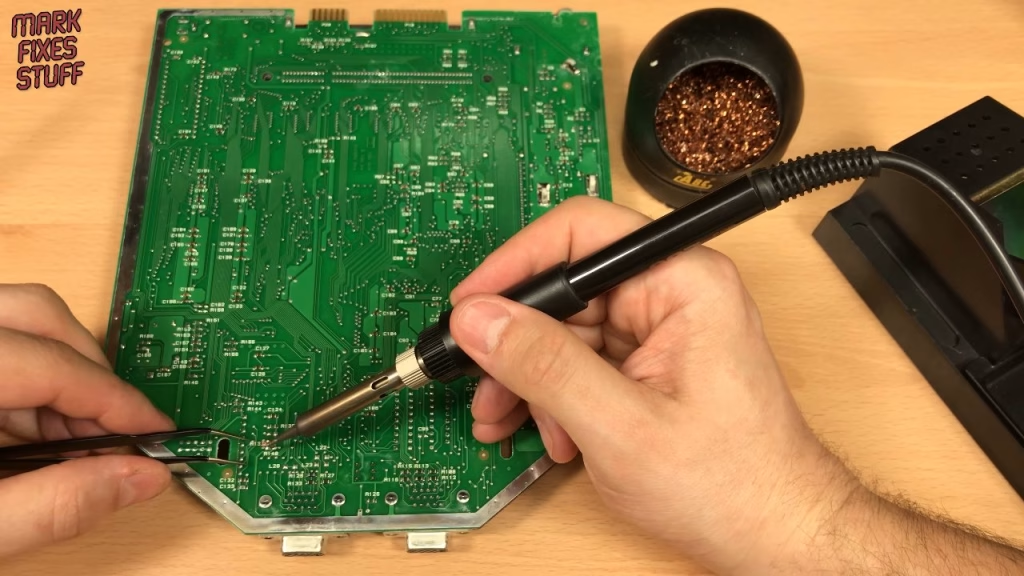
I cut two wires long enough to reach the back of the console, stripped and tinned them, then lifted the zero ohm link away with anti-static tweezers and a needlepoint iron. After reflowing the pads and a brush with IPA, I tacked the wires on lightly so the mod can easily be reversed. A strip of Kapton (polyimide) tape insulates the solder points and sticks really well once the adhesive cures.
Fitting the 50/60Hz switch
I didn’t want to drill the case on a Jaguar, so I modified a switch to hang outside the console for this experiment. With its mounting tabs bent down, the metal body needed insulating, so I stretched heat shrink over it, trimmed and shrank it to shape, and removed the unneeded contacts. The wires were soldered to the two remaining contacts with heat shrink over them, and some hard rubber cement insulates the bottom of the switch.
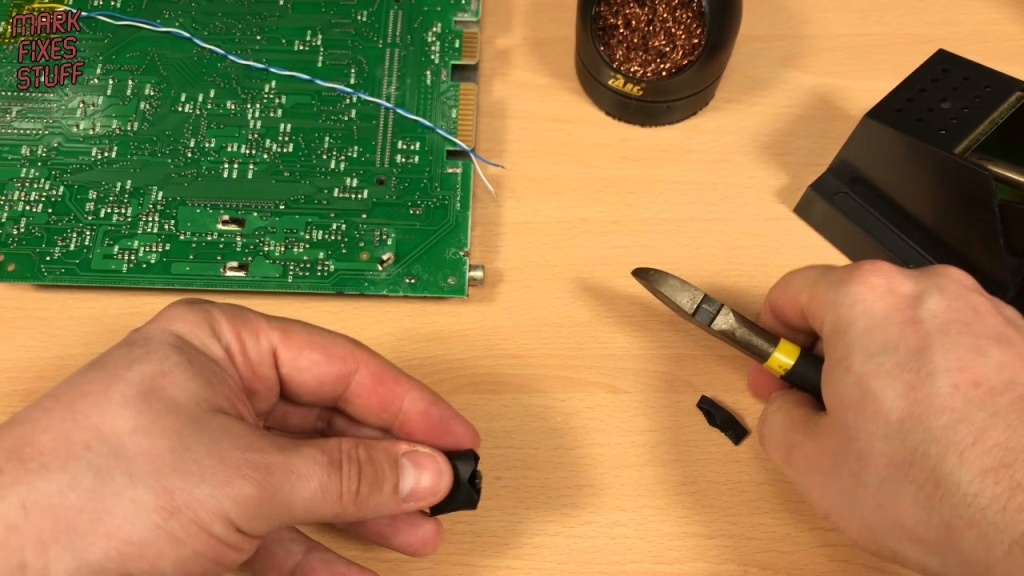
A more savage option on a PAL console is to remove the RF modulator can and use the hole for a 15mm circular panel mount switch, but not today.
Reassembly
Feed the switch out of the back of the shield and shell as you reassemble. On the outer shell the pad ports need to go in before the rear of the shield, so be careful with the switch there. When refitting the board screws, back them off to find the existing thread before tightening: this plastic is decades old, so you want to use the original thread rather than cut a new one, and don’t over-tighten. Then it’s back to the tabs on the shield again. The floating switch can be tucked into the recess at the back or moved out of the way of accessories.
Does 60Hz really make a difference on a PAL Jaguar?
For testing I used an RGB SCART cable from Cool Novelties, the original Jaguar PSU, the Skunkboard from Zaxon that I reviewed previously, and of course the dinner plate sized controller with its numeric keypad and non-existent ergonomics. I filmed each test twice from a static camera: 50Hz PAL on the left, 60Hz on the right.
The first intro test was no contest. The 50Hz side has large borders masked with graphics, and the 60Hz intro runs faster and finishes significantly sooner. In the first game, the playfield is larger on screen at 60Hz (the programmers tried to hide the huge borders with textures, but the comparison is quite shocking) and character animation, shooting and jumping are quicker and smoother.
Pinball Dreams is a mixed blessing: the 60Hz version actually has a slightly smaller playfield, but it runs so much more smoothly and at a much more realistic speed. The ball physics feel far more accurate at 60Hz and make the 50Hz version feel very sluggish.
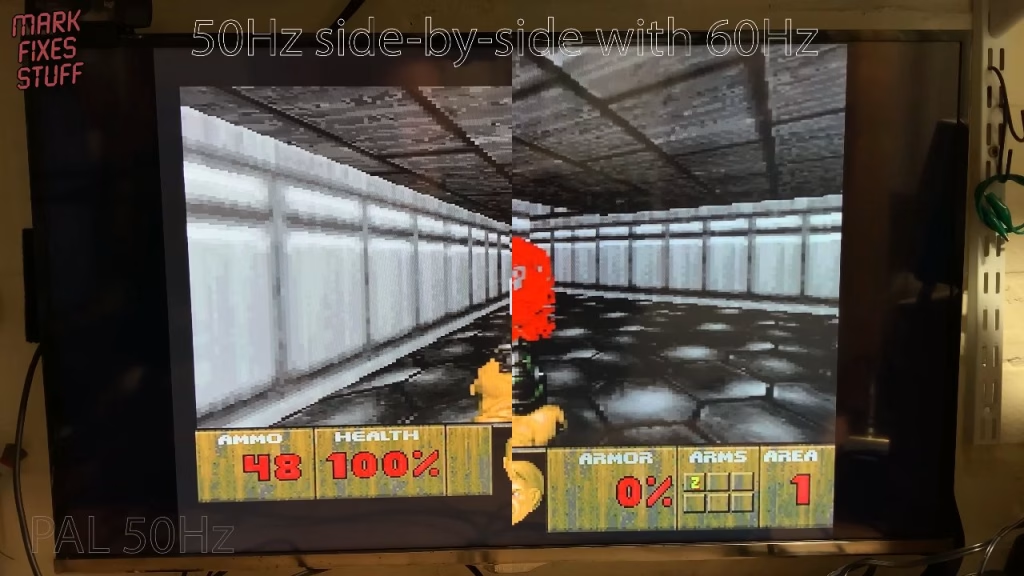
In Doom the play area is hugely compressed at 50Hz, while the 60Hz version fills the entire screen and plays much more smoothly. Clear winner. Alien vs Predator shows the same huge difference in playfield size. I’m not sure it runs any faster, but once I’d seen 60Hz mode I couldn’t bear to go back to the squashed 50Hz picture.
Verdict
For me it’s worth it: a bigger picture, smoother play in most games, and a mod that’s easy to reverse thanks to the switch. If you’ve got a PAL Jaguar and a display that handles 60Hz, it’s a cheap, simple upgrade.
Related
More Jaguar work: repairing a Jaguar with a broken cartridge slot and red screen of death and my Skunkboard Jaguar flashcart video.