
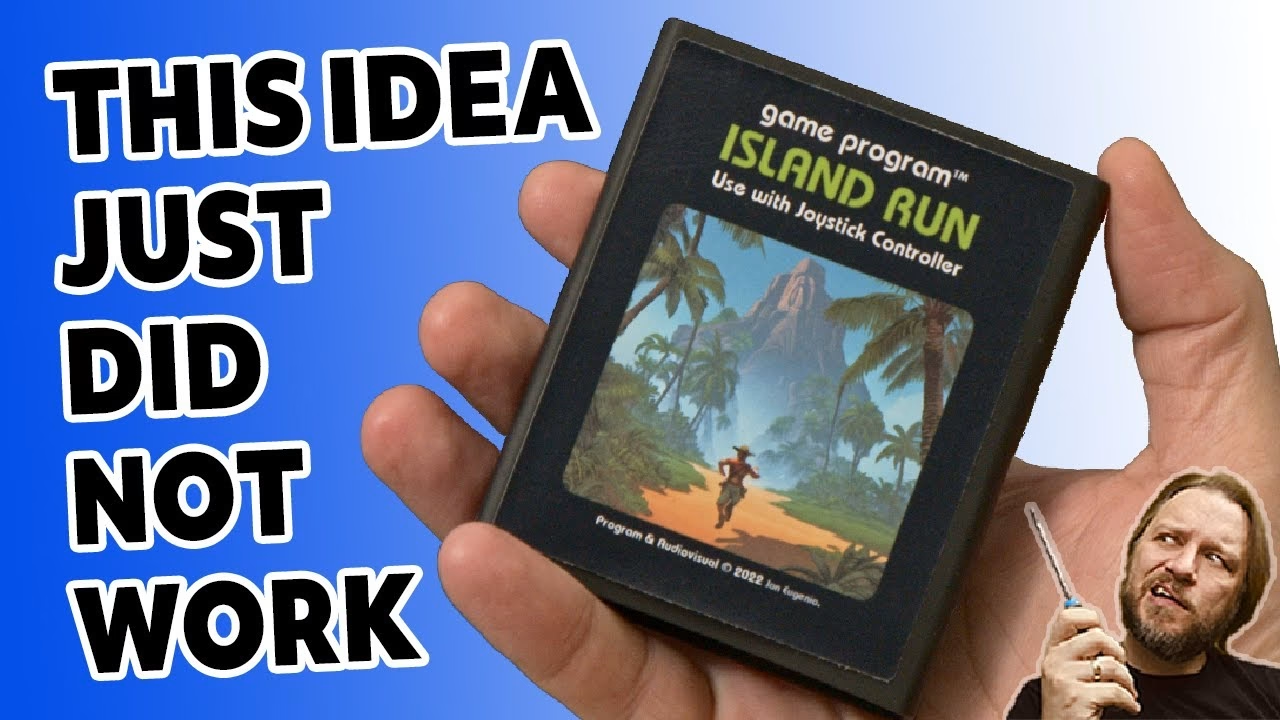
The plan was a simple homemade Atari 2600 cartridge: a small PCB, an EPROM, a custom label using AI artwork, and a cartridge shell 3D printed on a resin printer for the first time. Almost everything that could go wrong did, from an EPROM my programmer couldn’t reach the voltage for to a rubbery, warped shell and a curling label. But it did boot. This channel is sponsored by PCBWay, and Elegoo provided the resin printer.
Building the 2K/4K cartridge board
The board was designed by Parker Dillmann (the Longhorn Engineer) and you can order it from the Atari VCS 2600 2K or 4K cartridge page on PCBWay. It has very few parts: a 7404 hex inverter, a 100nF (0.1µF) capacitor and a 24 pin socket for a 2K or 4K EPROM. I vector tested the 7404 in my EPROM programmer first, and soldered it directly because there’s no room for a socket.
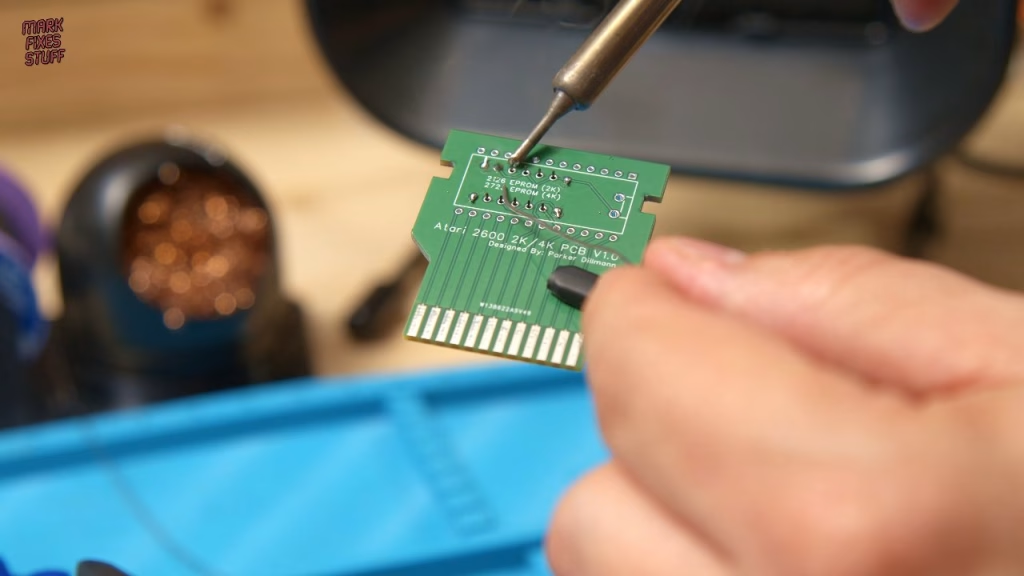
My new tentacle style PCB holder was, frankly, awful, but I’d committed to it. The kinked capacitor legs that are meant to hold it in place didn’t, and the cheap socket wouldn’t sit flush because of the joints on the other side. When soldering a socket on a ground plane, you need a lot of heat, so watch you don’t melt the plastic.
Programming a 21V 2732 EPROM on an 18V programmer
The game is Island Run, a homebrew that fits in 4K. The snag was the 2732A EPROM I was using, which needs a 21V programming voltage, while my programmer tops out at 18V. I added a switch that puts an extra 7V on top of whatever the software supplies (I found the details on the EEVblog forums). There’s a second quirk: the 2732’s chip enable line (pin 18) should be pulsed low during reads and writes, but on my programmer it went high during writes. Tying pin 18 to ground forces it low throughout. Hacky, but with 14V selected in the software and the switch on, 14 + 7 = 21V, and the EPROM programmed. No new programmer needed.
Resin printing the cartridge shell
I’ve printed plenty of cartridge shells on FDM printers, so this time I tried the Elegoo Mars 3 resin printer that Elegoo kindly donated to the channel, filled with an engineering type resin. Resin prints hang upside down from the build plate, so they need supports, and supports leave marks. ChituBox placed them automatically on exactly the surfaces I wanted to look good, so I spent about an hour supporting the shell manually. The small internal part just got auto supports, which did a decent job.
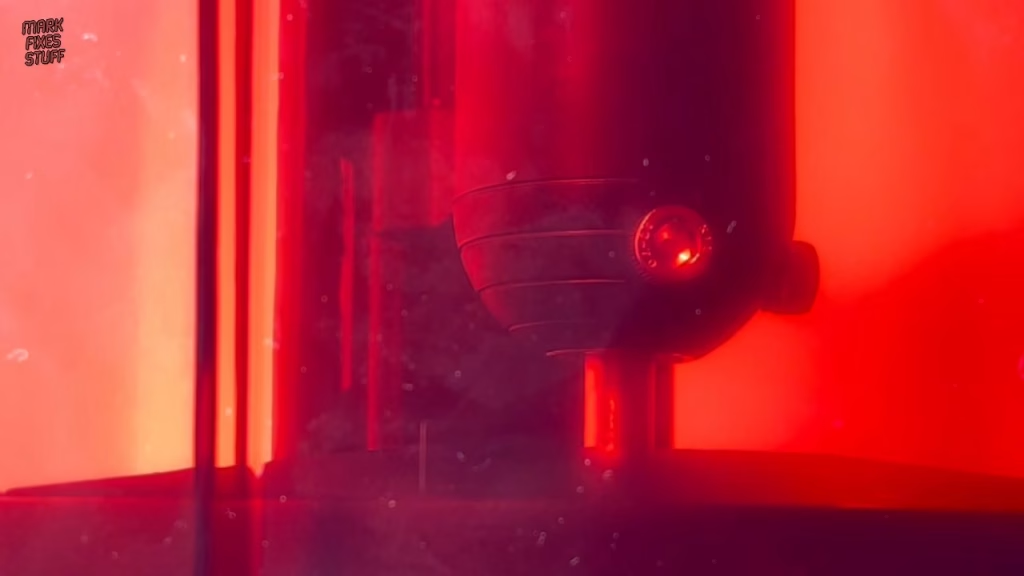
After printing, parts went into a dirty IPA bucket first (to keep the wash and cure station cleaner), then a wash and UV cure. Please take resin safety seriously: gloves, eye protection and a respirator, and never handle uncured parts bare handed. Curing times vary by resin, so expect to dig through forums.
Designing and cutting the label
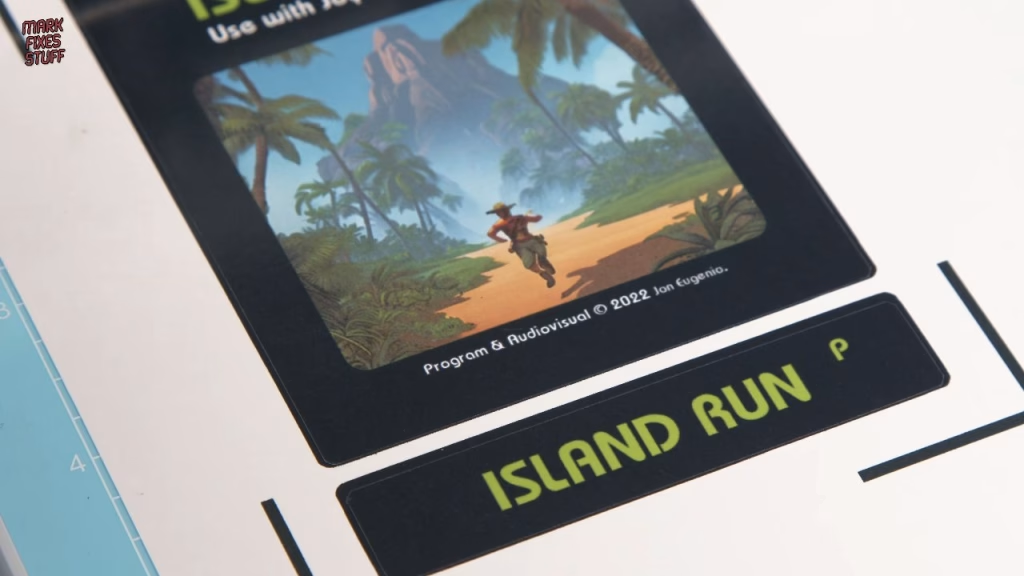
I based the label on my Atari 2600 picture label template, hiding the Atari logo and CX number layers, with artwork generated on OpenArt from a prompt asking for a 1970s airbrushed Indiana Jones style adventurer fleeing across an island. It didn’t quite manage the running direction, but it wasn’t bad.
Printing and cutting used a Cricut Explore 3 and an Epson EcoTank 8550. I’m not a fan of Cricut Design Space: it’s locked down, dated and doesn’t understand colour profiles, so I couldn’t print from my colour managed Photoshop setup. I added bleed, printed on photo sticker paper through the rear feeder, put it on a 12 x 12 inch mat and kiss cut it with extra pressure, using the printed registration marks.
Where it all went wrong
- The resin is flexible. That’s useful on a tiny cog, where it stops it shattering, but over a large part it meant warping, a rubbery feel and deformed flat edges.
- With the socket, the EPROM sat 2mm to 3mm too high for the shell, so I desoldered the socket and soldered the EPROM directly. That part, at least, went well.
- The board moved about sideways in the shell, so I fixed it with two part epoxy, which went everywhere. Tip: when the leftover epoxy on your mixing card has set, so has your project.
- Four M3 x 12mm self-tapping screws pulled the halves together and made it feel solid, but couldn’t fix the flaring.
- The label had curled after two days lying around (my other sticker paper doesn’t do that), and the top label didn’t fit the printed recess.
Did it work?
Surprisingly, yes. On my Atari 2600 Junior (fitted with a deluxe AV mod from The Future Was 8 Bit), the cartridge fitted the slot well and Island Run sprang into life. It’s a simple endless runner: you just jump, the collision detection is horribly unfair and there’s no score, yet it’s oddly hypnotic.
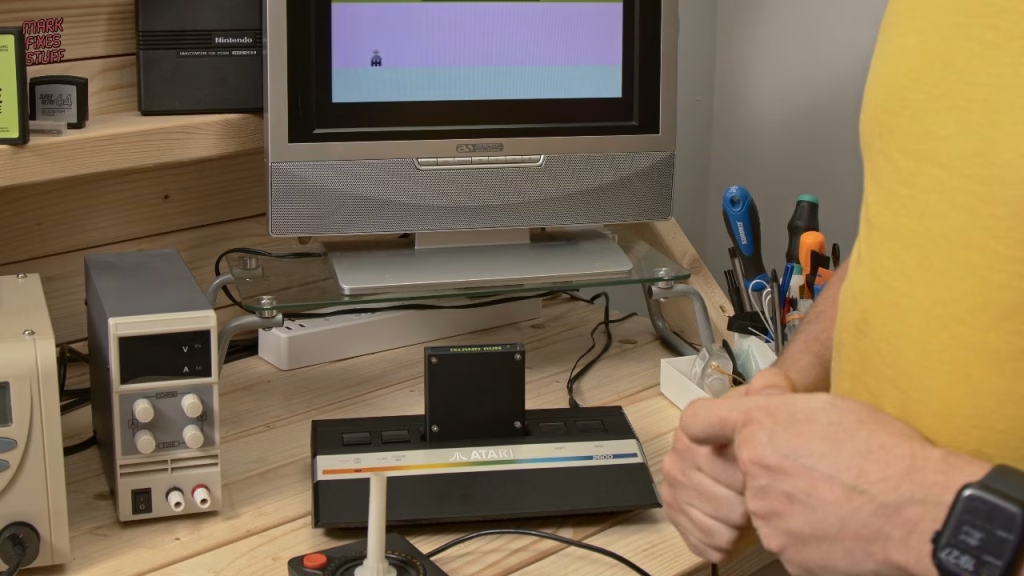
The game is better than anything I could program, and the PCB is great. The cartridge works, but this one will stay on the shelf as a symbol of my shame.
Related
For a far more successful 2600 cartridge, see the A10400 Pico multicart build. More EPROM work: burning Amiga Kickstart ROMs on a TL866.
Leave a Reply