
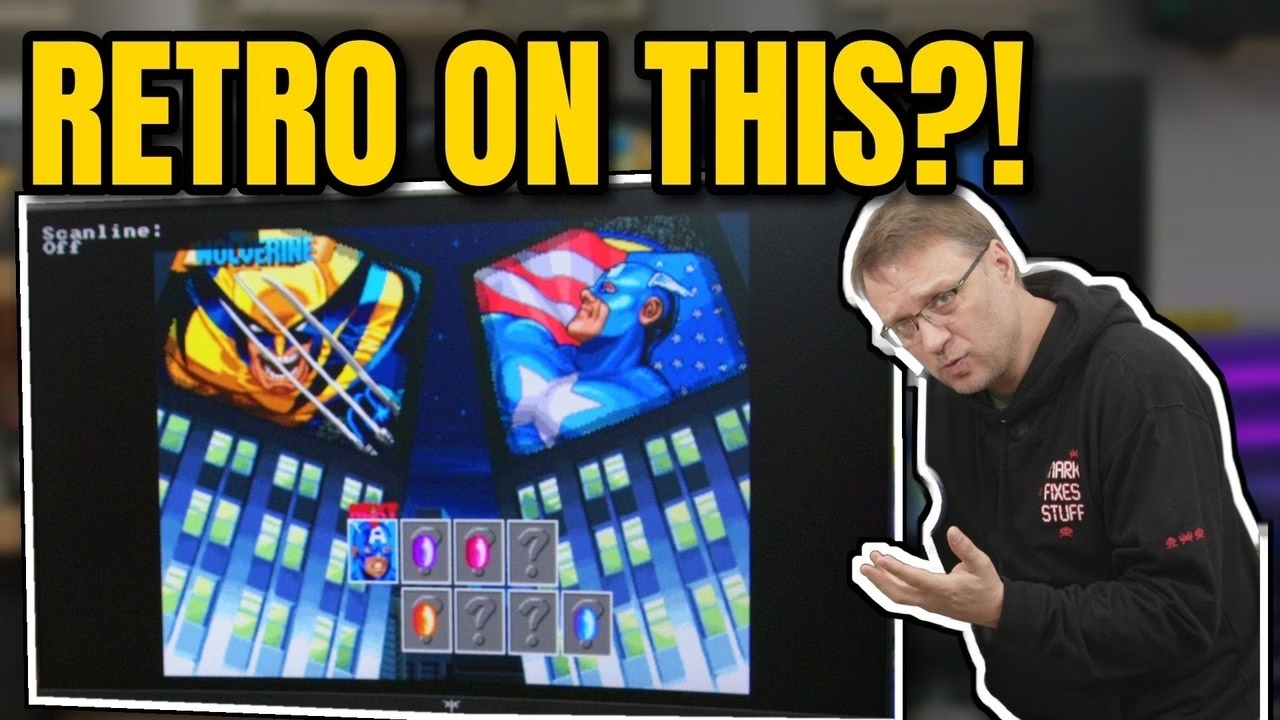
My old bench TV had a lot going for it. It wasn’t pretty (the picture was always a bit washed out, a bit cold, and the colours were never quite right) but it had a huge number of inputs, and that convenience was enough to keep it on the bench. Right up until the RF decided it wasn’t going to tune in anymore. So when KTC offered to send me their H32C5, a 31.5″ curved 240Hz gaming monitor, I jumped at the chance to finally pair a proper screen with my woefully underused RetroTINK 5X Pro. This video is sponsored by KTC (this blog post is not).
I’m not going to pretend it does everything the old telly did. It won’t tune in RF, but I’ve got the Sony CRT for that, and these days I’m trying to move away from RF anyway. What I wanted was something I can connect most things to, that looks good, and that’s a lot easier to film than a 4:3 set.
What is the KTC H32C5?
The H32C5 is a 31.5″ curved VA panel running at 1080p with a native 240Hz refresh rate, and you can overclock it to 280Hz over DisplayPort. KTC have been making displays since 1995, in their own factories, so this isn’t a badge on someone else’s panel.
The headline specs, straight from KTC:
- 31.5″ 1500R curved VA panel, 1920×1080
- 240Hz native, up to 280Hz overclocked via DisplayPort
- 1ms MPRT, AMD FreeSync and NVIDIA G-SYNC Compatible
- 3500:1 contrast, 350 nits, HDR10
- 96% DCI-P3 coverage (99% volume) and 99% sRGB coverage (128% volume)
- 2x HDMI 2.0, 1x DisplayPort 1.4, 3.5mm audio out
- Tilt from -5° to 20°, quick-release stand, VESA 100×100
- Flicker-free backlight and a low blue light mode
What’s in the box?
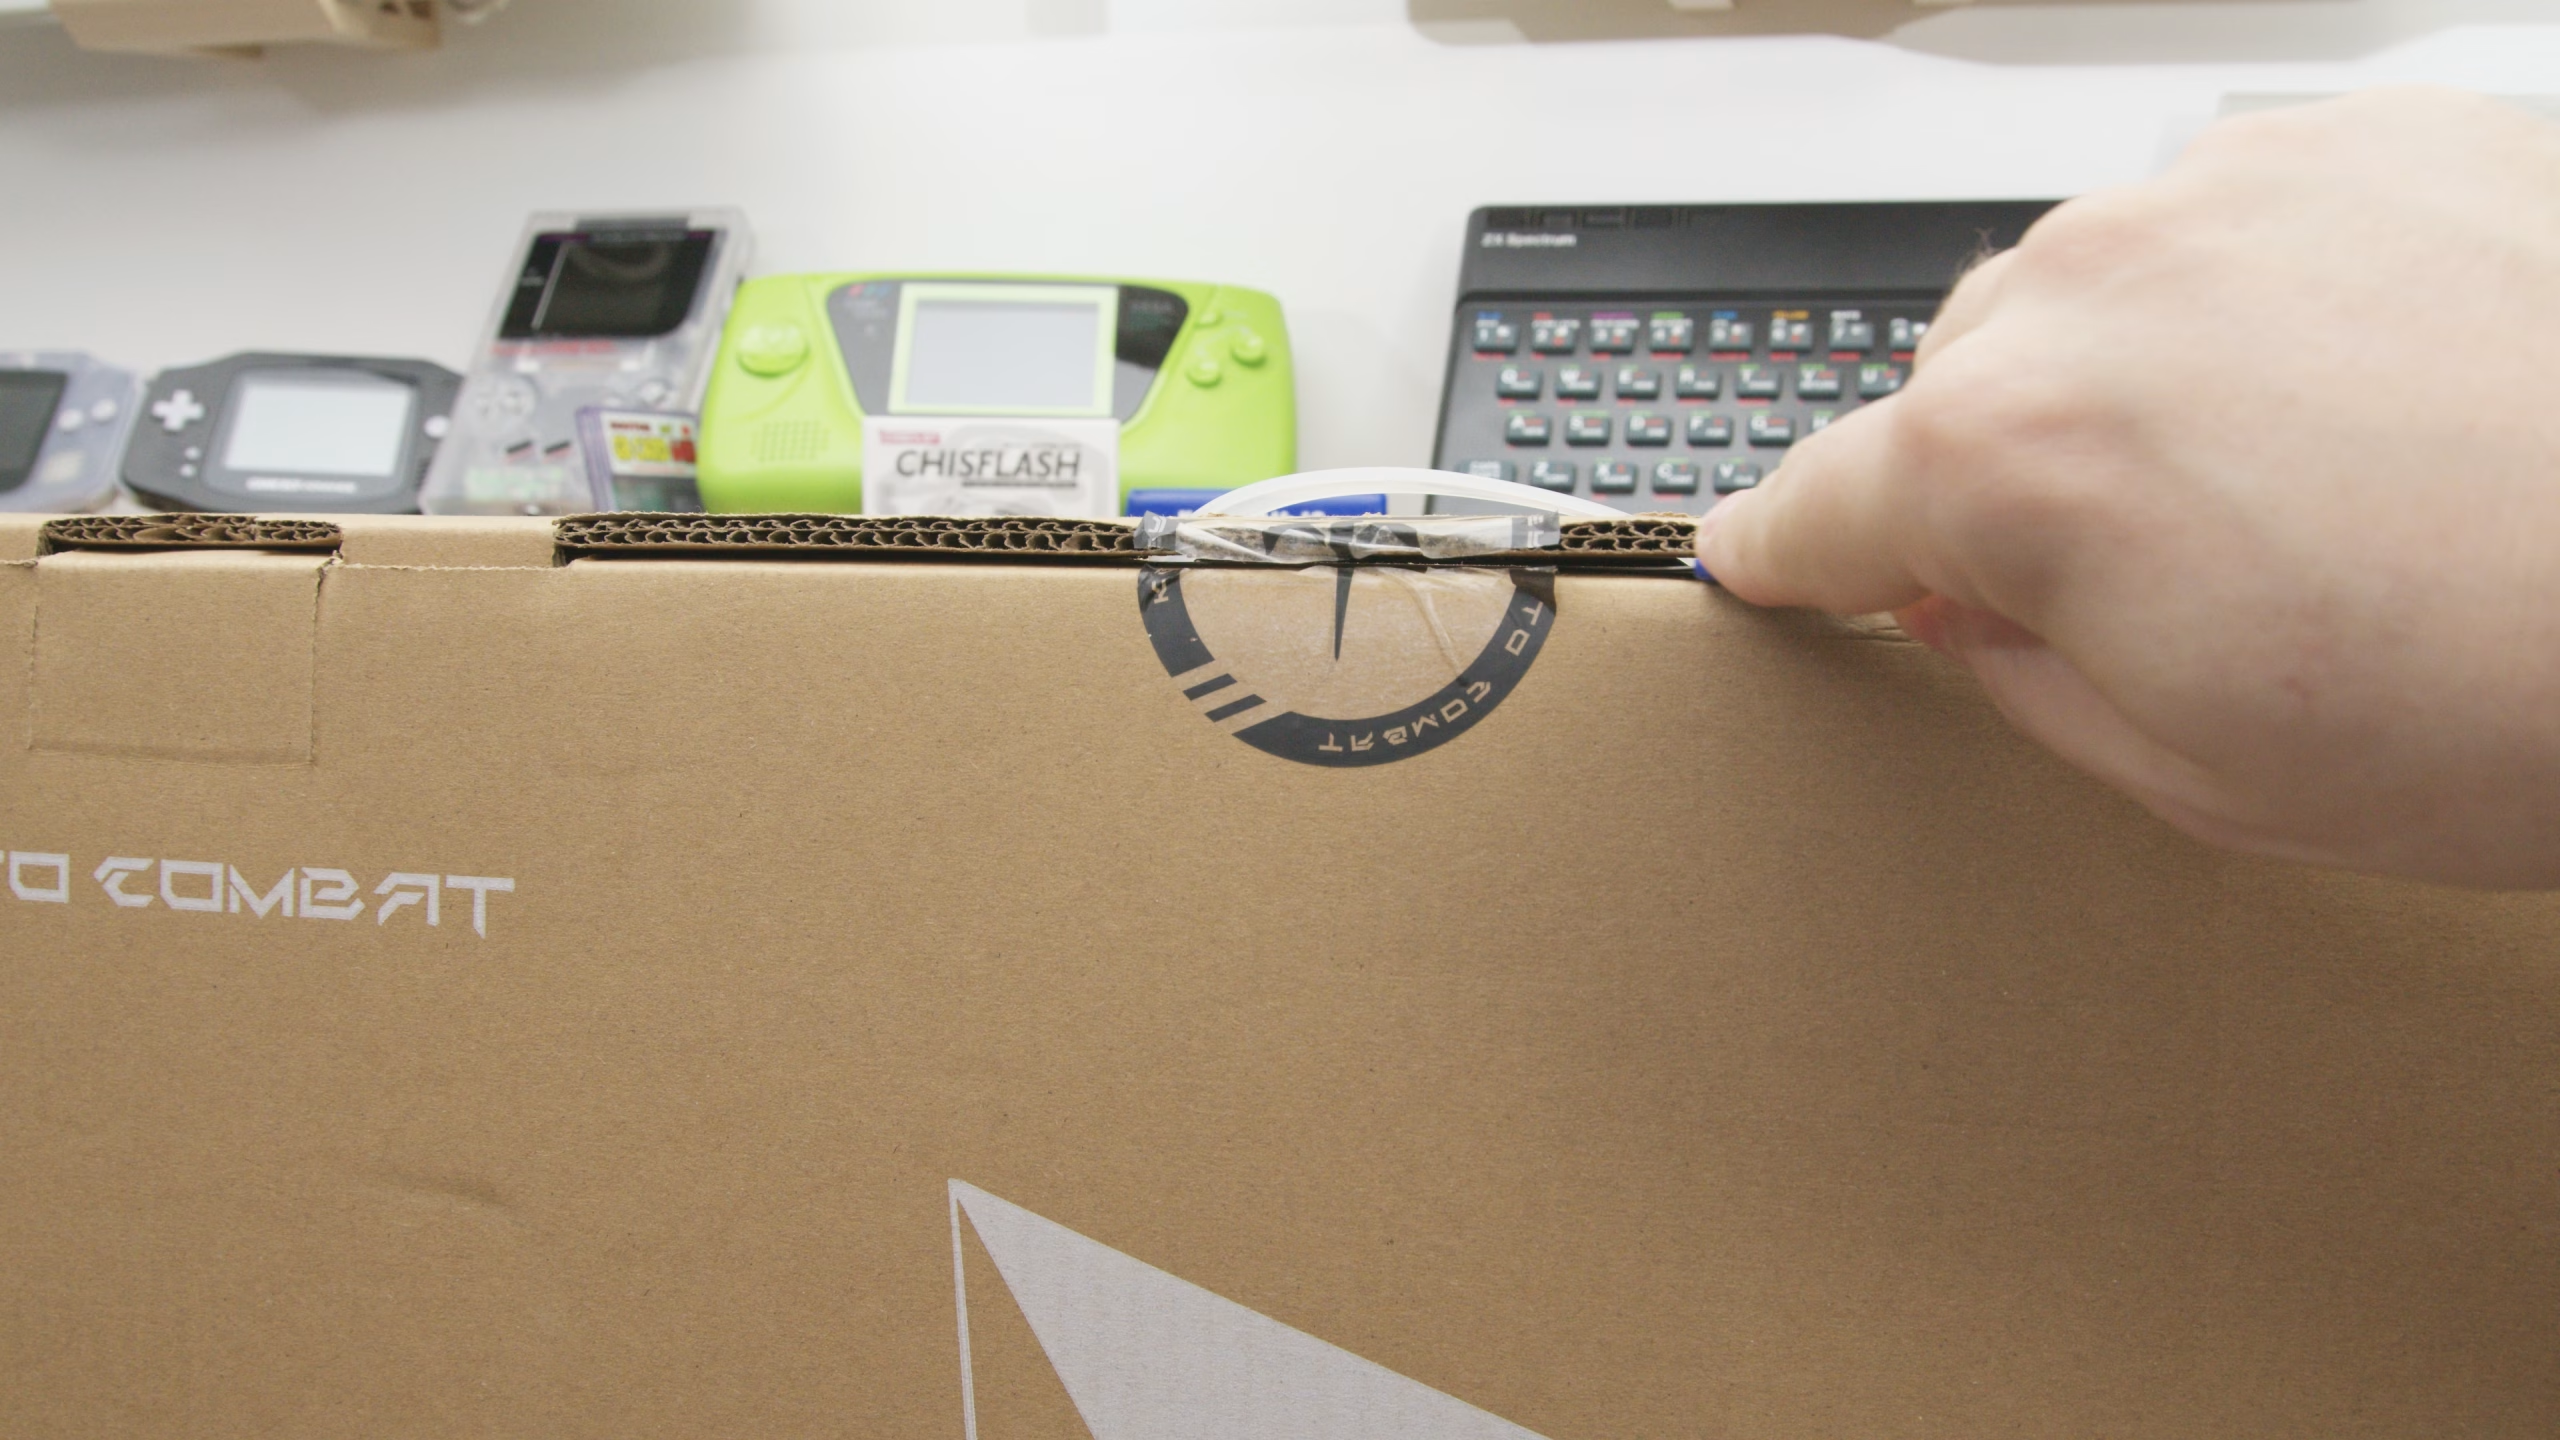
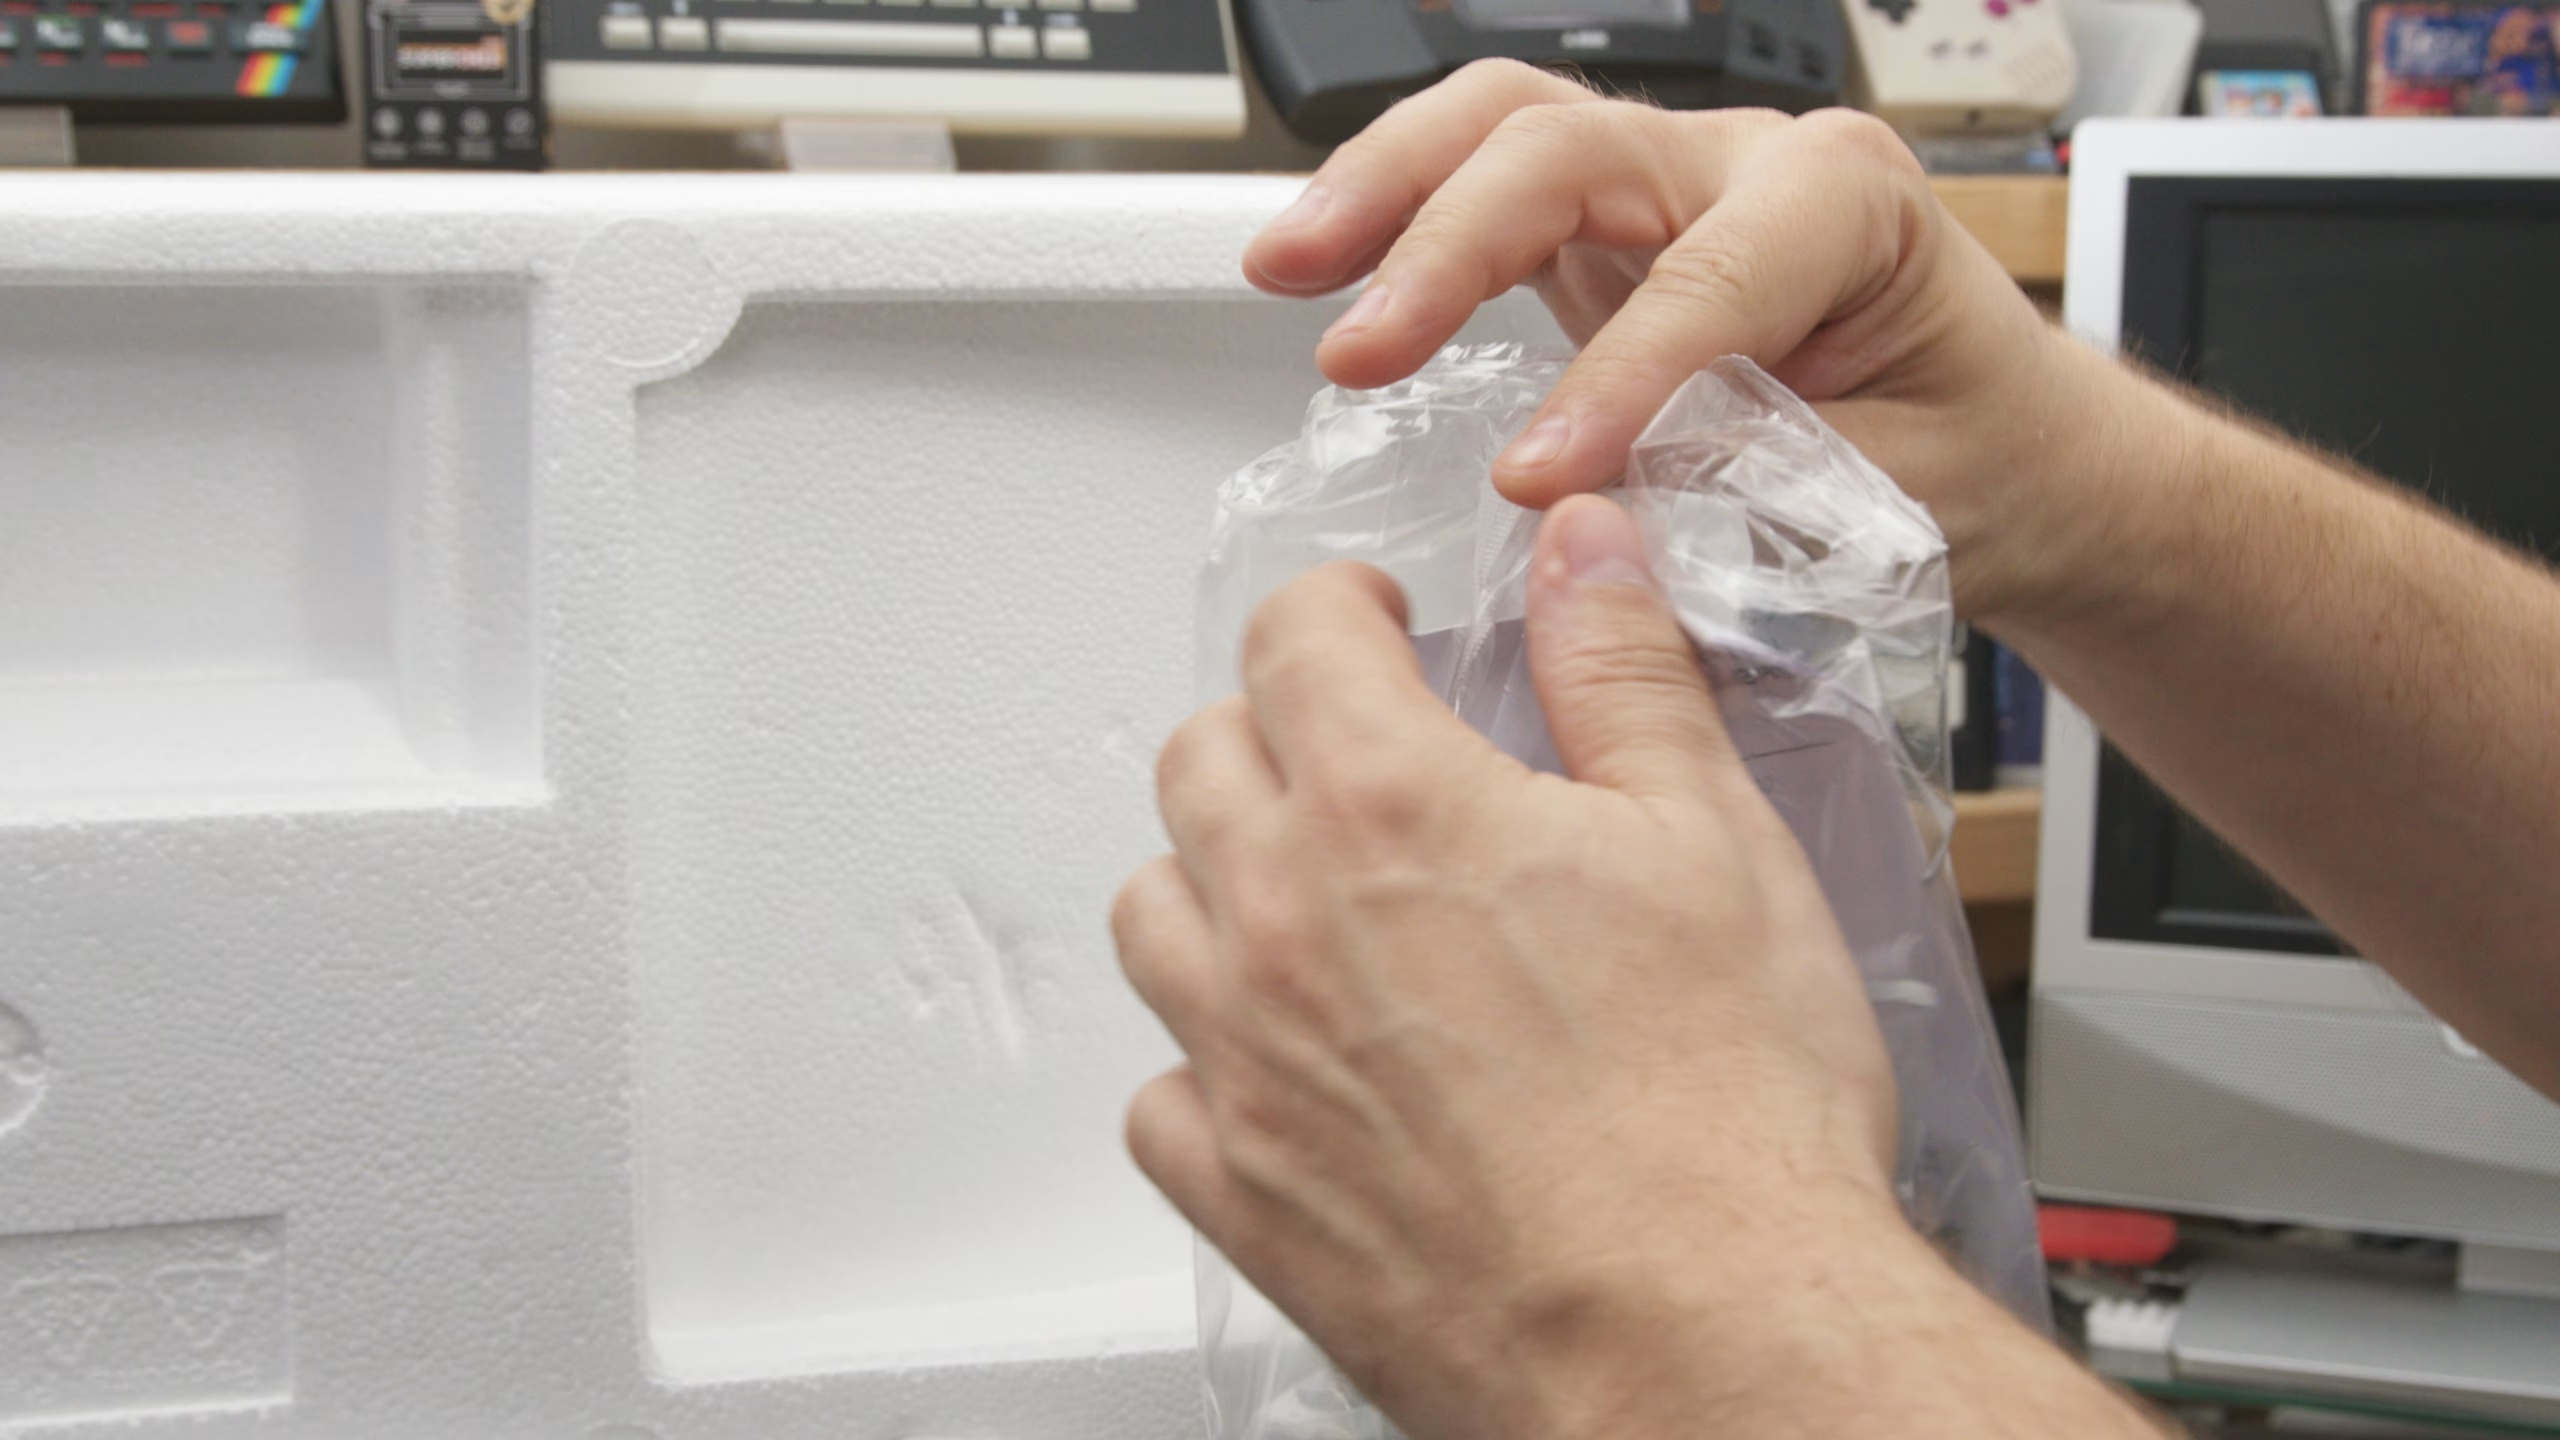
It’s a bit bigger than I was expecting, which turned out to be a running theme. Inside you get what you’d expect: an external power supply, a plastic bag that is genuinely hard to open on camera without looking like a wimp (containing the HDMI cable), the power cable for the power supply, and a small manual plus a calibration certificate for the monitor.
The all-metal stand
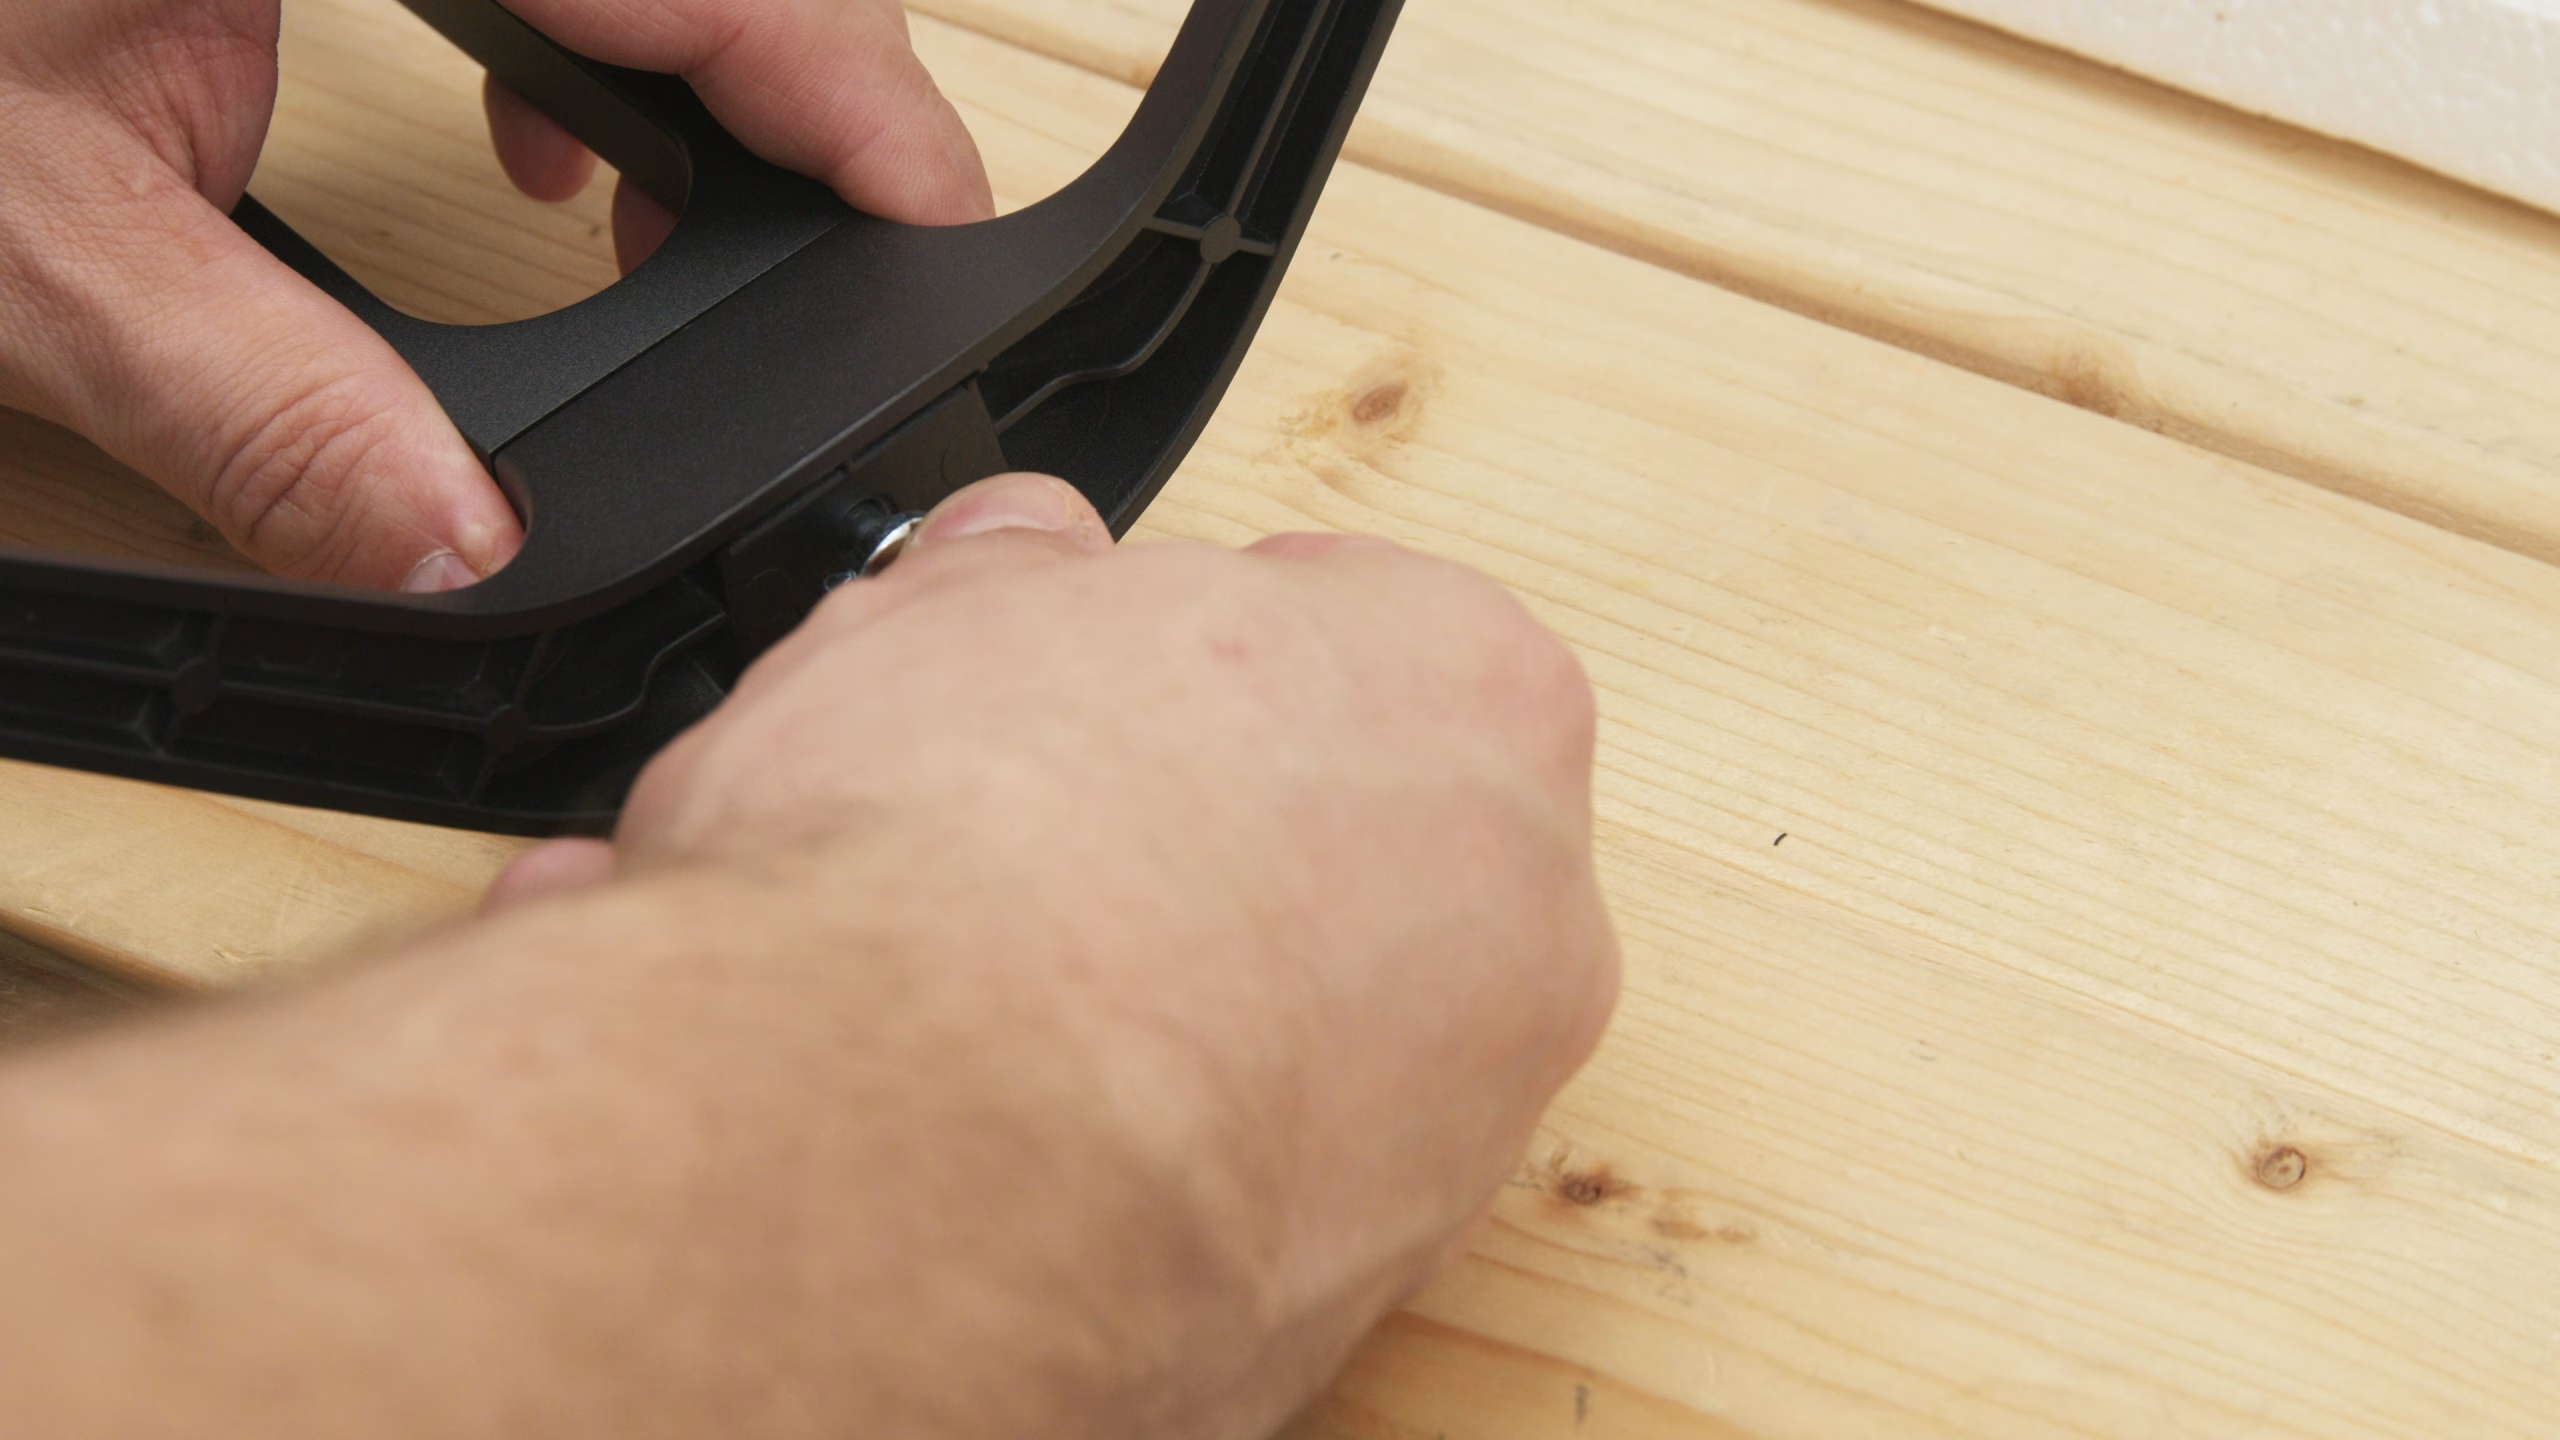
This is where I was pleasantly surprised. As I took the stand components out of their bags, it was obvious they were better quality than I’m used to: the entire stand is metal. It has a good weight to it, which gives you more confidence when you’re placing a screen this size, and there’s a captive screw that fixes the base firmly to the upright.
The stand gives you tilt, but no height or swivel adjustment. That would normally bother me, but there’s a way round it, which I’ll come to in a moment.
Unpacking the 1500R curved screen
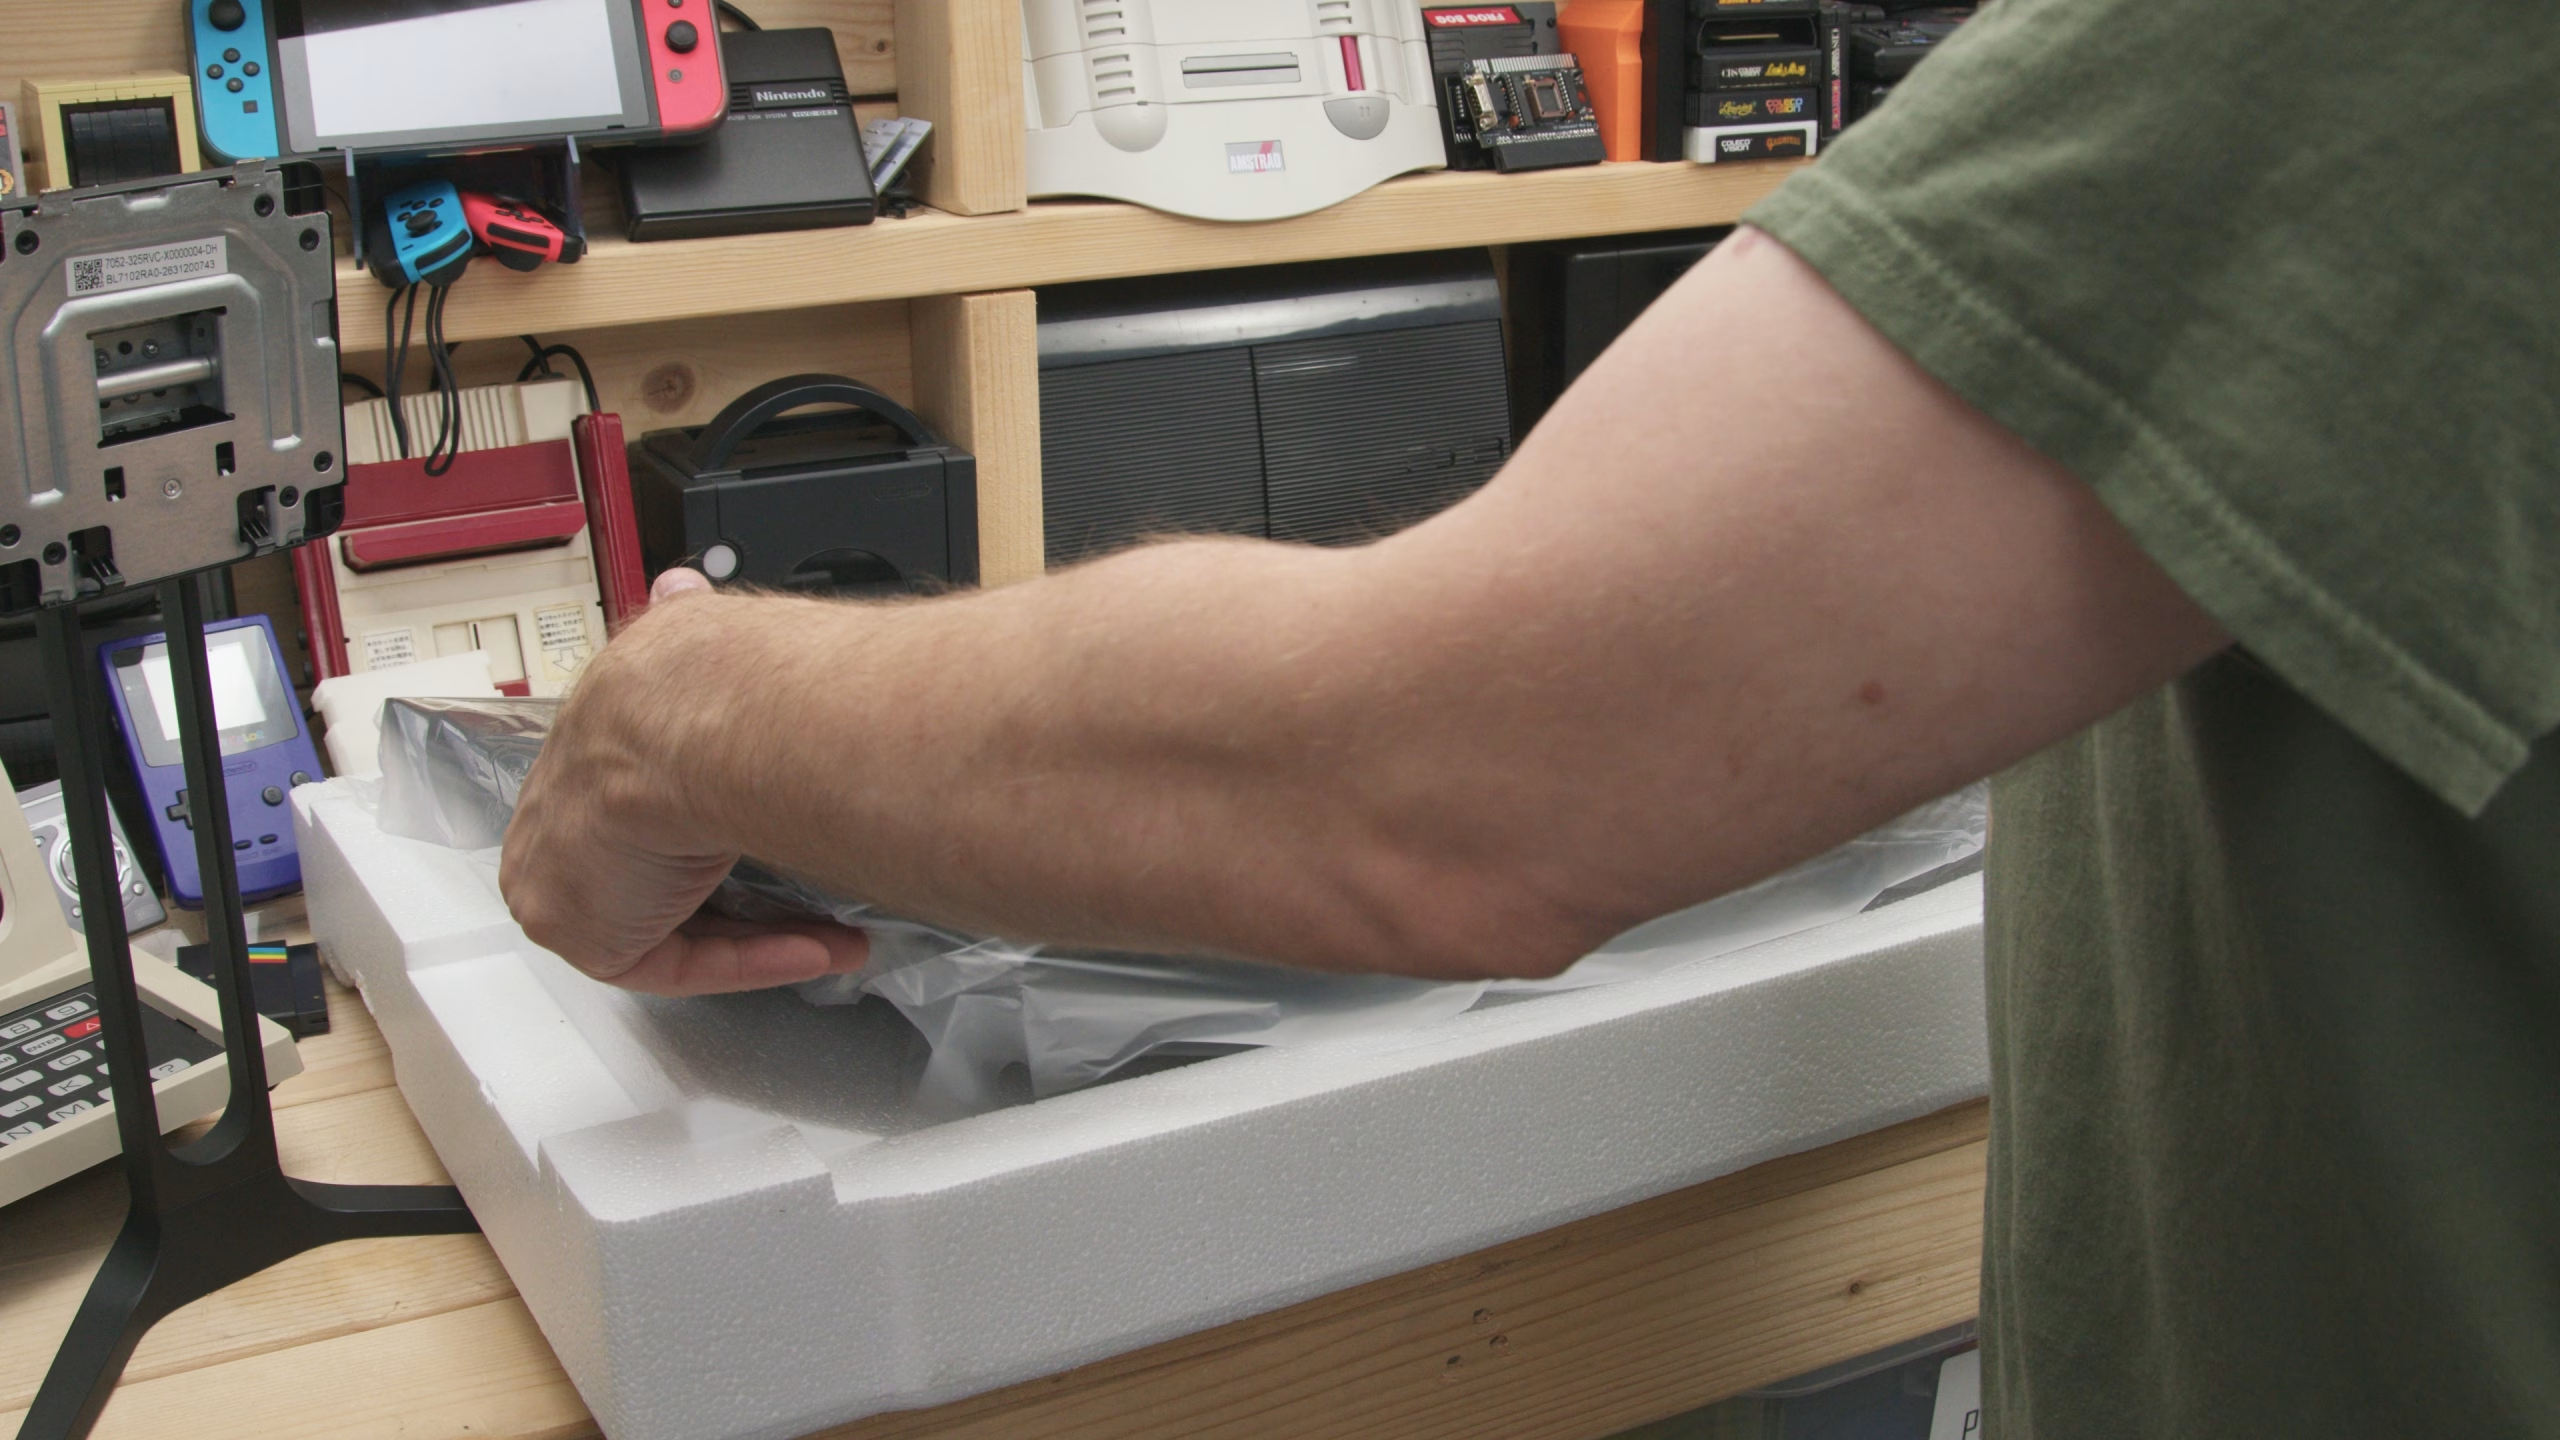
It’s a 1500R curve, which roughly follows the natural curve of your vision. At 31.5 inches that matters, because the edges of the screen don’t feel like they’re drifting away from you (handy for people like me with old, old eyes). The screen itself has a reassuring weight to it, and I was being extra careful here: I’ve broken a curved monitor before through careless handling, and I wasn’t keen to repeat it.
Yep, it’s definitely bigger than I was expecting.
Round the back: ports, headphone hook and joystick
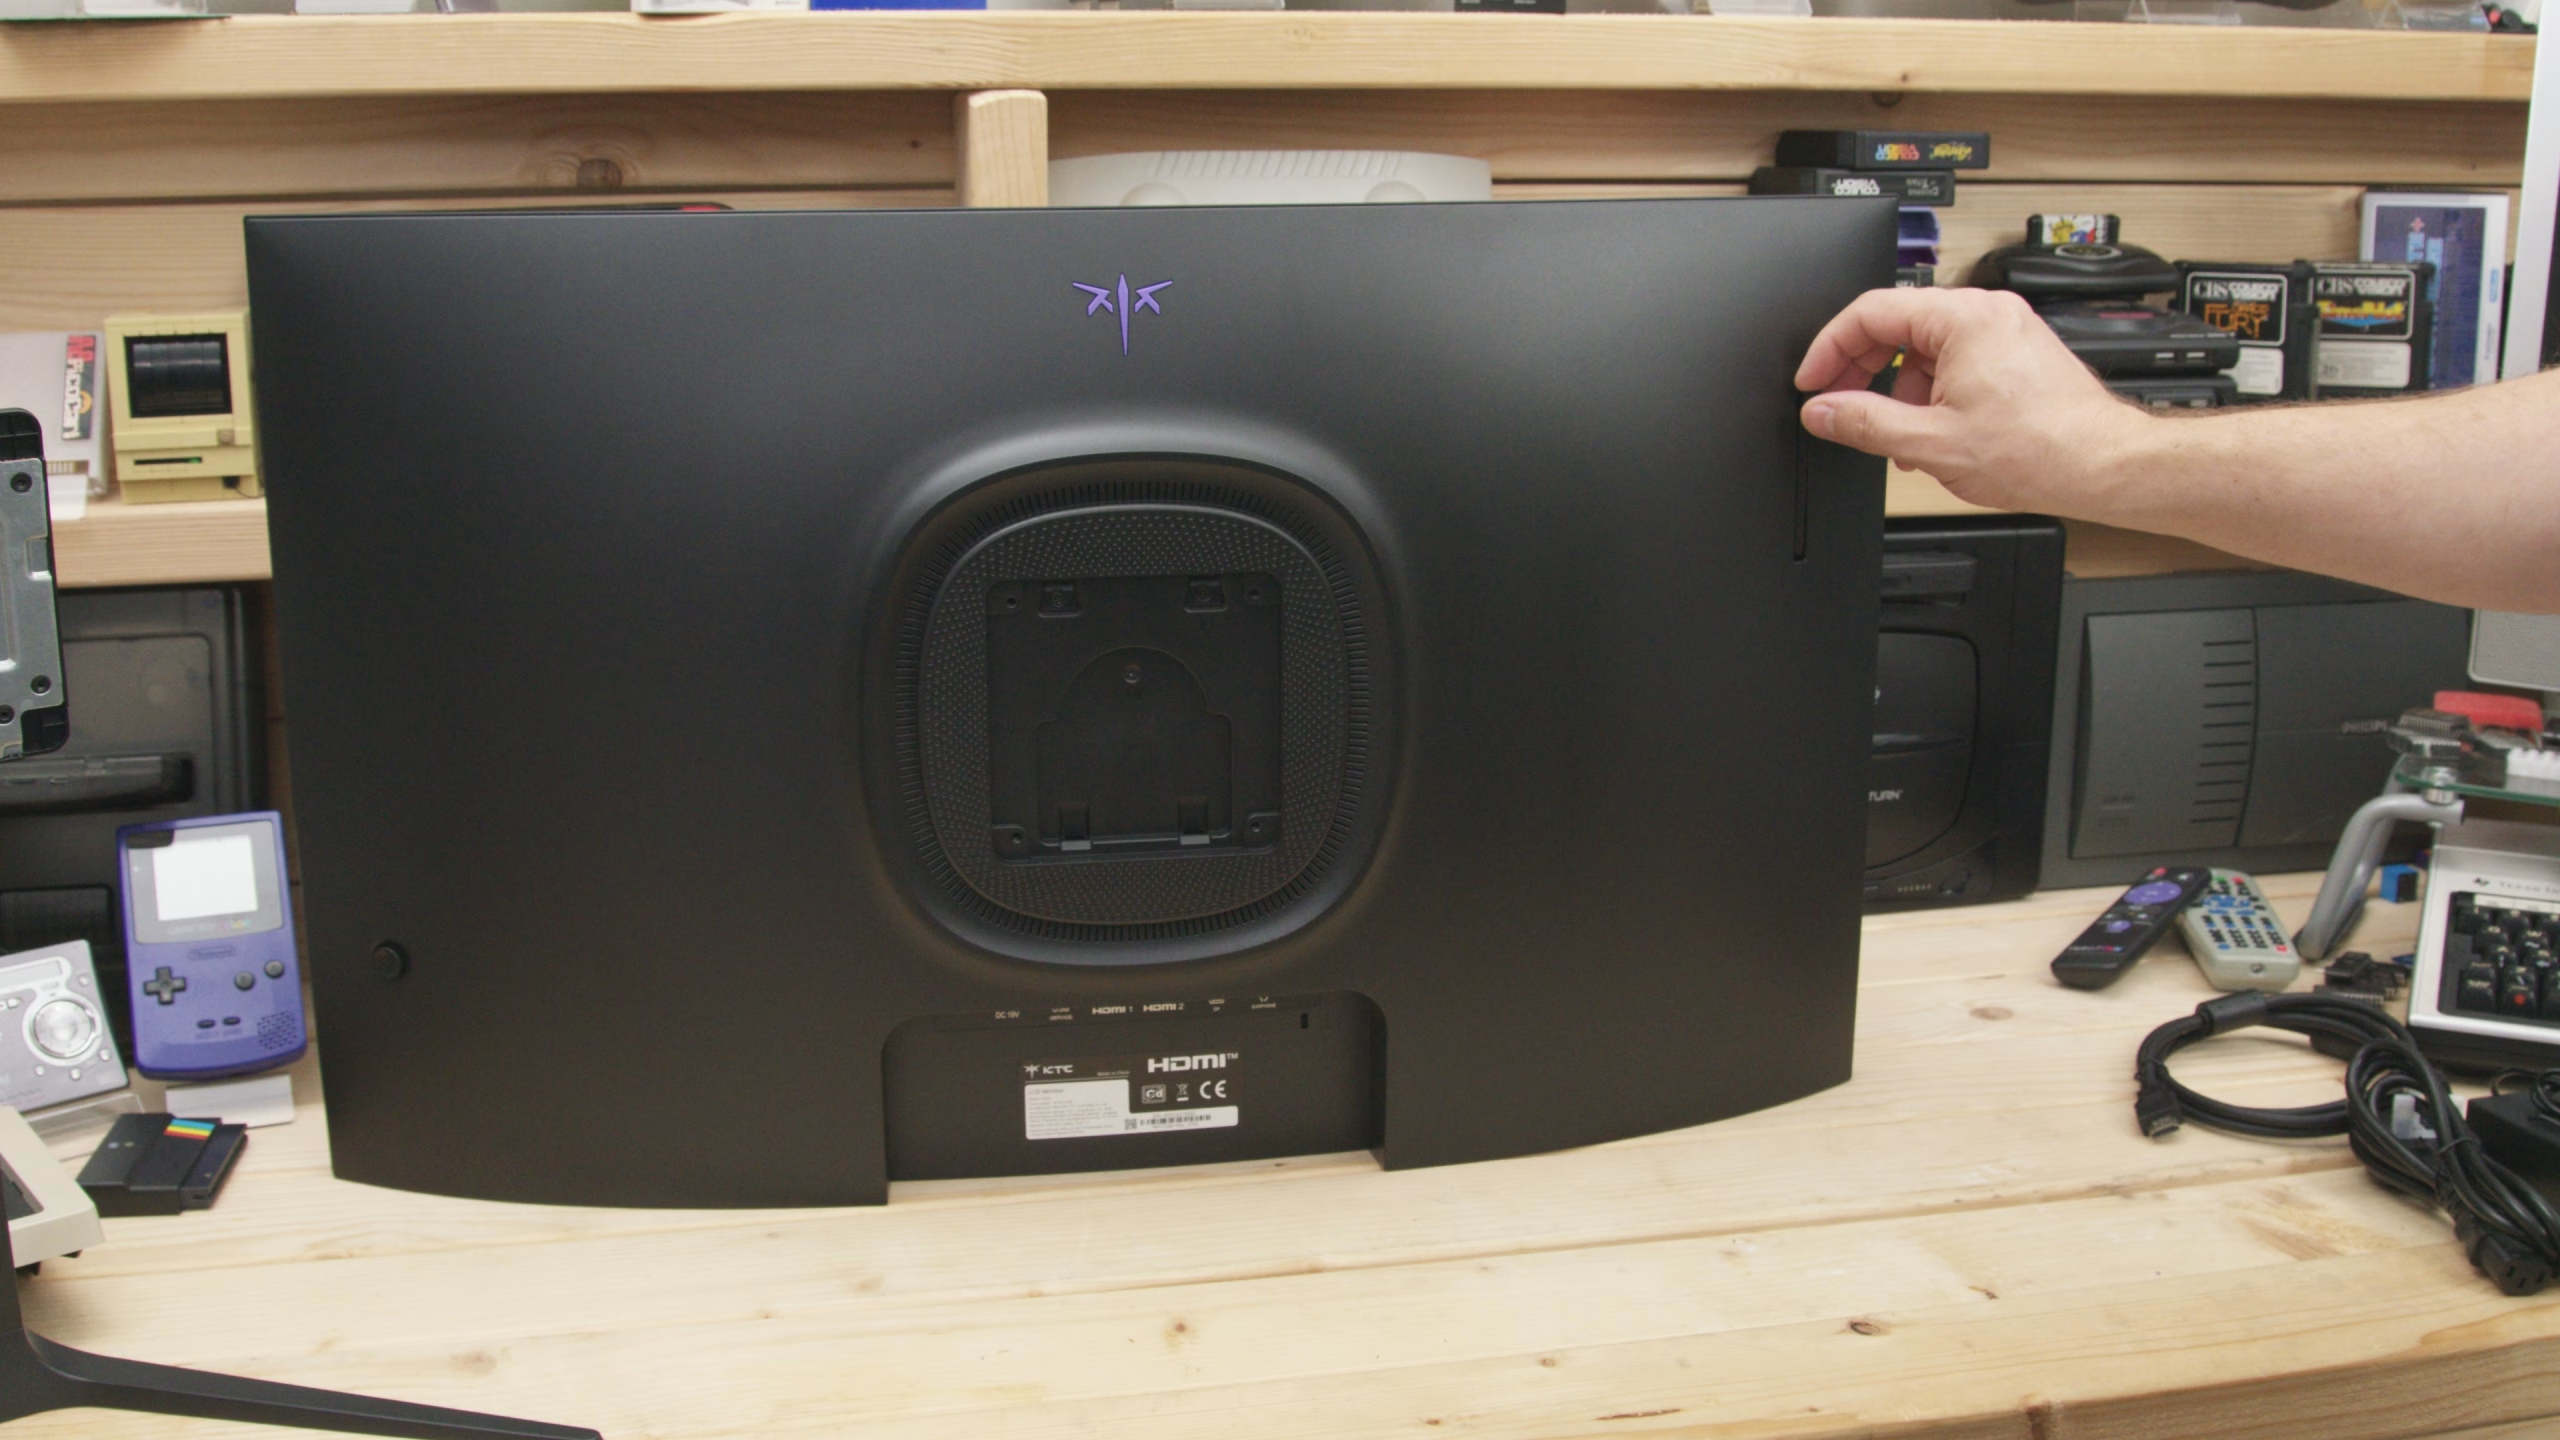
The first thing that caught my eye was a really cool purple KTC logo on the back. Kind of a shame you’ll never see it once it’s on the bench. Alongside the two HDMI ports and the DisplayPort connector there’s a handy headphone hook built into the back, sensibly placed near the headphone socket, which carries the audio from the HDMI connection.
All the monitor settings live on a little joystick on the back. Click it to switch the monitor on and off, and push it around to get into the menus. Pretty standard stuff, to be honest.
VESA mounting and the quick-release stand
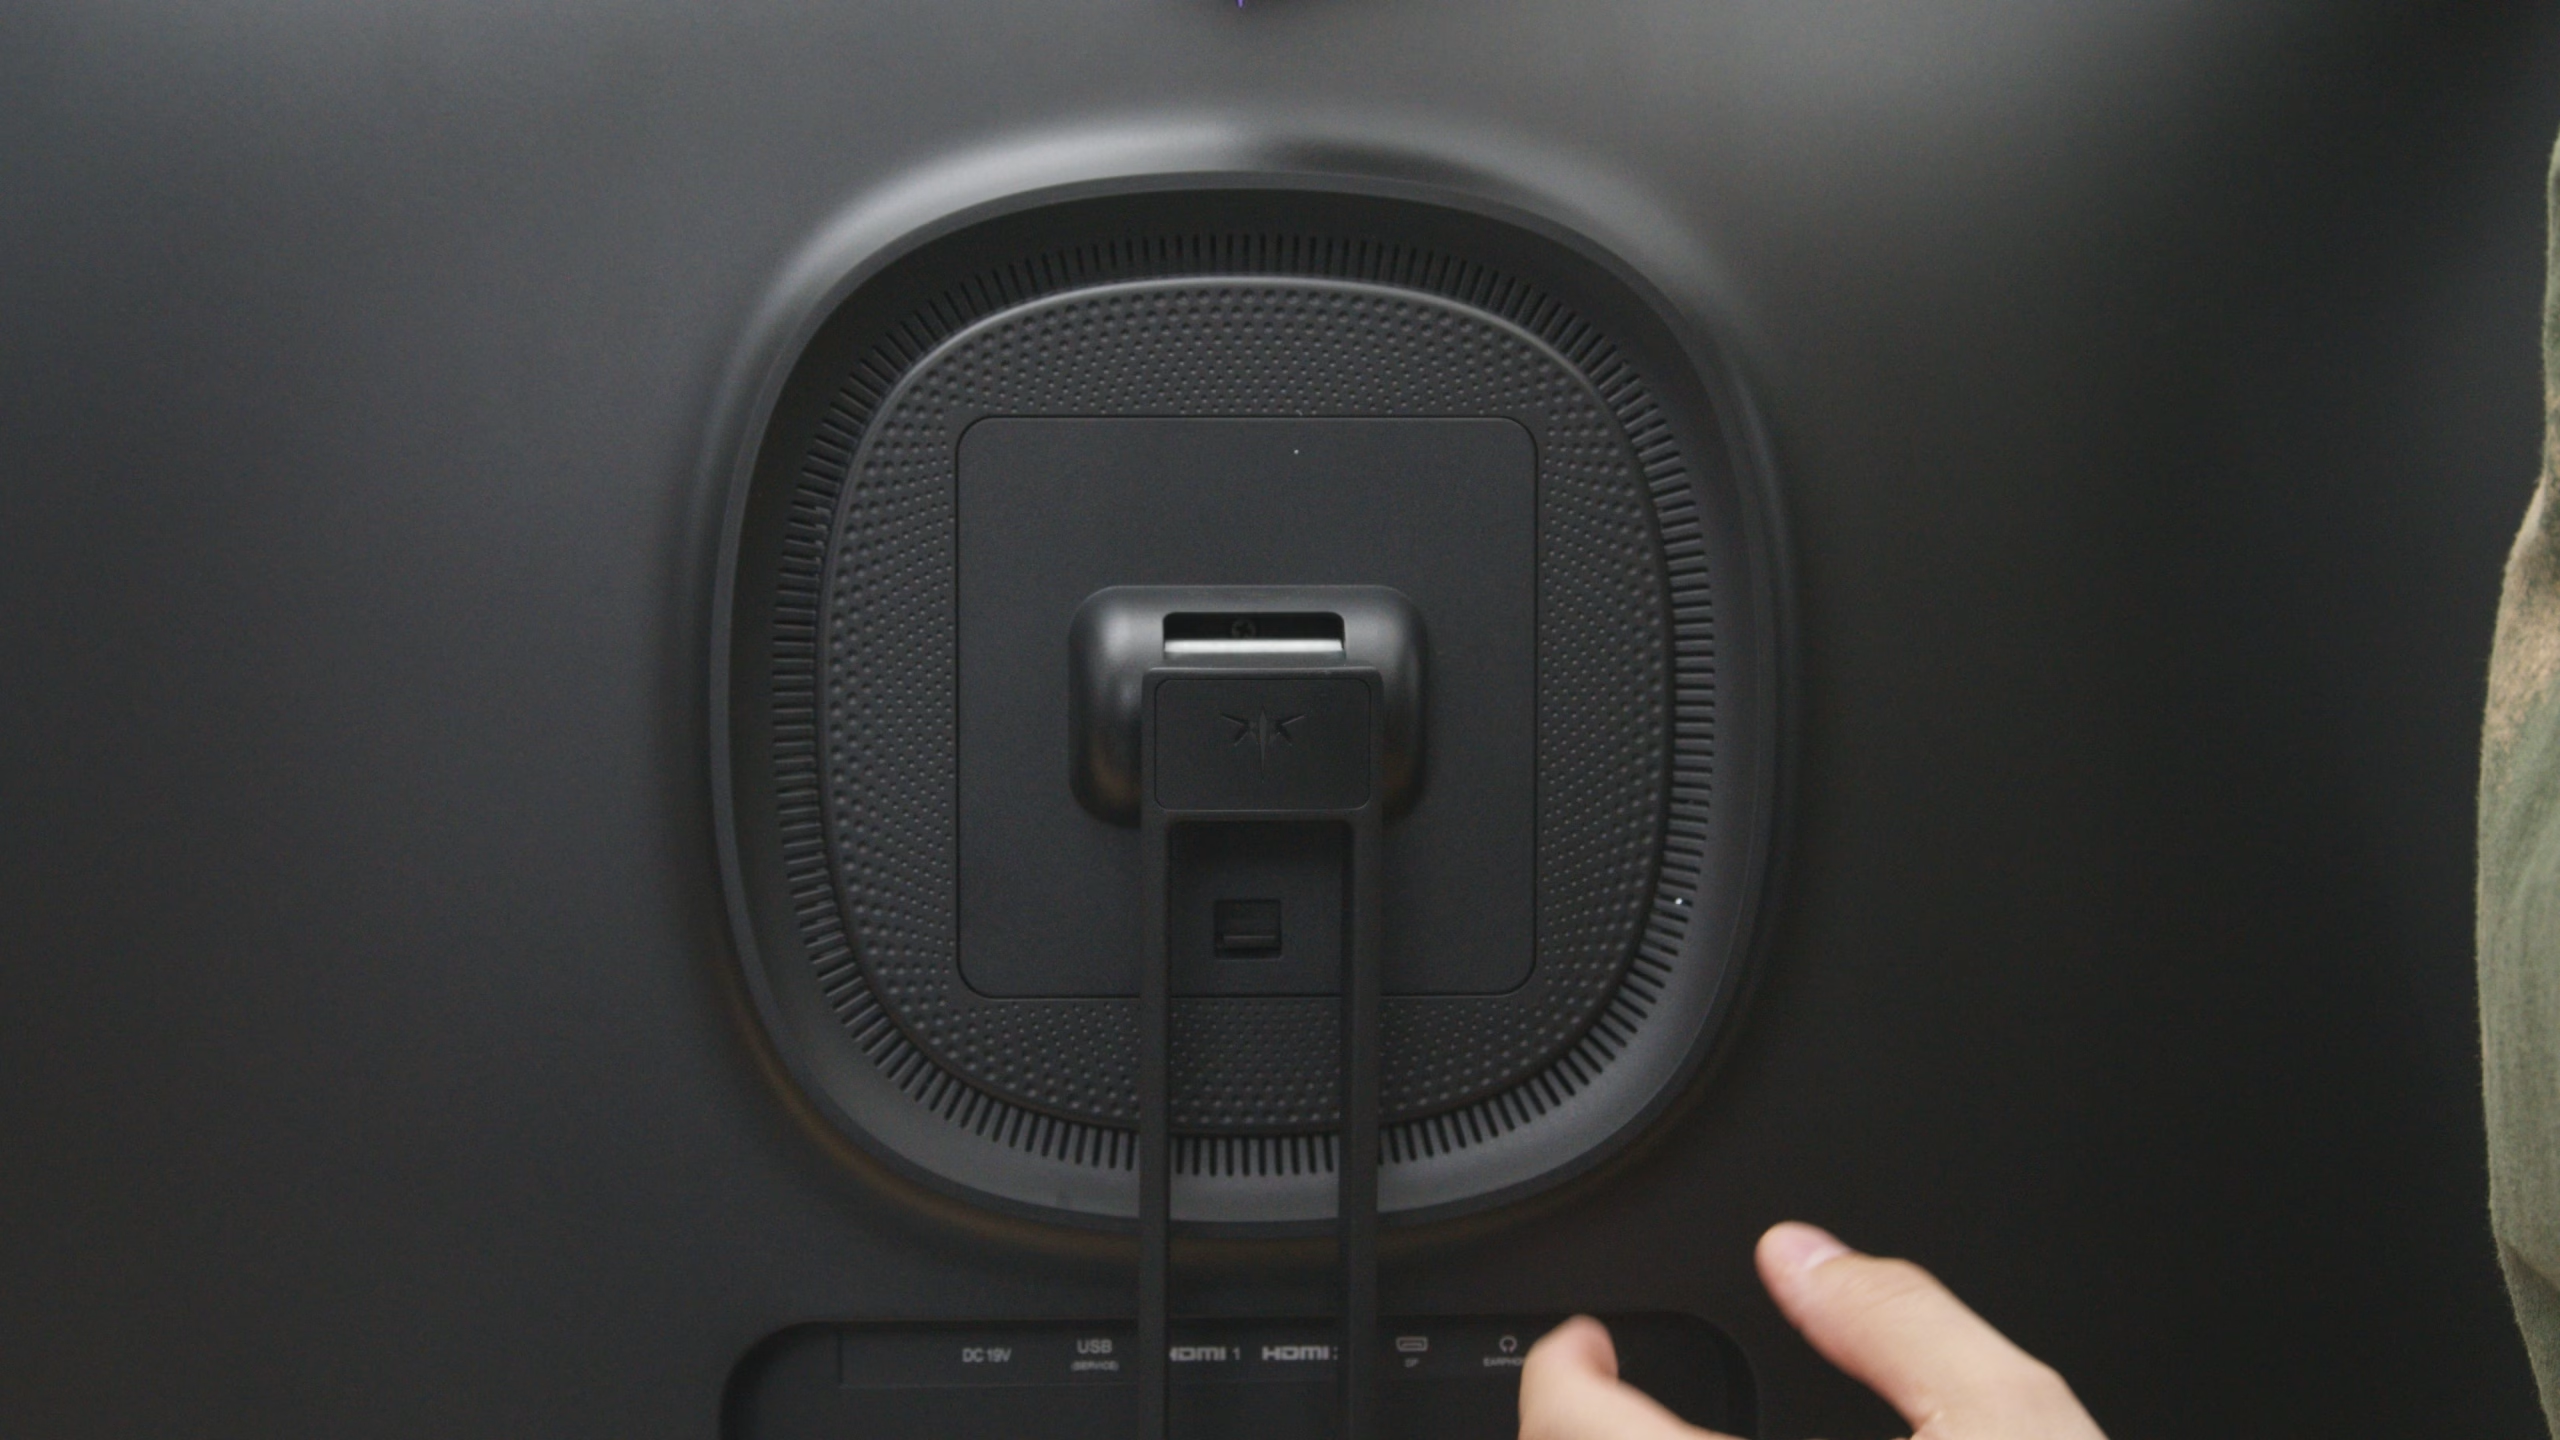
Here’s the way round the missing height adjustment: standard 100×100 VESA holes. If you’ve got a monitor arm on your desk, or want to wall-mount it, it’ll go straight on. If you’re using the supplied stand, it’s a quick-release mount: the screen hooks onto two flanges, clicks on, and locks in place with a catch. No tools required.
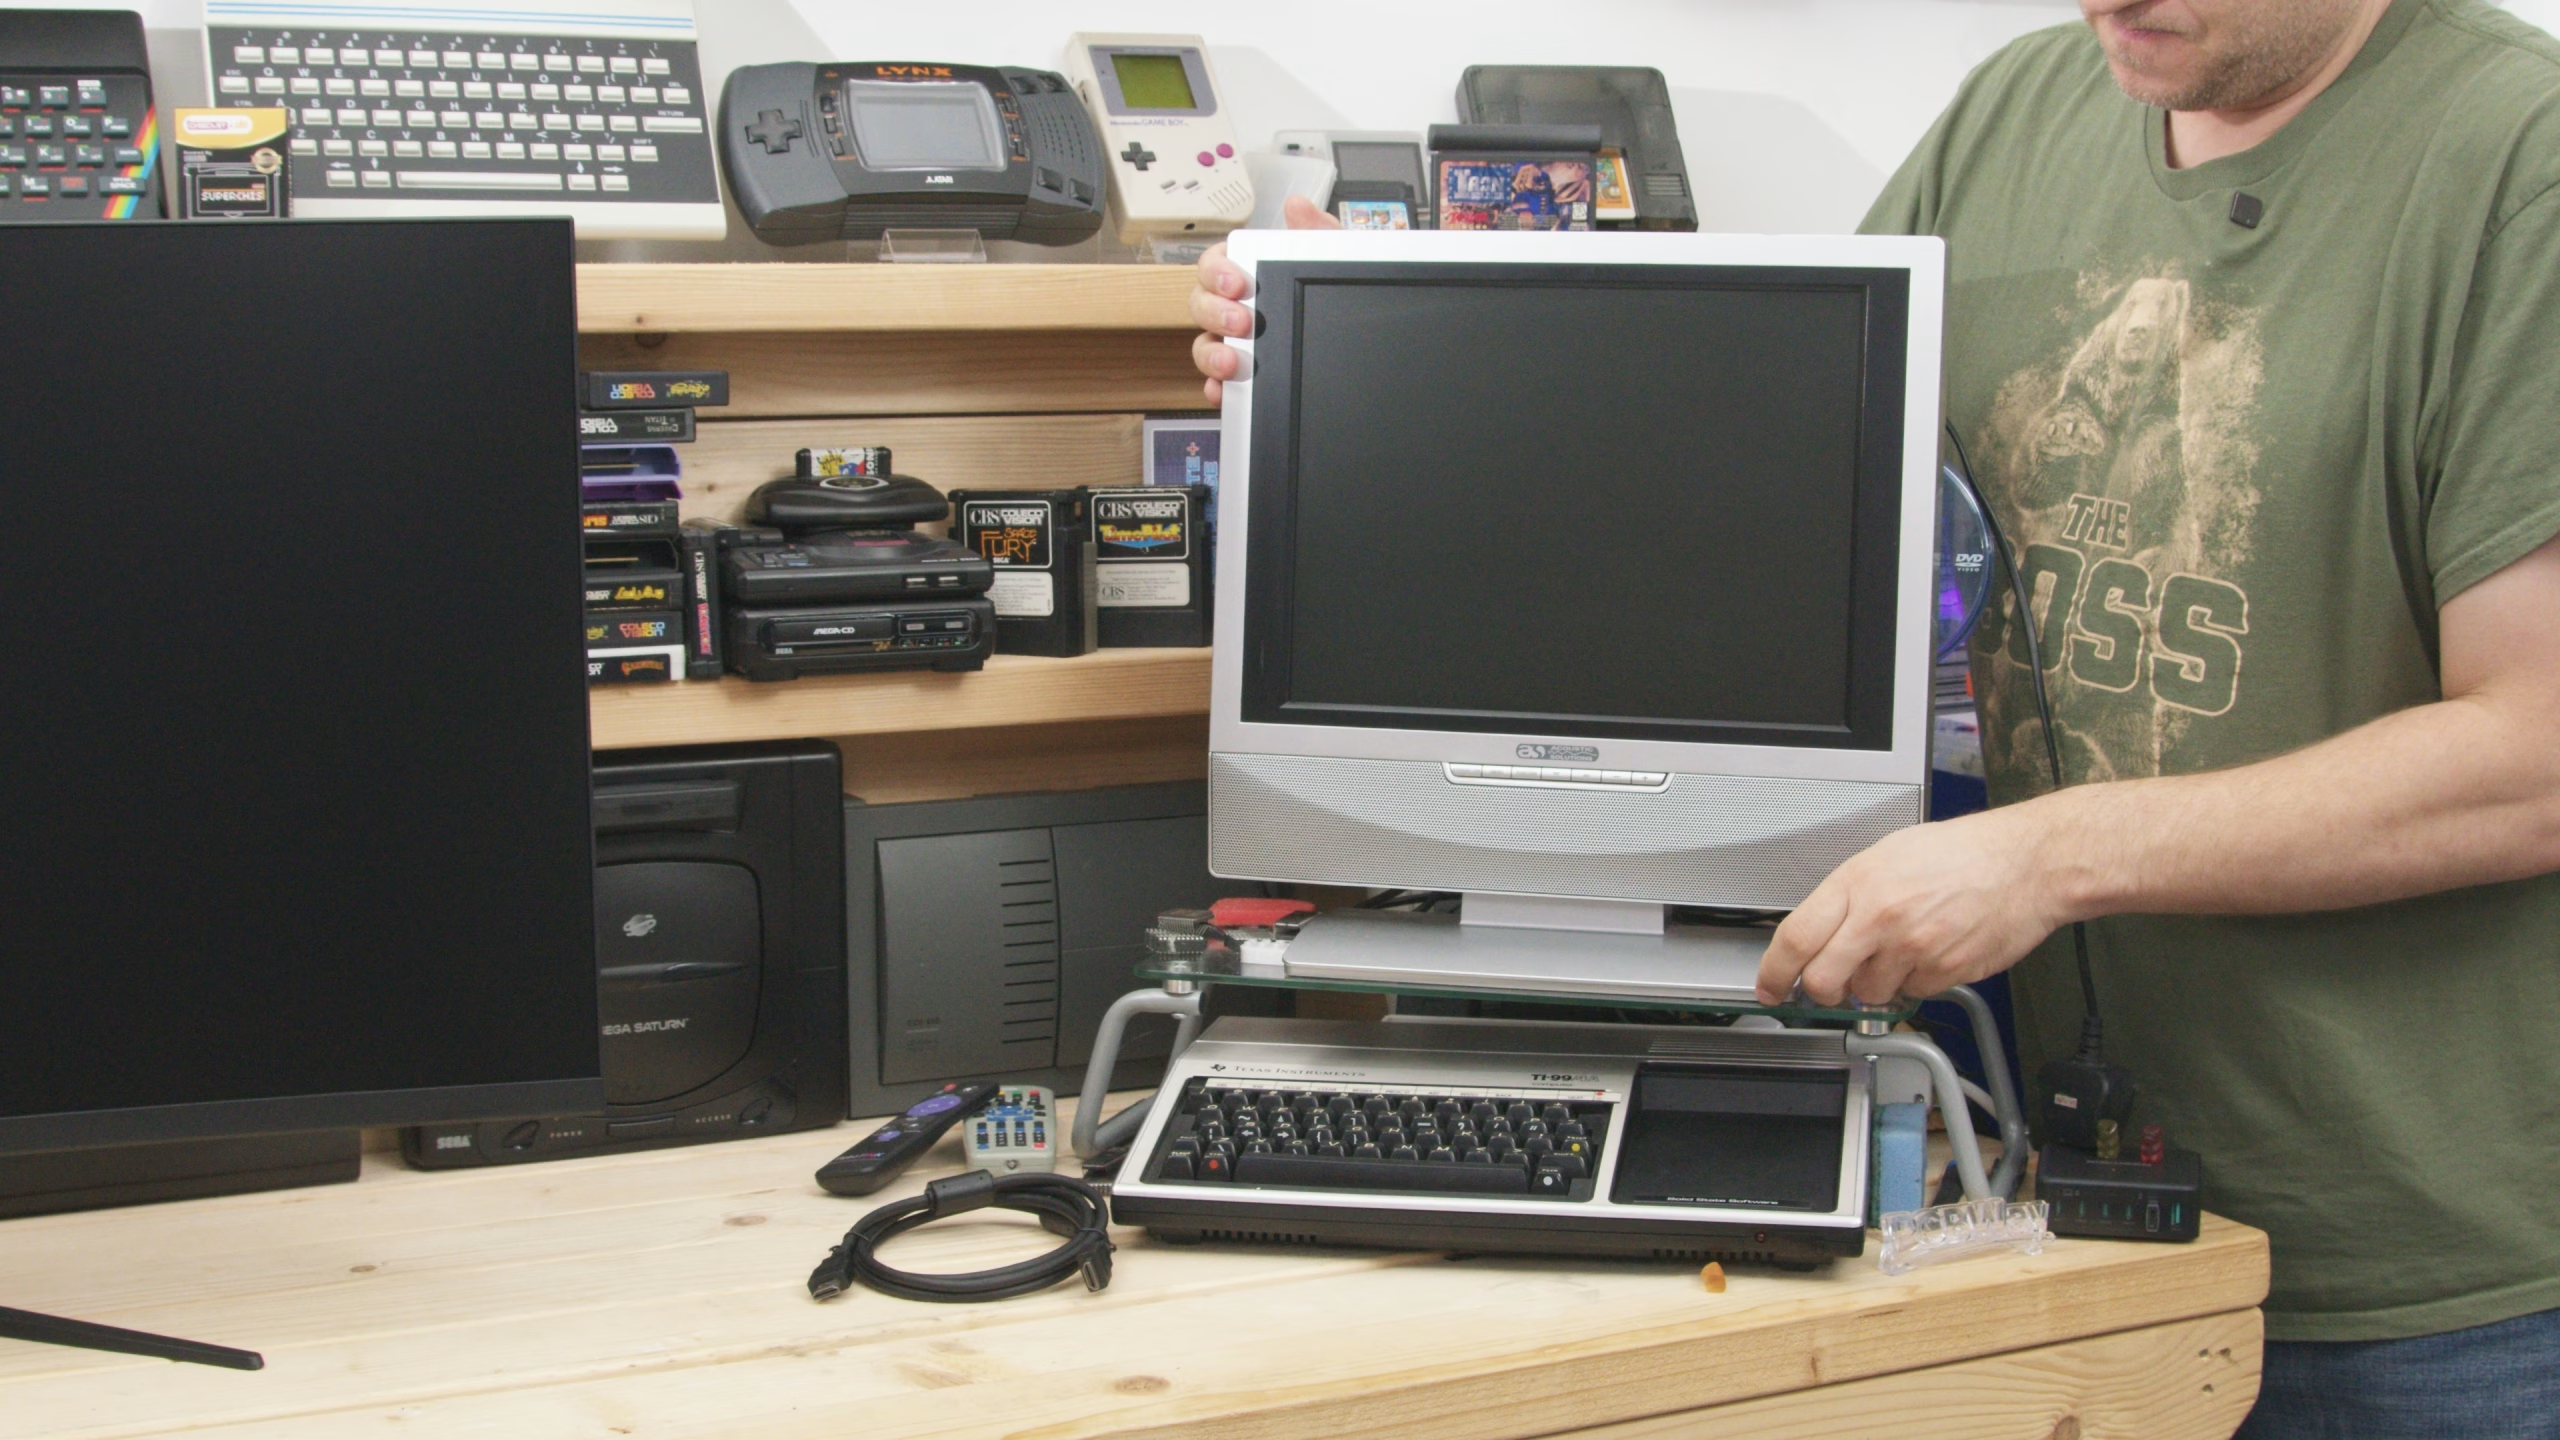
Out with the old 4:3 TV
Time to say goodbye to the old 4:3 telly and make room for the KTC. Goodbye, old friend. Once the new monitor was in place it didn’t even fit in shot, which tells you everything about the size difference.
Hooking up the RetroTINK 5X Pro
Along the back of the monitor you get two HDMI sockets, a DisplayPort socket and a headphone output. The headphone output’s volume is controlled on screen. It’s not as loud as I’d like, so I’ve added a pair of small USB-powered amplified speakers, run from a little GaN USB charger that’s also handy for powering some consoles.
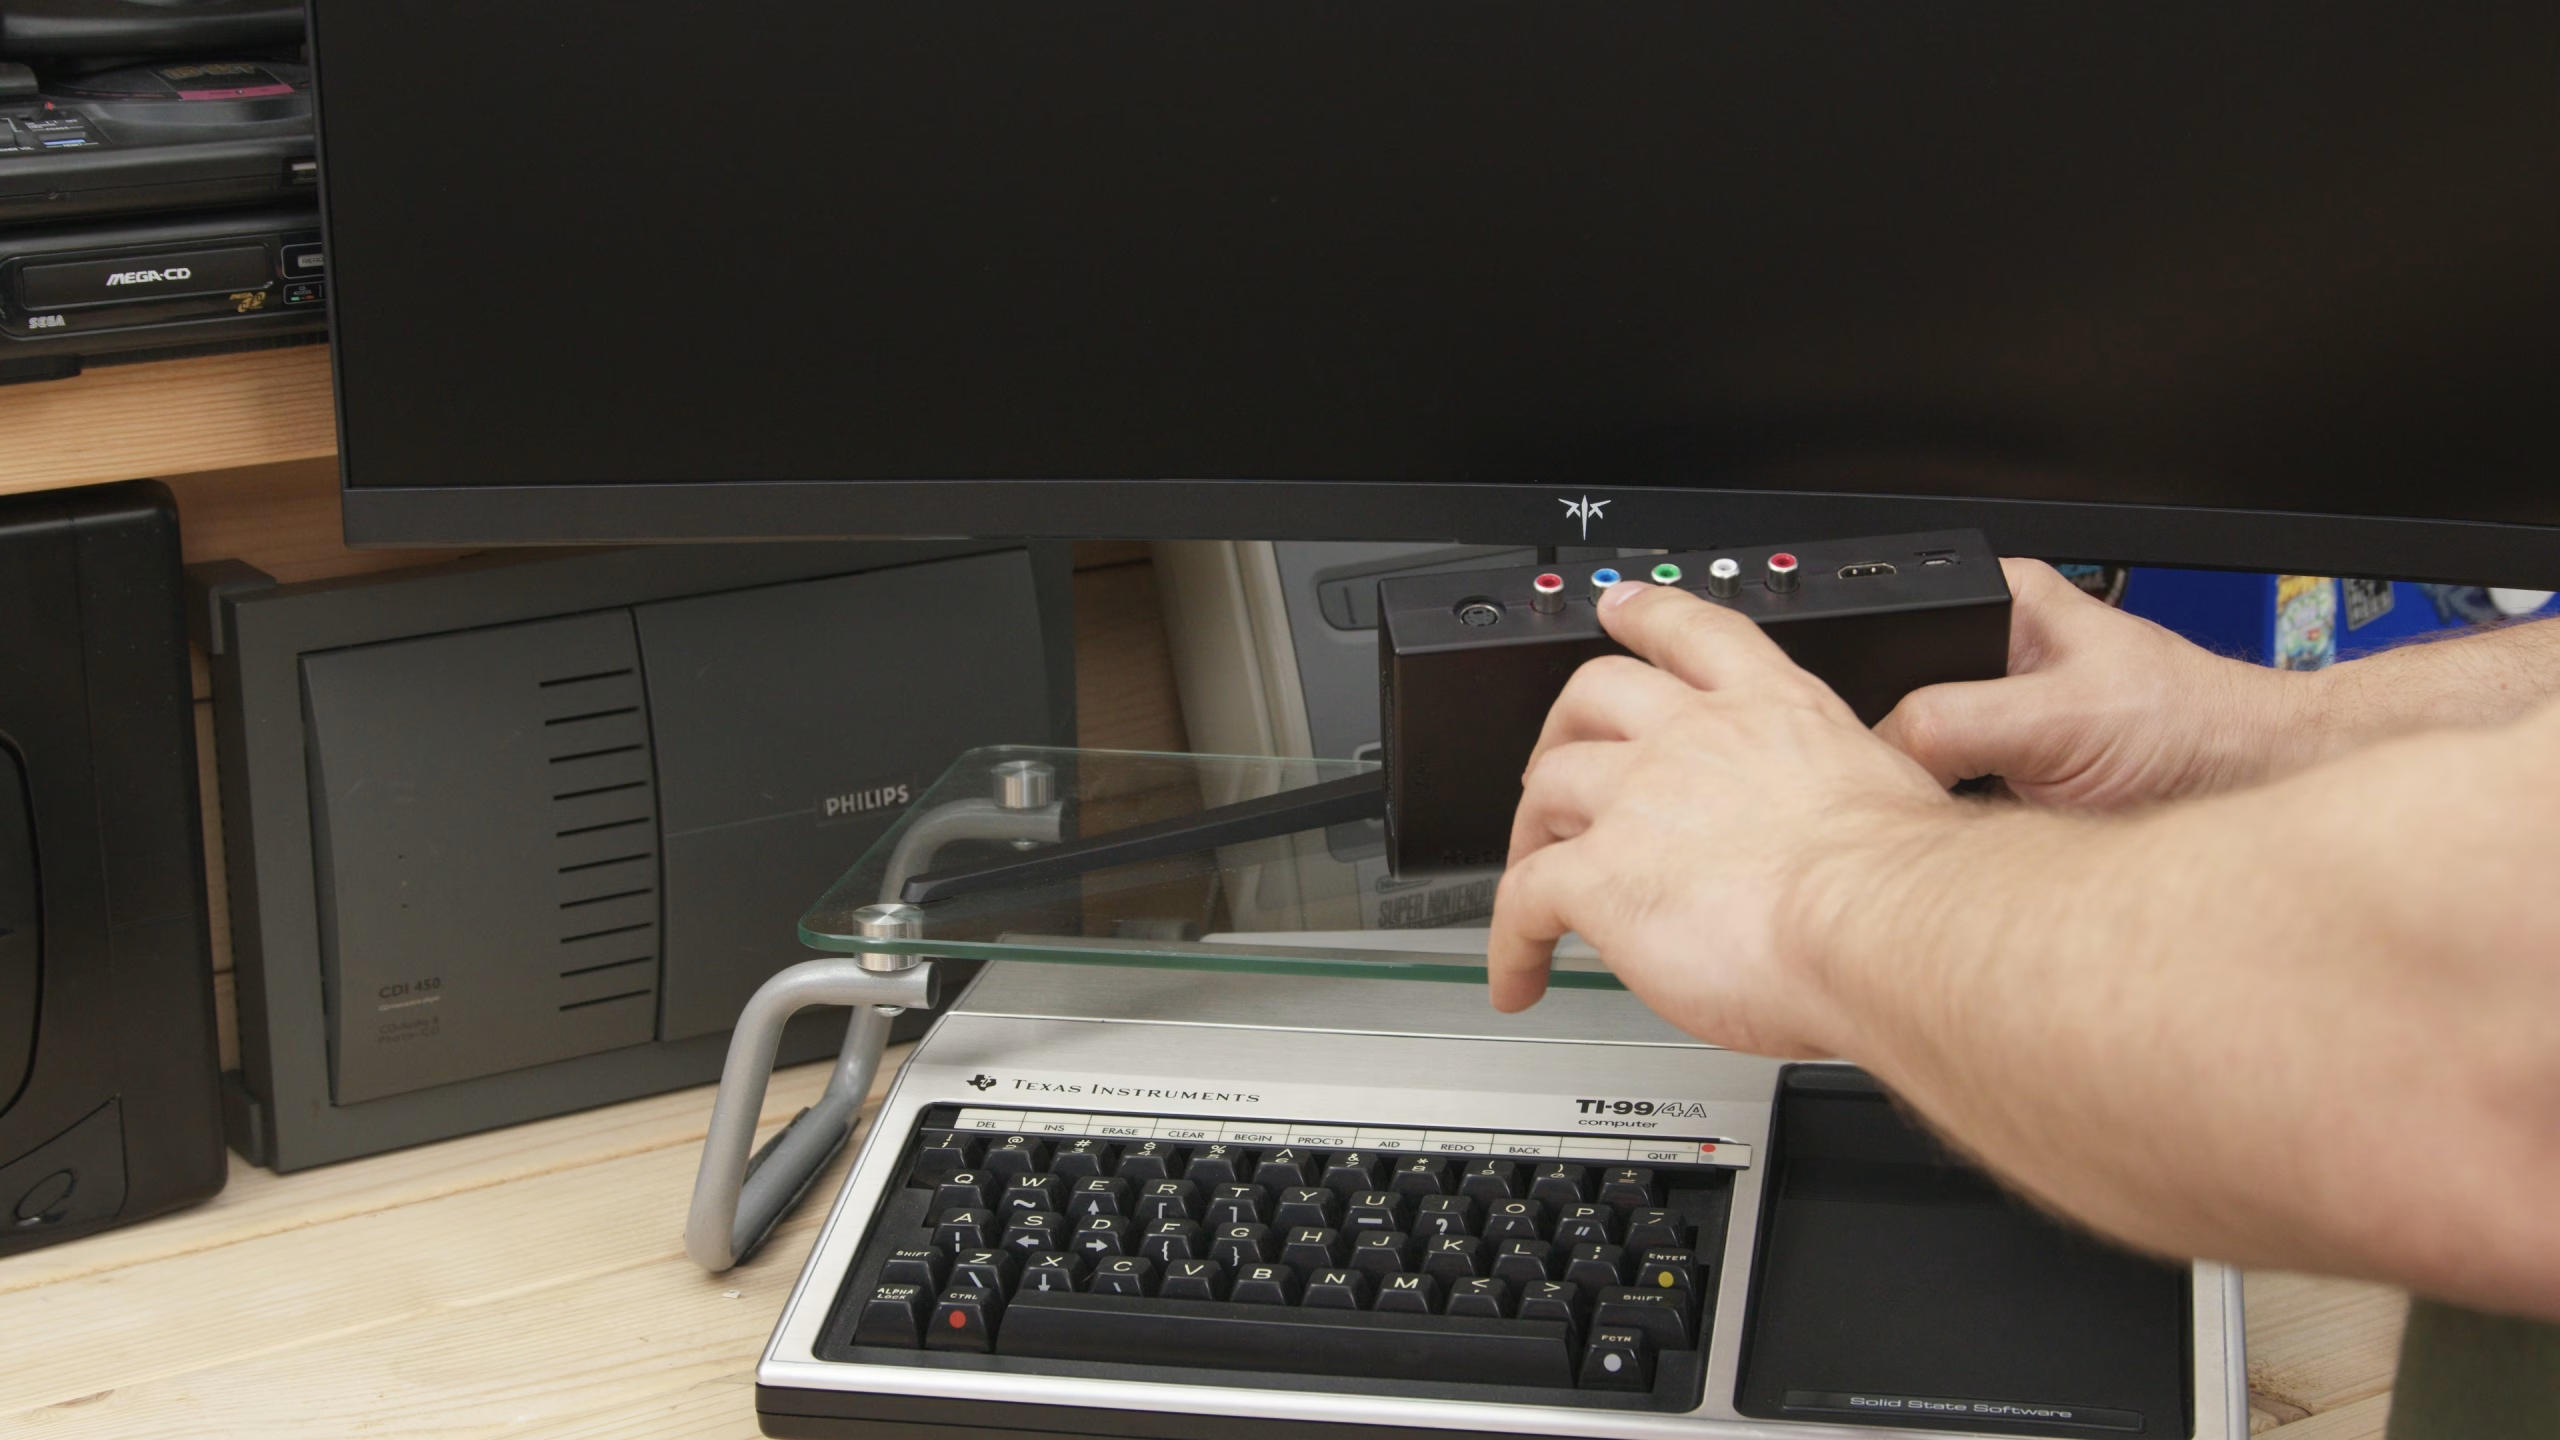
The RetroTINK 5X Pro has component inputs along the back, plus S-video and an RGB and composite SCART input on the side. It’s powered by USB and its HDMI output goes straight into the monitor.
For me, this is the important bit. Two HDMI 2.0 inputs and a DisplayPort 1.4 means the RetroTINK can live permanently on one HDMI, a PC can go on the DisplayPort, and there’s still an HDMI spare for a modern console. No more fumbling around the back swapping cables. There’s a USB port too, but that’s only for firmware updates.
Power it on and you get a nice little logo, and it’s set to detect the input automatically. Even with nothing feeding it, the RetroTINK produces an image, so you know the chain is working.
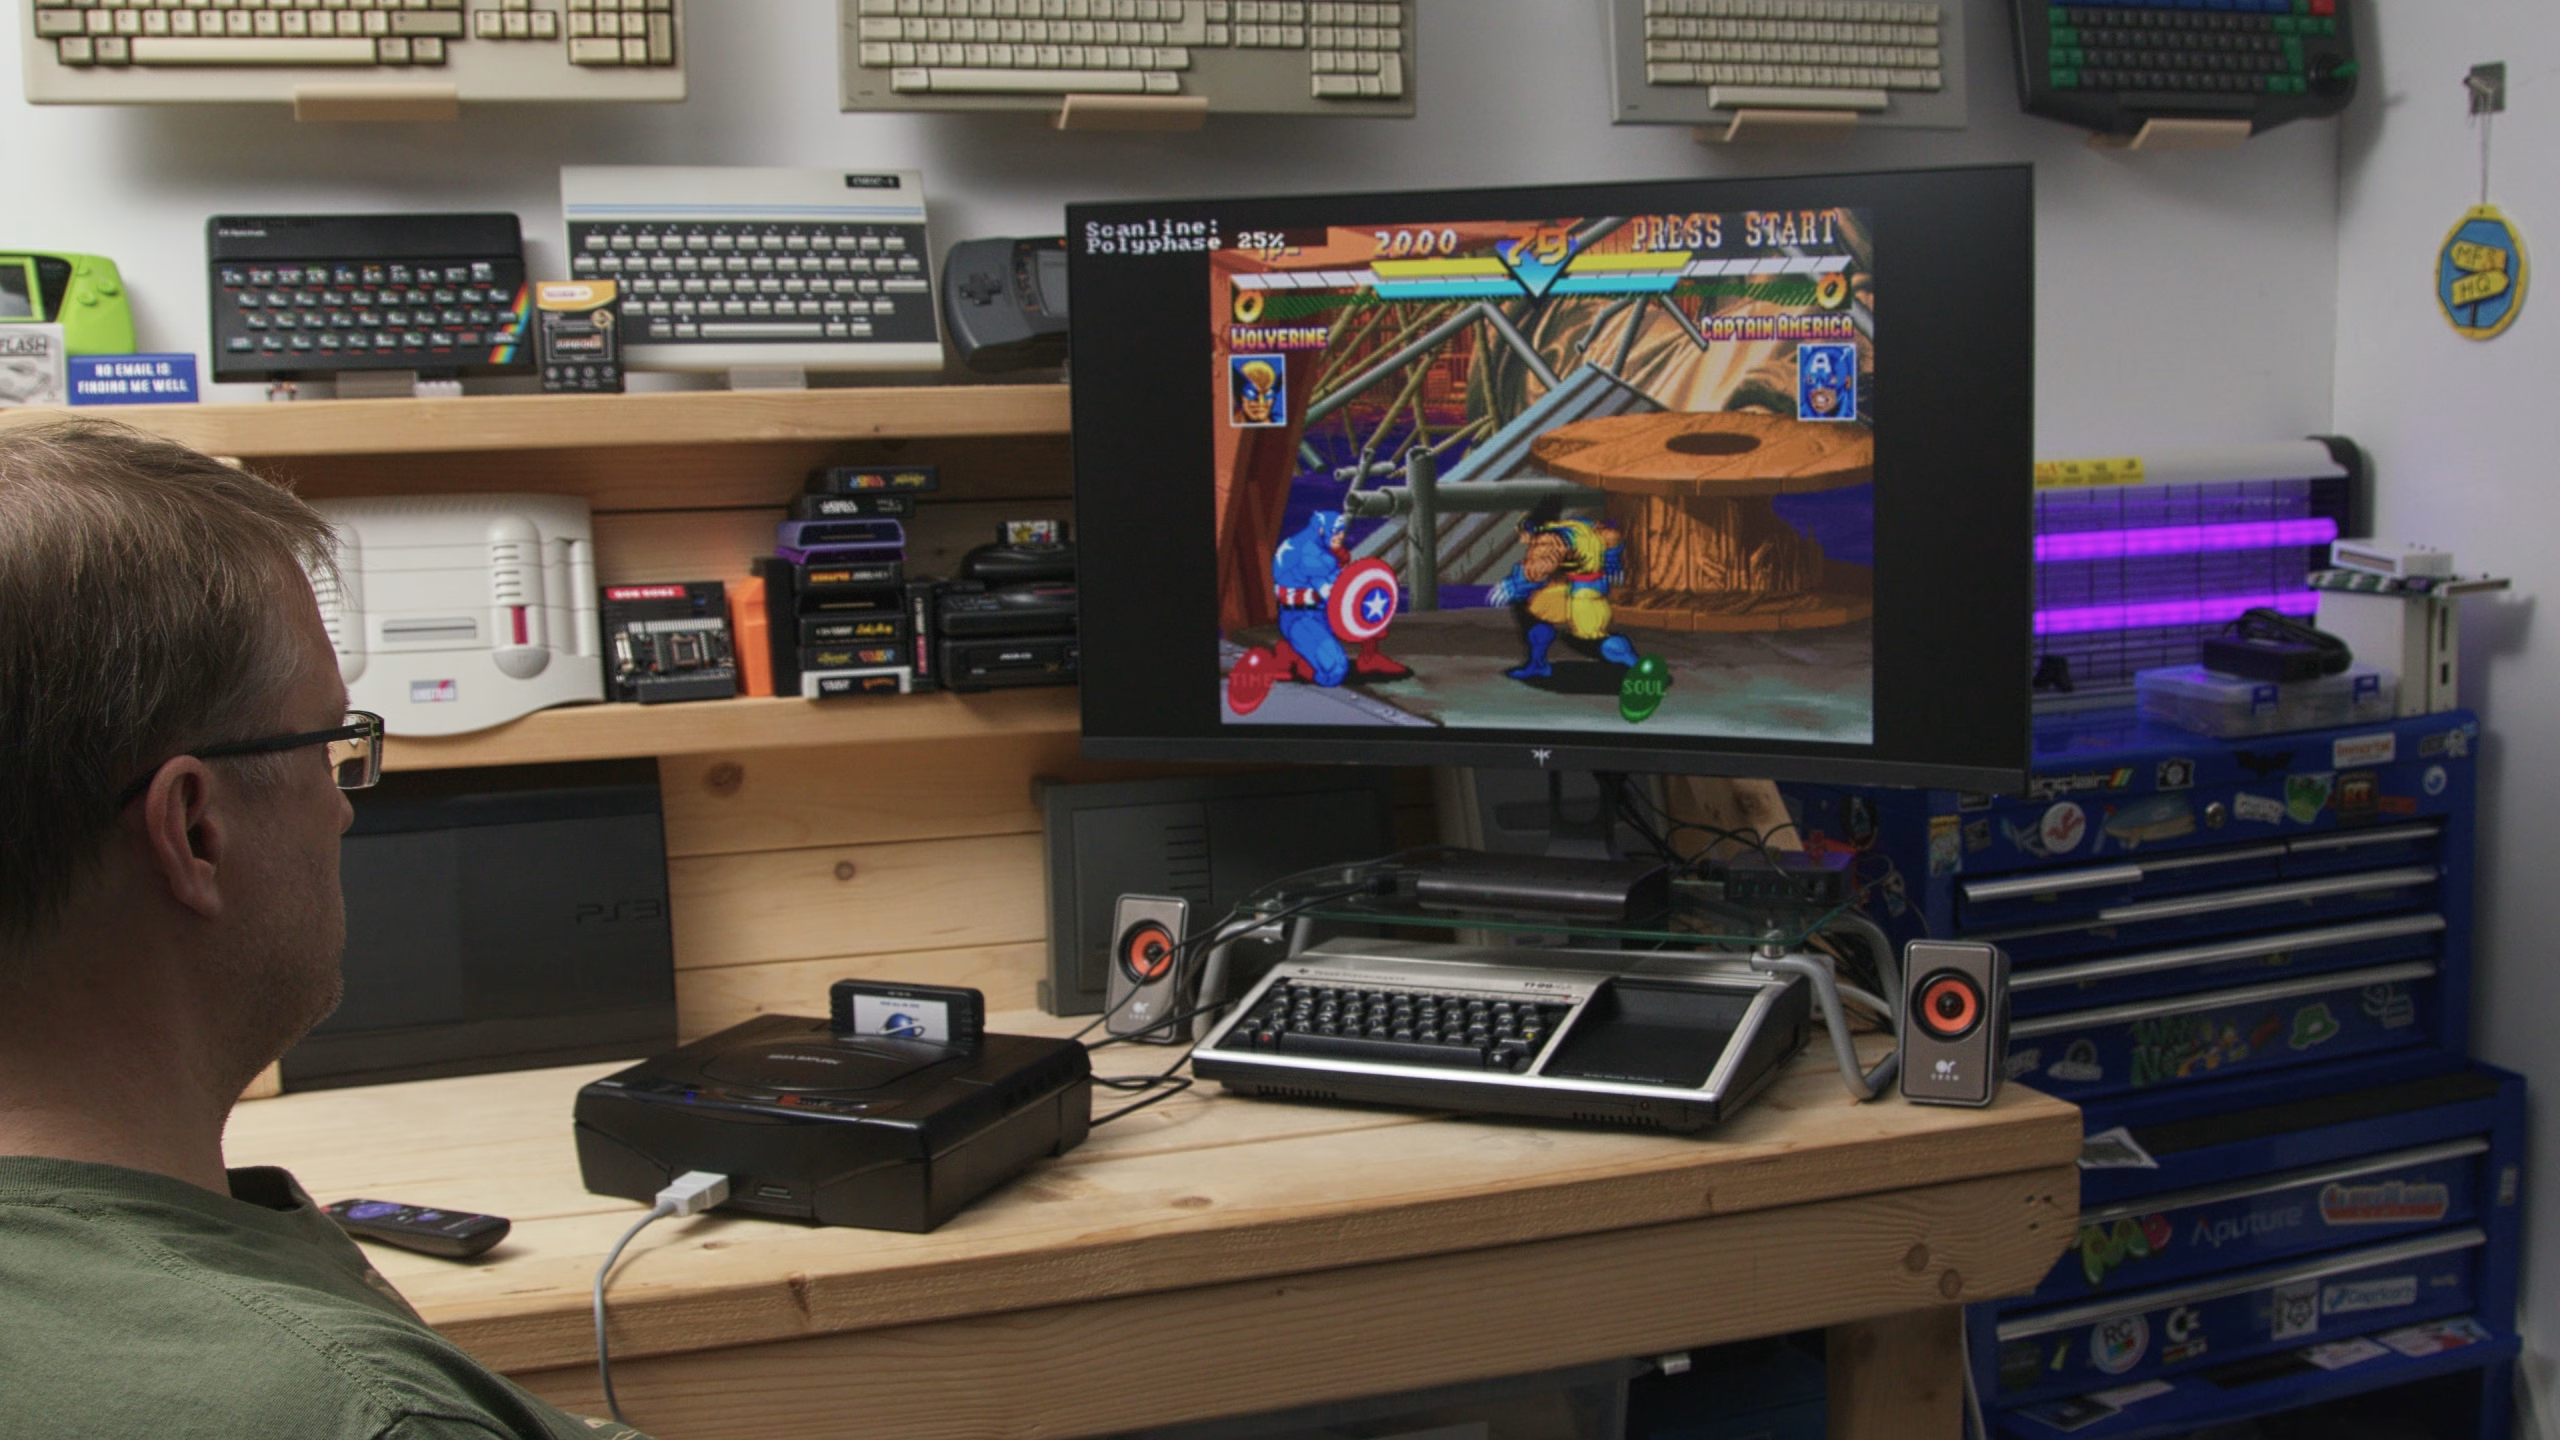
How does a Sega Saturn look on a 240Hz monitor?
First, a console I know looks great: the Sega Saturn. Mine is quite heavily modified, with a 50/60Hz Japanese, US and European mod, a 4 meg card and an SD card inside. I was using a generic cable as I couldn’t find my Retro Computer Shack cable, so I wasn’t sure what to expect.
Before starting, I turned some of the filming lights out. They’re bright enough to overwhelm any screen, and with the room lights down this is where the VA panel comes into its own: the quoted 3,500:1 contrast ratio keeps the blacks properly dark.
It had to be Wolverine. The picture looks crisp, almost like an emulator, and the RetroTINK adds all kinds of emulated display options on top (scanlines, polyphase, slot mask and more). Regardless of how well I played (not very), it looks great and so much better than that old television set.
Swapping consoles: the Atari Jaguar
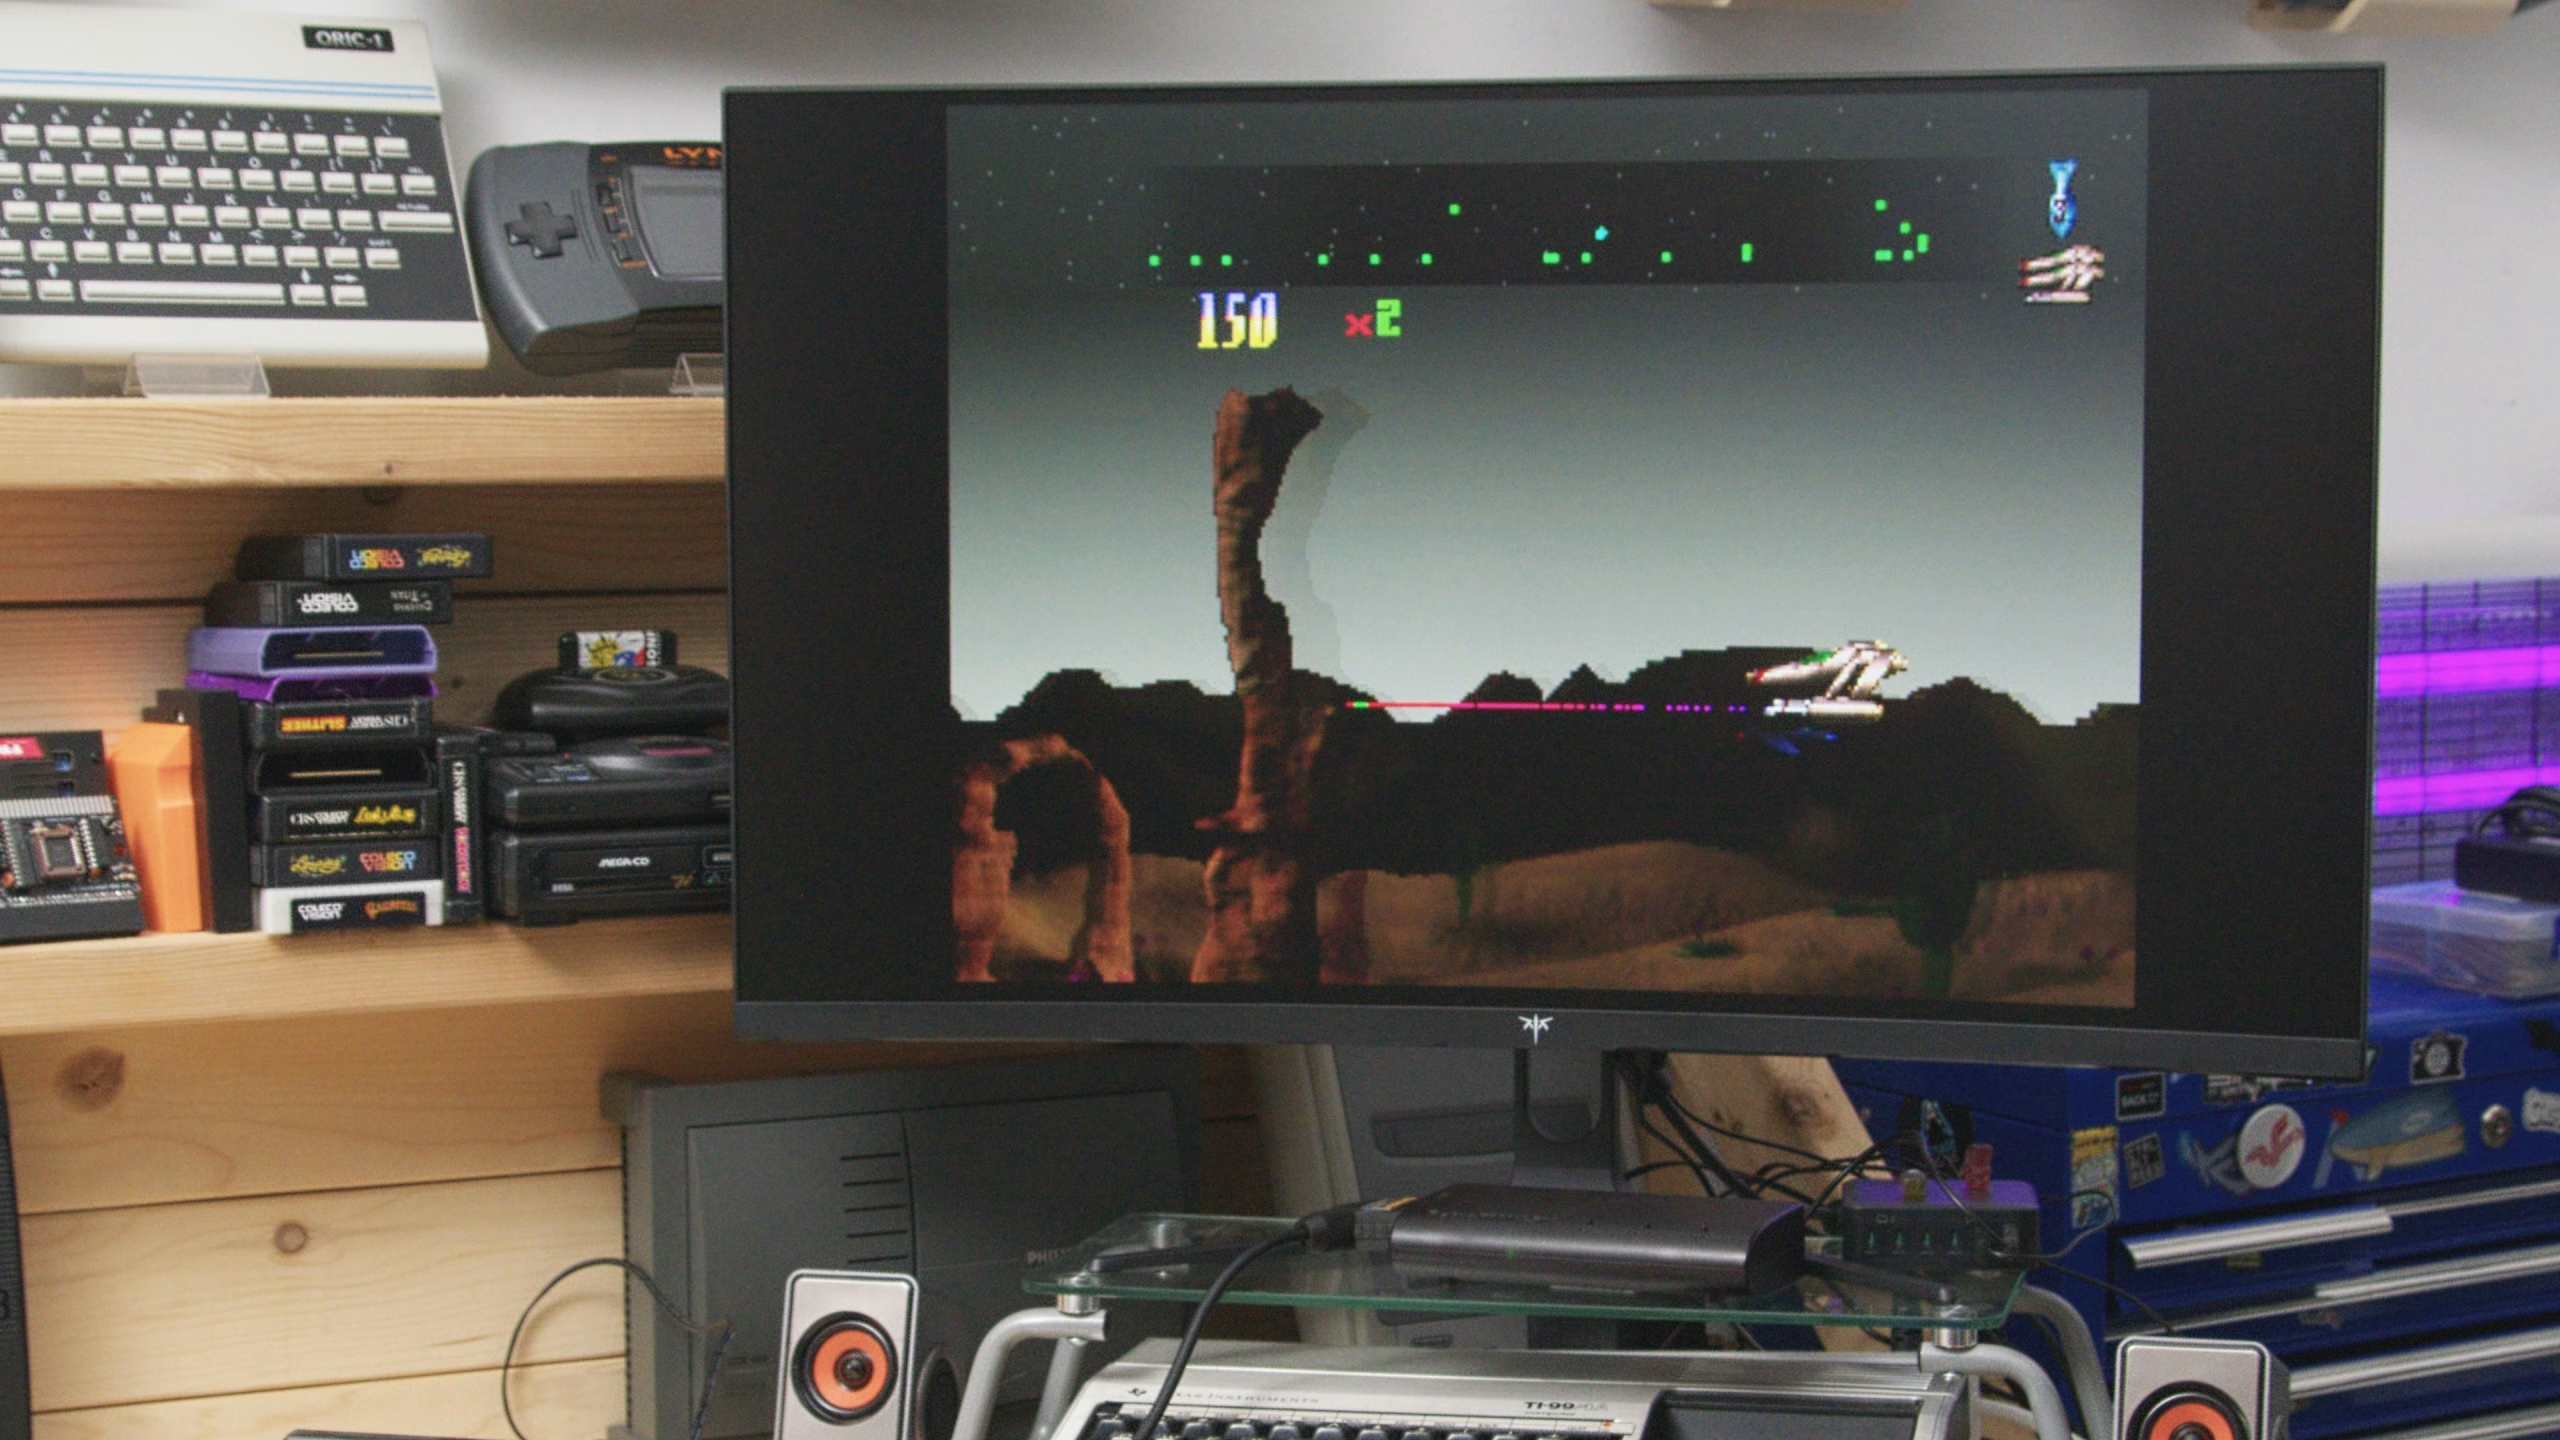
Swapping consoles is just a case of swapping what’s plugged into the RetroTINK. The monitor auto-detects the input, so there’s no hunting through menus. Next up was a rarity, and something that was rather lambasted in its day: the Atari Jaguar, allegedly 64-bit, although that number comes from combining its Tom and Jerry chips, which some people say is a bit Mickey Mouse.
For long sessions the backlight is flicker-free, and there’s a low blue light mode, which I appreciate after a long day of editing on other displays. I’ll also be using this screen for some light editing from the laptop, and it’s handy being able to move it around the cabin: something the old TV was no use for at all. And I have to say, the picture quality is superb.
Super Nintendo, and what 240Hz actually means for retro
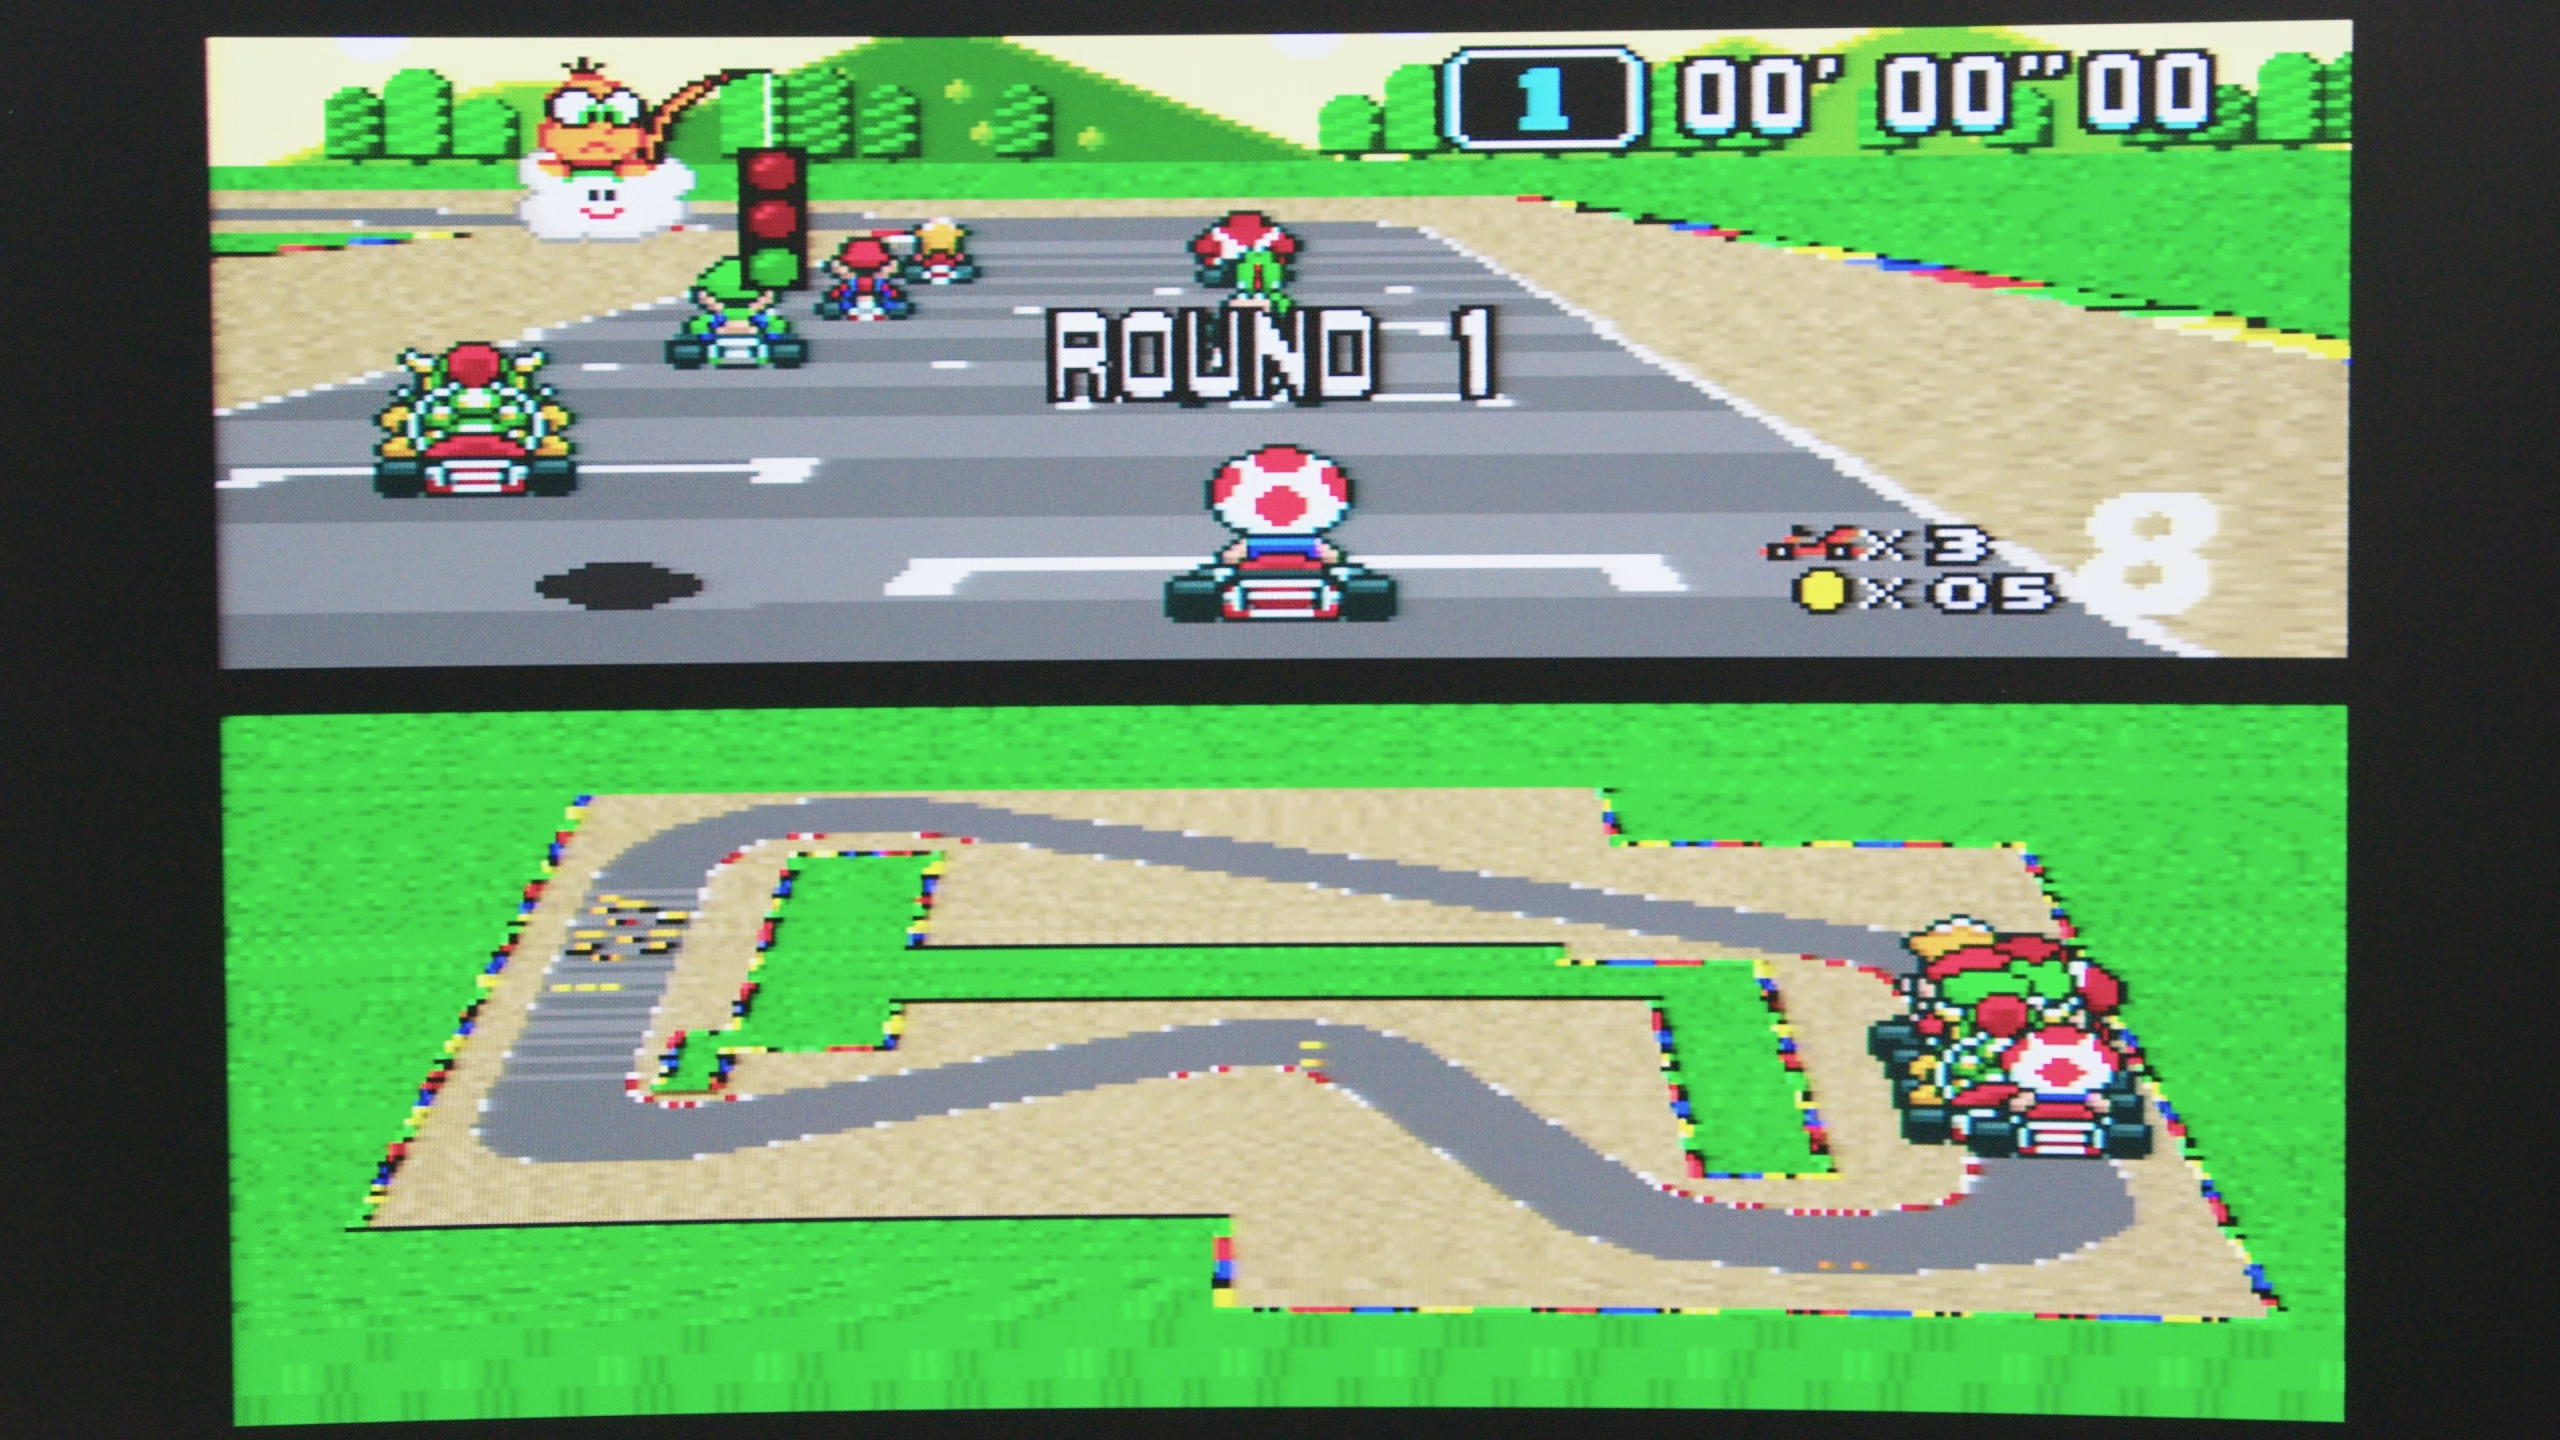
Next was the Super Nintendo, something a bit more old school. To be fair, retro consoles only ever output 50 or 60Hz, so the 240Hz refresh rate doesn’t do anything for the SNES. What was really refreshing for me was the colour. On the old TV the colours were muted, dull and slightly off, and I’d actually forgotten how colourful some of these old games could be. KTC quotes 96% DCI-P3 coverage (99% volume) and 99% sRGB coverage (128% volume), and it shows in how rich the colours look.
PC gaming at 240Hz and 280Hz
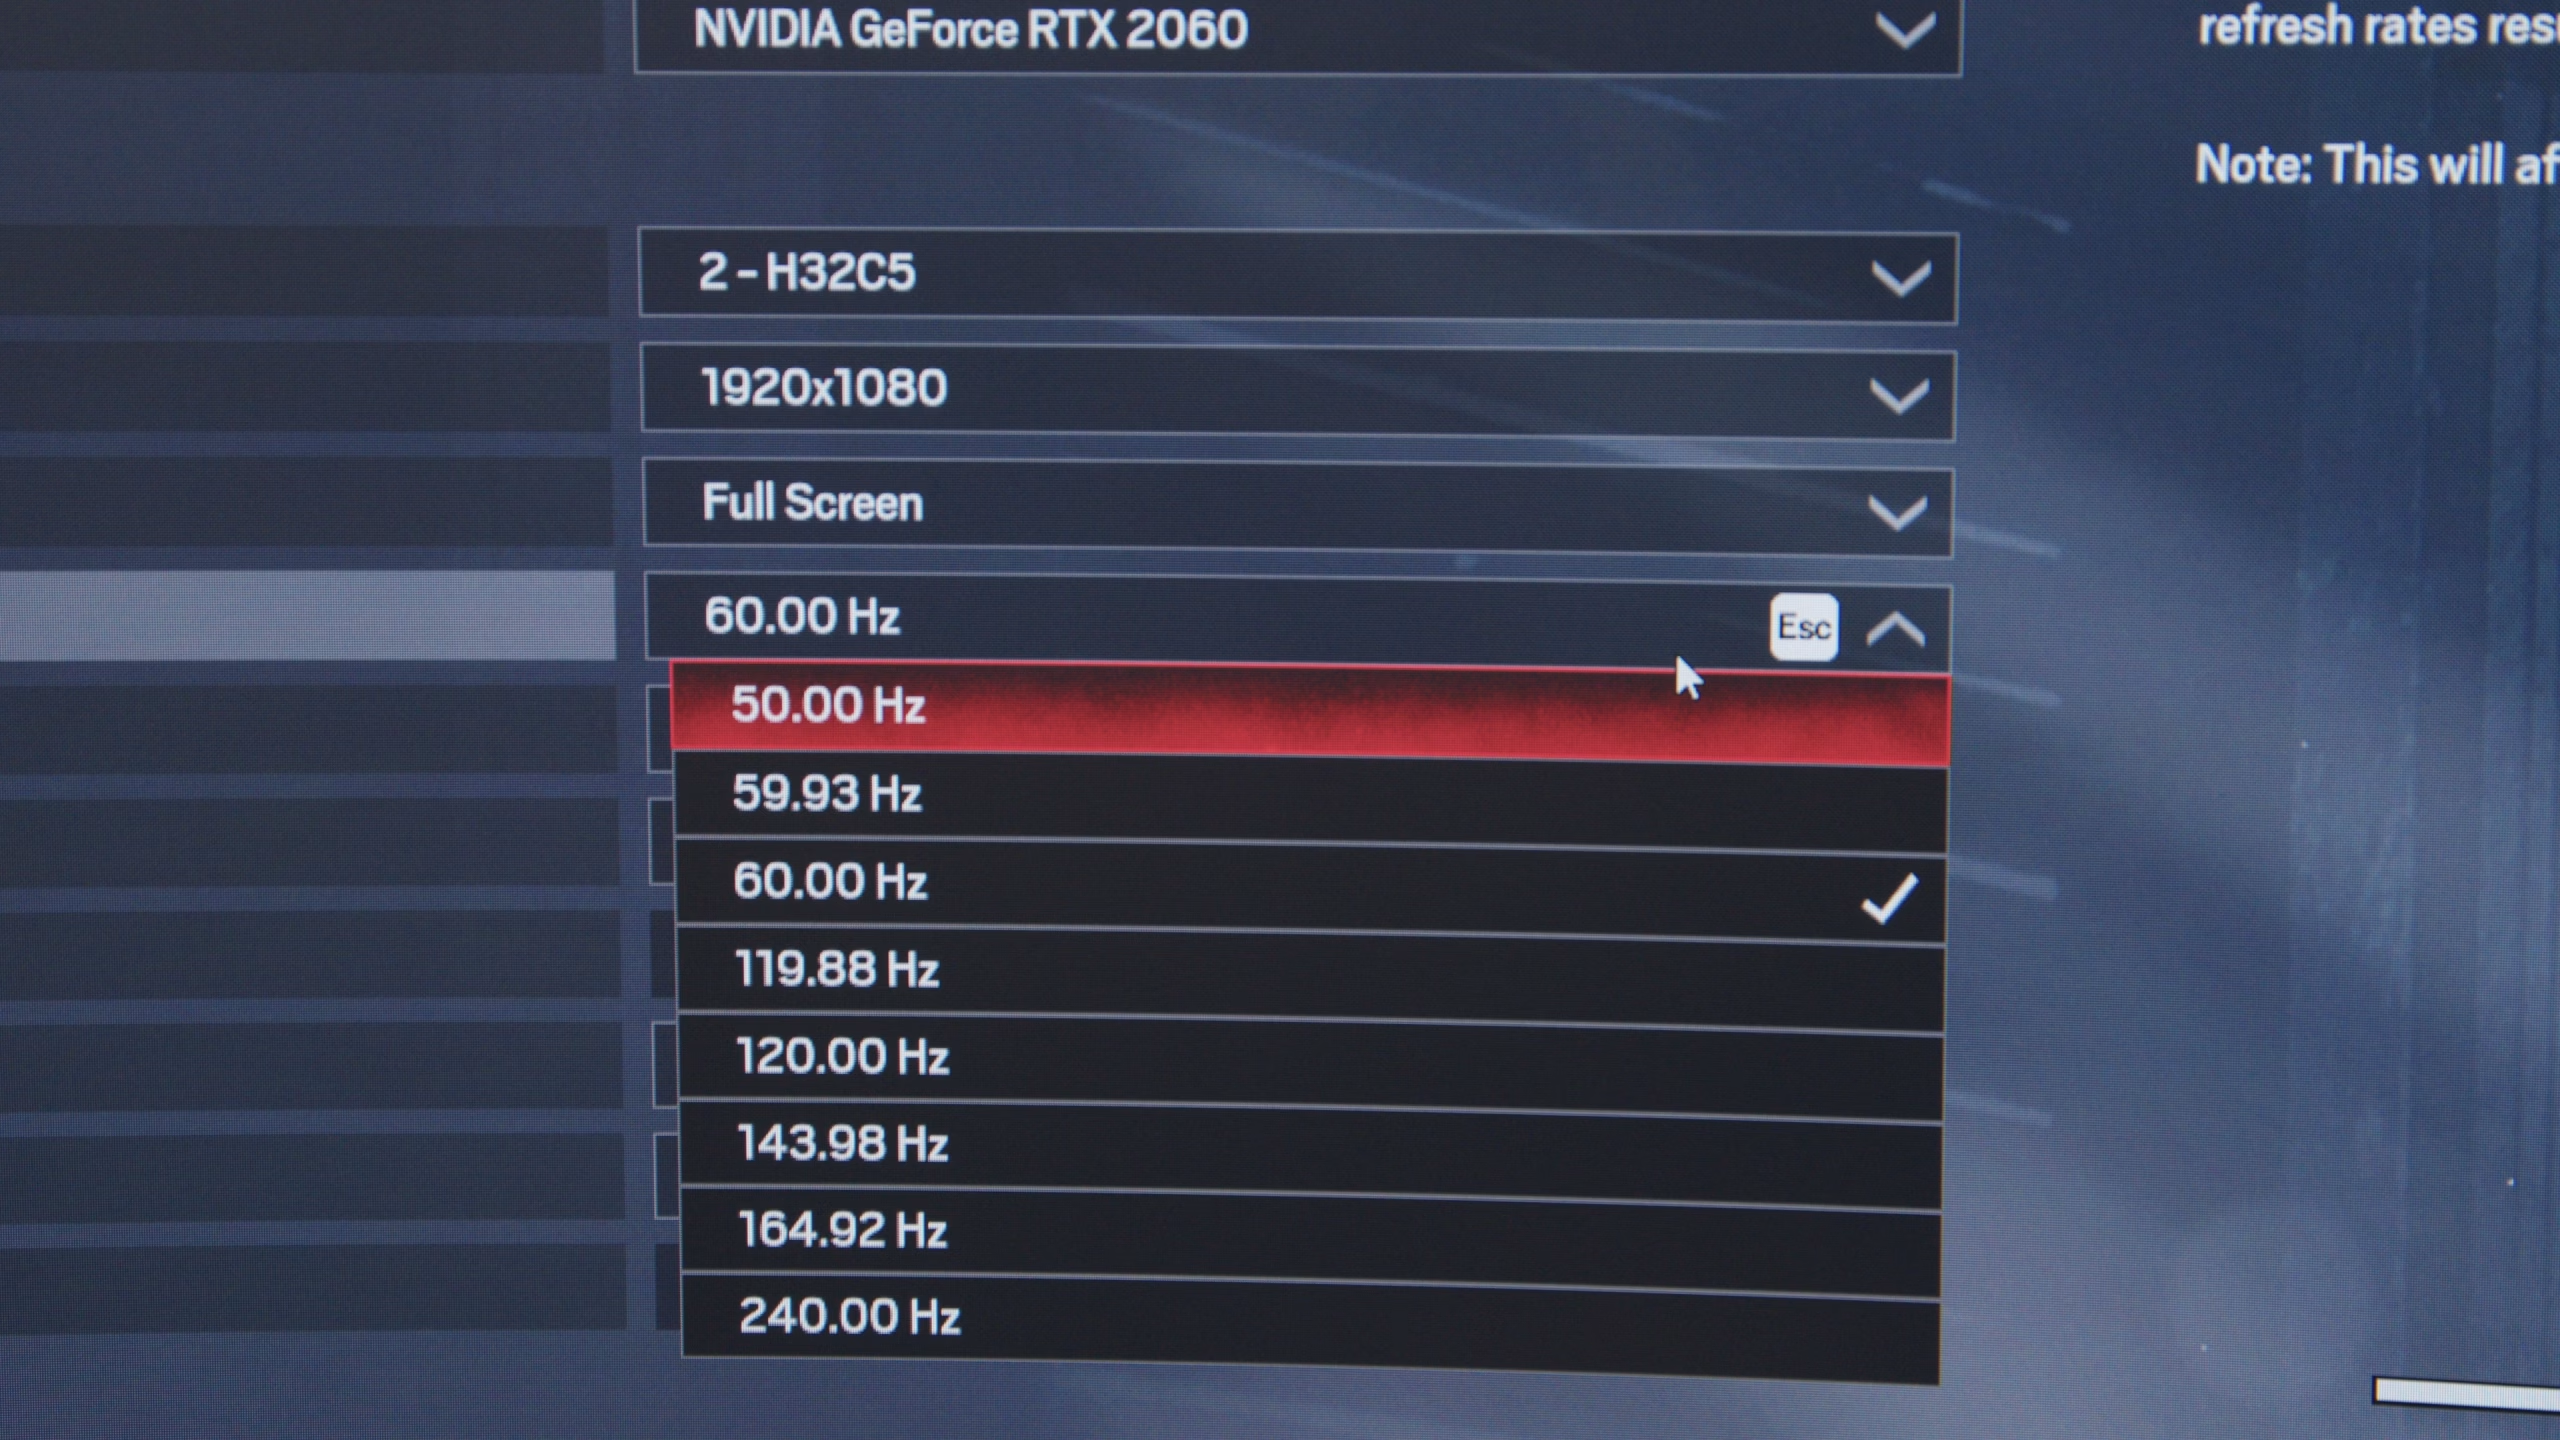
Where this screen really comes into its own is PC gaming: 240Hz at 1080p, or a whopping 280Hz if you overclock it over DisplayPort. Because it’s 1080p, you don’t need a monster graphics card to drive it, which is a good job these days, let’s be honest.
If you’re younger than me, you’ve possibly got decent twitch reflexes (I don’t), and you’ll get the most out of that refresh rate. It’s buttery smooth. Back when I started playing first-person shooters I would never have dreamed of anything as smooth and responsive as this. Ironic, perhaps, that these days my reactions are too slow to take advantage of it.
Has it replaced the old TV?
For the RetroTINK setup, absolutely. The picture is a huge step up from that washed-out old set, and having two HDMI inputs and a DisplayPort means everything can stay plugged in. If you’re after a big curved screen that’ll handle retro consoles through a scaler during the day and fast PC gaming in the evening, it’s a really value-packed option.
You can find the KTC H32C5 on Amazon UK, and you can get 30% off with code H32C5MFS. Big thanks to KTC for sending it over.
The code is valid from 12:00am GMT on 7 November 2026 to 11:59pm GMT on 14 February 2027.
Related
How to Build the Ultimate Pico Atari 2600 & 7800 Multicart: A10400 Pico!
Restoring a soot-damaged Intellivision, Pi Pico multi cart
Testing 7 Unknown Commodore 64s with an OpenC64Saver: How Many Still Work?
Leave a Reply