
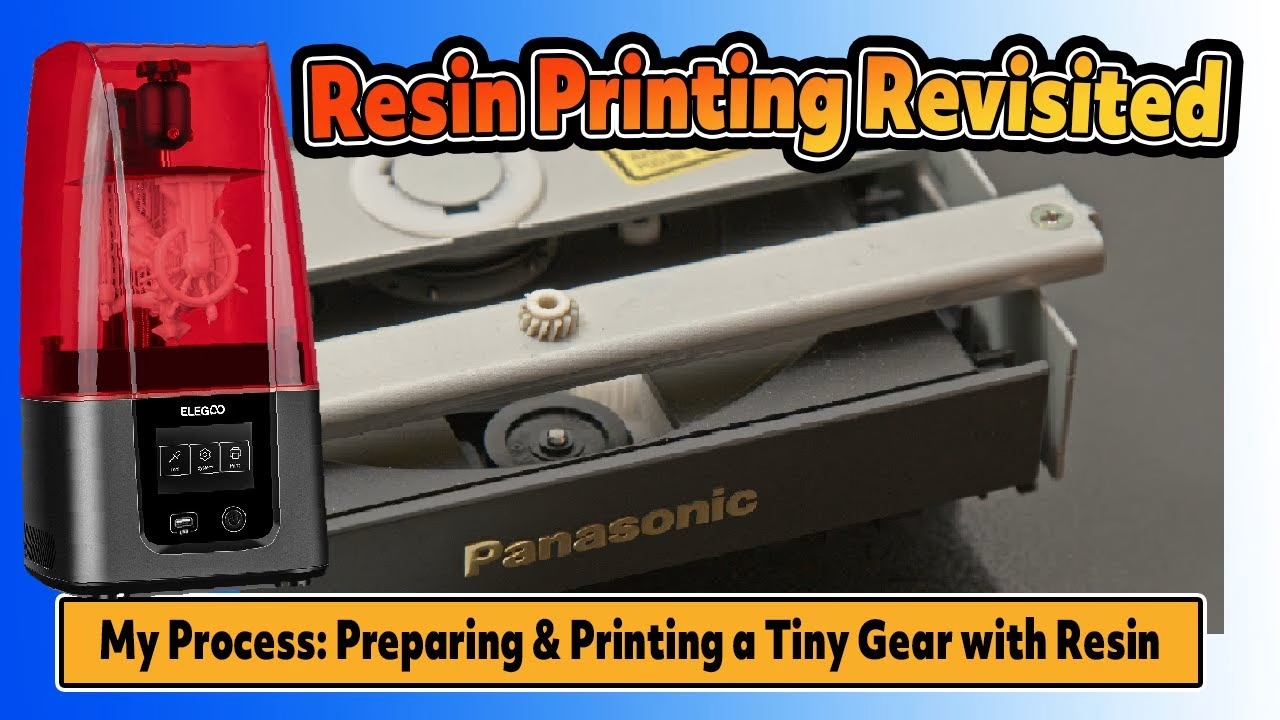
The Panasonic 3DO FZ-1 has a well known CD-ROM drive fault: one of the tiny nylon gears shrinks over time and splits. Earlier resins were far too brittle for mechanical parts, so this is the start of an investigation into whether an “engineering” resin is up to the job. I set up a new Elegoo Mars 3 resin printer from scratch, walk through my whole resin printing process, and print six gear variants. Fitting and testing comes in a separate video. Thanks to Alina at Elegoo for sending the printer; the channel is sponsored by PCBWay.
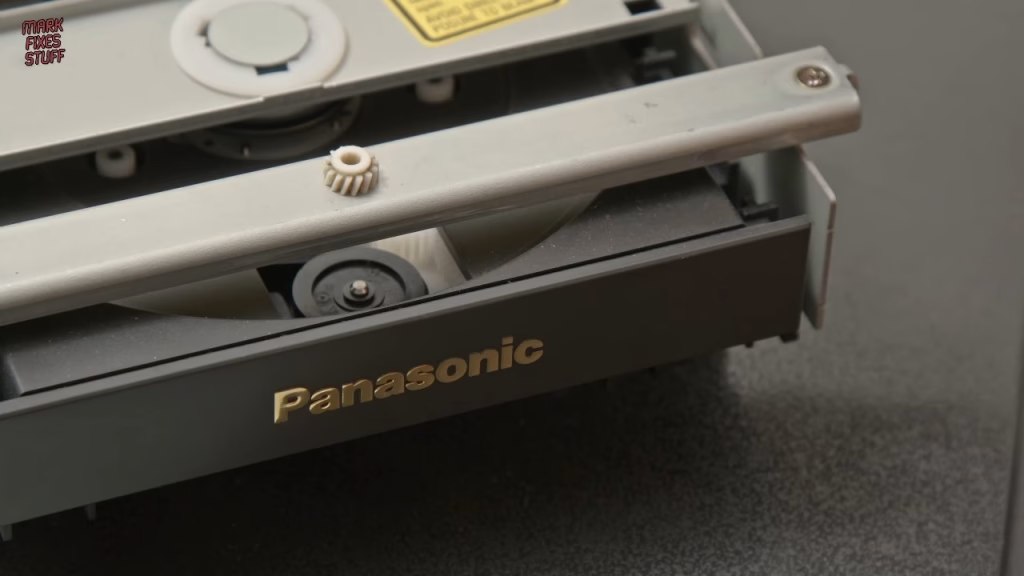
Why 3DO FZ-1 drive gears fail
The gear is buried deep in the drive, and the originals were nylon, which shrinks and cracks with age until the drive stops working. The split original I measured is only about 8.8mm across: a tiny challenge for a printer I’d bought specifically to get a bigger build area for cartridge shells.
Unboxing the Elegoo Mars 3
The Mars 3 is an MSLA printer: a UV source shines through an LCD that switches pixels on and off to cure each layer while the build plate steps up. It replaces my Mars 2 Pro, which was too small for cartridge shells, though I’m keeping the Mercury Plus wash and cure station.
- A UK kettle lead fitted with a 13A fuse, which is very high given the 24V 3A power supply draws only around 2A from the mains. I’d be tempted to change it.
- Hex keys, spare bolts, paper filters (I prefer a reusable metal strainer), a FEP scraper, a build plate scraper, charcoal layer face masks, gloves, side cutters, a USB stick and what looks like a ChituBox Pro licence.
- A sandblasted build plate, and a solid metal resin tank held by two screws instead of the old L brackets. Four protruding bolts on the tank locate in holes on the printer, and also keep the FEP off the table when you put the tank down.
Setting up and levelling the build plate
First check: run the exposure test and make sure the LCD has no dead pixels. Mine was perfect. Remember to peel the protective film off the screen, or prints come out blurry. The build plate won’t easily fit onto the Z axis at home, so raise the arm 10mm or so first rather than forcing it.
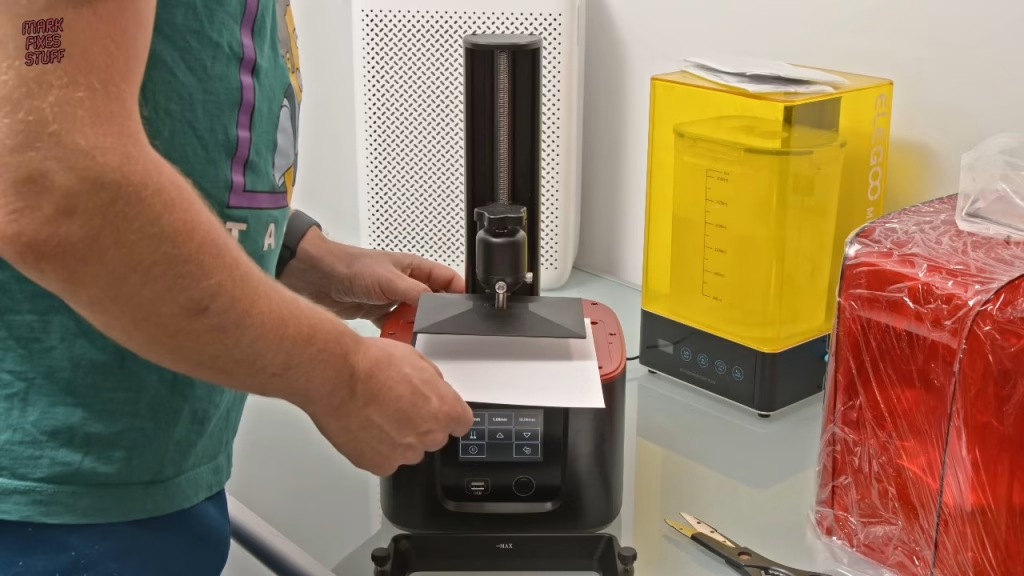
To level, loosen the two hex bolts on the plate, put a sheet of A4 paper on the screen and home the axis so the plate settles flat onto it. The manual says to hold the plate down and tighten the front bolt, then the side bolt. If you can’t pull the paper out, raise the plate 0.1mm at a time; I needed 0.2mm, roughly the thickness of the paper. Then set Z to zero so the printer remembers that position. Forget this and your prints won’t go well.
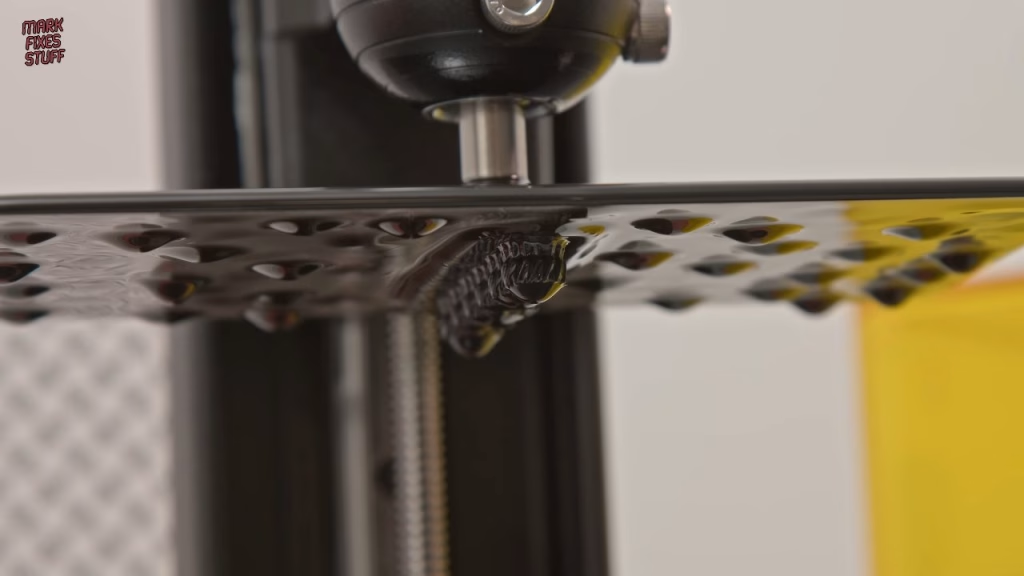
A tip from Reddit: make sure the tank screws are done up, or the first layer can stick to the plate and lift the tank on a journey up and down with it.
Preparing the gear models
I’d previously printed EvilPaul’s 3DO gear model on an FDM printer and it worked, but the bore was loose and needed glue to stay on the shaft. I added a shim in Tinkercad, then found Robert Dale Smith had already remixed it with a much tighter bore (Robert Dale Smith’s remix), so there was no point reinventing the cog. In ChituBox I laid out six copies at slightly different sizes to allow for resin shrinkage, and supported them manually because auto supports kept attaching to the gear teeth.
Printing with engineering resin
The resin is an engineering type that I’ve found really tough before. This bottle is discontinued and had a month left on its date, but I’ve used older resin without problems. Safety matters here: resin smells strongly and isn’t good to breathe or get on your skin. I wear a mask and gloves (note the supplied gloves are latex, if you have an allergy), run a charcoal filter unit, and use silicone mats, because no matter how careful you are, resin ends up everywhere. A spare build plate and extra tanks make swapping resins much easier, as you can store resin in the tank.
Washing and curing
My process is a primary wash in a bucket of IPA (I still use IPA washable resin), then a final wash in the wash and cure station, which spins the IPA and reverses direction to reach every crevice. The Mars 3 plate is too big for both my primary bucket and my older station, so the parts came off the plate and went into the basket. Don’t overwash, and keep gloves on: even washed resin shouldn’t be handled uncured. For curing, I turned the parts a few times on the magnetic curing plate. This engineering resin is hard to overcure, but clear resins can yellow.
How did the gears come out?
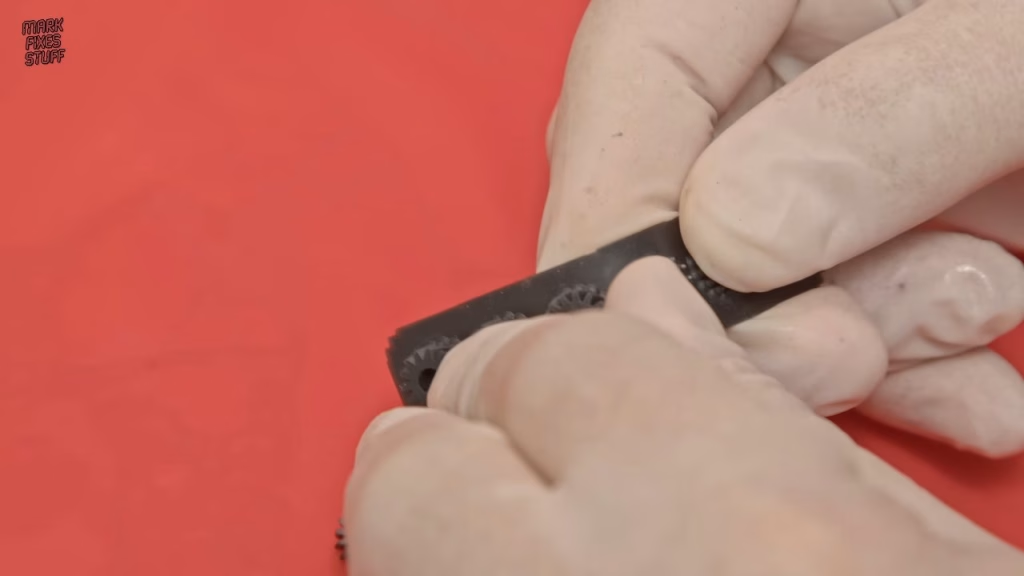
Very well. Even the supports flex rather than snap, which is a good sign, and the gears are definitely not brittle. If none of the six sizes fit, I can scale from these. Fitting them into the drive is a job for the next video.
Related
See the gear going in: fixing a 3DO FZ-1 laser with a 3D printed gear. More on the FZ-1: 3DO FZ-1 teardown and repair and fixing a 3DO with no power.
Leave a Reply