In this short blog I give you a quick run through of my latest video, where I remove SMD can capacitors without using a hot air station. If you have ever wondered how to get those stubborn can caps off a board with nothing more than a pair of snips and a soldering iron, the video is worth a watch. I will leave a small curiosity gap here so you still click through and see the satisfying part near the end
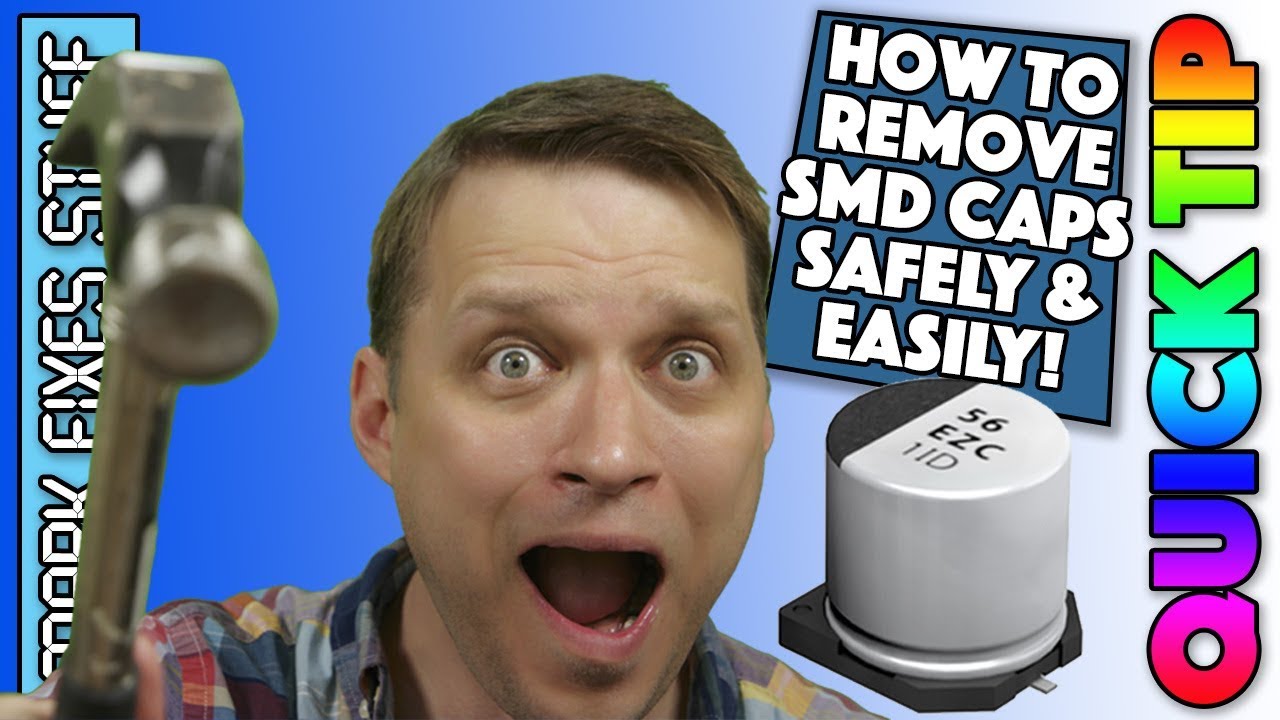
Mark Fixes Stuff: Remove leaked SMD Can Capacitors (more) Safely
In the video I demonstrate a simple, practical way to remove SMD can capacitors when you do not have a hot air station. The idea is straightforward. Cut the aluminium can horizontally with a pair of snips, hold it steady with a finger, and lift the shell away from the pads. This approach keeps heat low and avoids putting stress on the PCB, which is always the aim when working on ageing boards.
I also explain why this technique can be useful in real repair work, especially when the alternative is trying to force parts off with too much heat. After the can is removed, the remaining legs can be cleaned up with a soldering iron and some braid. There is nothing fancy involved, just a steady process that works reliably. If you enjoy practical repair videos that show a repeatable method rather than just a result, the video walks through the whole process step by step.
Watching the video will also show a couple of small details that are easier to demonstrate than explain. For example, there’s an explanation why leaked electrolytic fluid can hider your soldering iron’s functionality. It is a small point, but it saves time and terrible smells when you are doing this sort of work regularly.
No hot air?: Desolder SMD Can Caps with a Soldering Iron
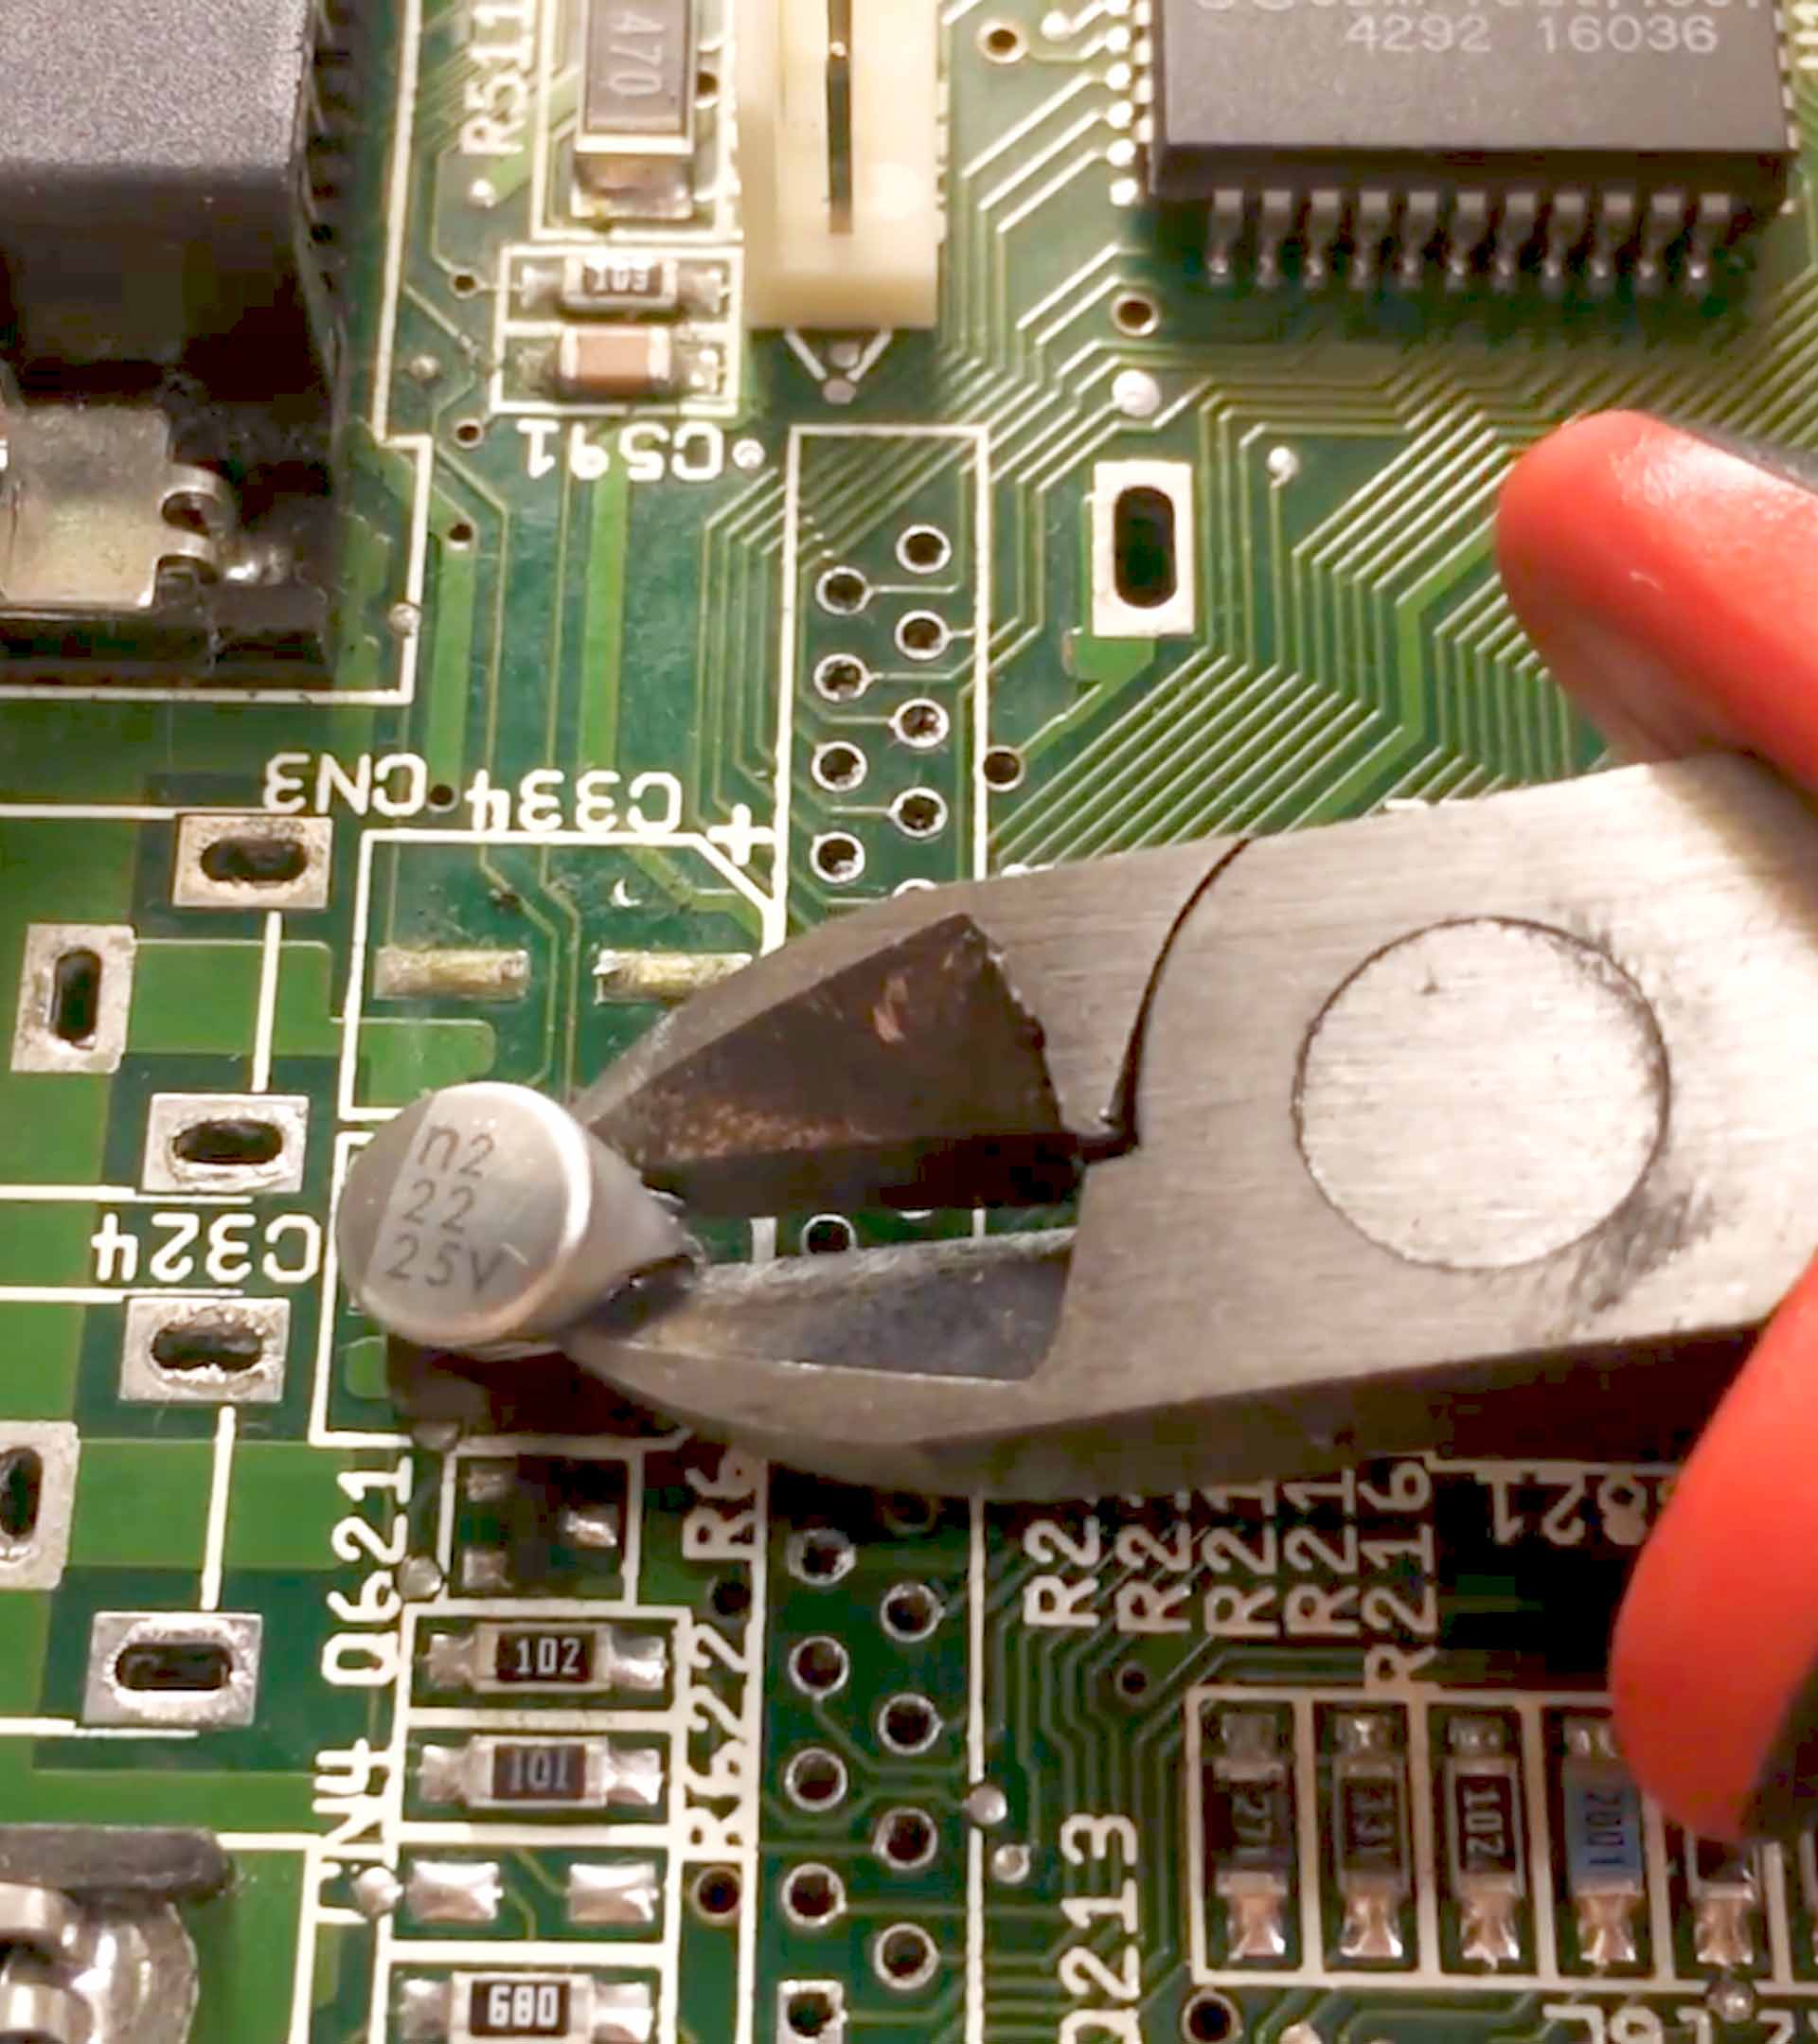
This part covers the core of the method shown in the video. Start with a decent pair of snips and make a careful horizontal cut through the can, moving in the same direction as the solder pads. That way you are not twisting the component or putting sideways force on the pads. I usually place a finger on top of the capacitor to keep it steady. It is a simple trick, but it helps keep everything under control.
Once most of the can has been removed, you may need to trim any remaining parts of the leads that could catch on the pads. After that, a small gauge flat ended screwdriver can be used to gently lift the inner section away. The key point is to keep the leverage on the capacitor itself rather than the board. That reduces the risk of lifting pads or damaging traces.
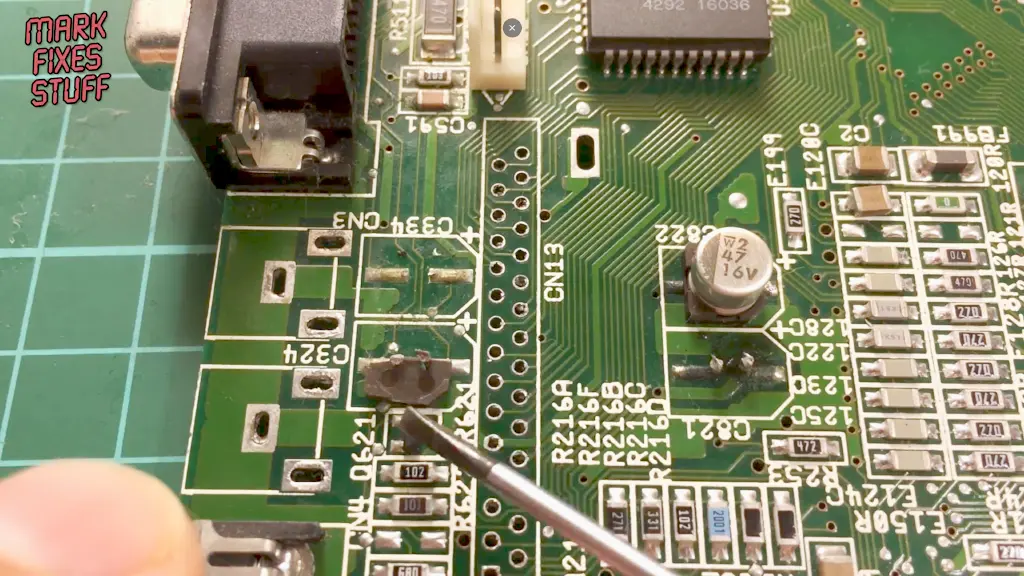
Finally, clean the area with isopropyl alcohol to remove any leaked electrolyte and allow it to dry before using the iron. I normally work at a moderate temperature with a 2 mm chisel tip. Move the iron from the leg towards the solder mask to encourage the solder to flow away from the pad, then finish with braid if needed. The video shows this clearly and also covers how to deal with oxidised legs so the board can be returned to a usable state without needing hot air.
If this overview has sparked your interest, the full video on my channel Mark Fixes Stuff shows the whole process with close ups and live commentary. If you enjoy practical electronics repair and straightforward techniques you can use yourself, have a look and consider subscribing for more videos. Cheers, and don’t forget subscribe to get your fix.


Leave a Reply