Short version, I wanted the comfort of a Sega Mega Drive (AKA Sega Genesis) pad on my MSX without electrocuting either of them. The Mega Drive controller is superbly familiar, but electrically incompatible with the MSX joystick port, so the video shows building a small PCB adapter that translates the controller signals into something the MSX will happily accept. There is soldering, a bit of logic, a couple of diodes to avoid bus contention, and then some testing.
How can we use a Sega Mega Drive Controller on an MSX Computer?
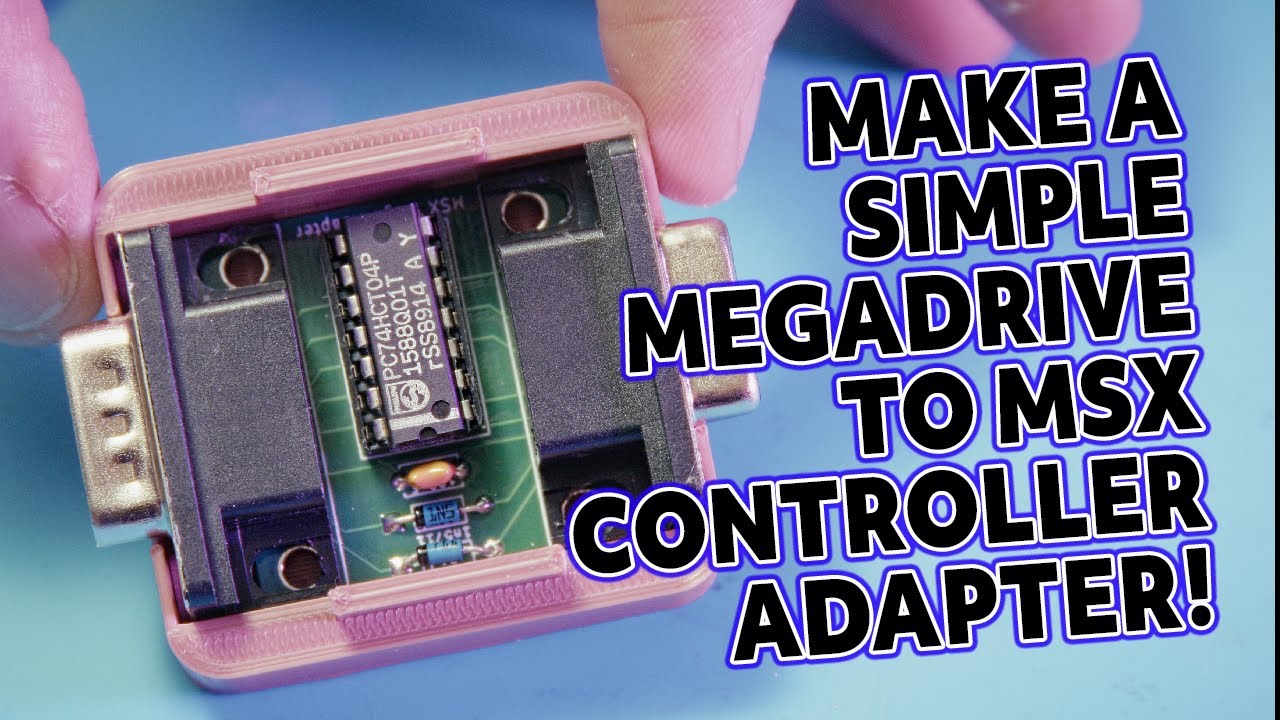
This project takes a Sega Mega Drive pad and makes it work as a proper MSX controller, without risking damage to the vintage computer. The problem is not mechanical, it is electrical: the pad has a different signalling scheme and extra buttons, so you cannot simply plug it in. The solution is a small adapter PCB that translates the Mega Drive logic to MSX friendly signals, using a 74HC04 hex inverter, a couple of diodes, a decoupling capacitor, and the right DE9 connectors (note – NOT DB9).
The MSX used a fairly simple joystick interface, but peculiar enough that some modern or foreign controllers cause bus contention, or worse. The adapter prevents that by steering signals correctly and adding protection where needed, which is why those tiny diodes matter more than they look. There is also some physical work, because the finished board gets housed in a 3D printed case so it does not hang out of the port and get destroyed.
If you like retro computer repair and hardware restoration, this is the sort of satisfying, low-cost project that will improve playability without major surgery on the MSX. Watching the video will show the exact wiring and the little gotchas I ran into, including how to fit the sockets without the shrouding falling off and why I used an extension cable for testing.
How Do We Build The Adapter?
The core technique is straightforward PCB soldering and assembly, done in a sensible order, from lowest profile parts up to the sockets and the IC. I clean the board with isopropyl alcohol first, fit the diodes and the 100 nF decoupling capacitor, then the connector sockets, finishing with the logic chip in a socket. That order keeps access for the iron and reduces the chance of accidentally reheating previously soldered joints.
There is also a brief explanation of why the diodes are present, they isolate certain pins to avoid bus contention in rare MSX configurations, and why a hex inverter is used to translate the Mega Drive pad logic. The video covers soldering technique too, such as heating the pad and component lead together so capillary action draws the solder in, and the usual warnings about cold joints and blobs when the tip placement is poor.
Finally, the physical fitment is handled with a small 3D printed enclosure, some trimming of connector shells, and a choice to use a DE9 male on the Mega Drive side and female on the MSX side. The adapter is tested with simple MSX utilities and a handful of games to verify the mapping of both fire buttons and the directional control. I leave a few practical steps a little vague here, so you will still want to see the video for the trickier parts and the test footage.
Some things to look out for!
If you are doing PCB repair or a small build like this, clean the board first, it makes soldering a lot less annoying and you do not end up with flux gremlins later. Start with the smallest, flattest components, then work upwards towards sockets and tall connectors. It is not glamorous, but component order saves time and heartache.
Be cautious with sourced logic chips, they can be counterfeit or secondhand, so either test them in a programmer that has a logic test, or use a socket so you can replace the IC without reheating everything. Also clip diode leads close to the board once soldered, so you do not create strange shorts, and remember that a poor solder joint often looks shiny but will fail under stress. Yes, I have ruined a board that way, and yes, I am allowed to grumble about it.
Tools that made the job easier here were a decent temperature-controlled iron, fine soldering tip, flush snips, and a small 3D printer for the enclosure, but nothing arcane. For retro gaming hardware repairs like this one, testing with real software is essential, a little test program will tell you more than an LED ever could. If you appreciate the tactile feel of a Mega Drive pad on an MSX, this adapter is one of those small hardware restoration wins that genuinely improves the experience.


Leave a Reply